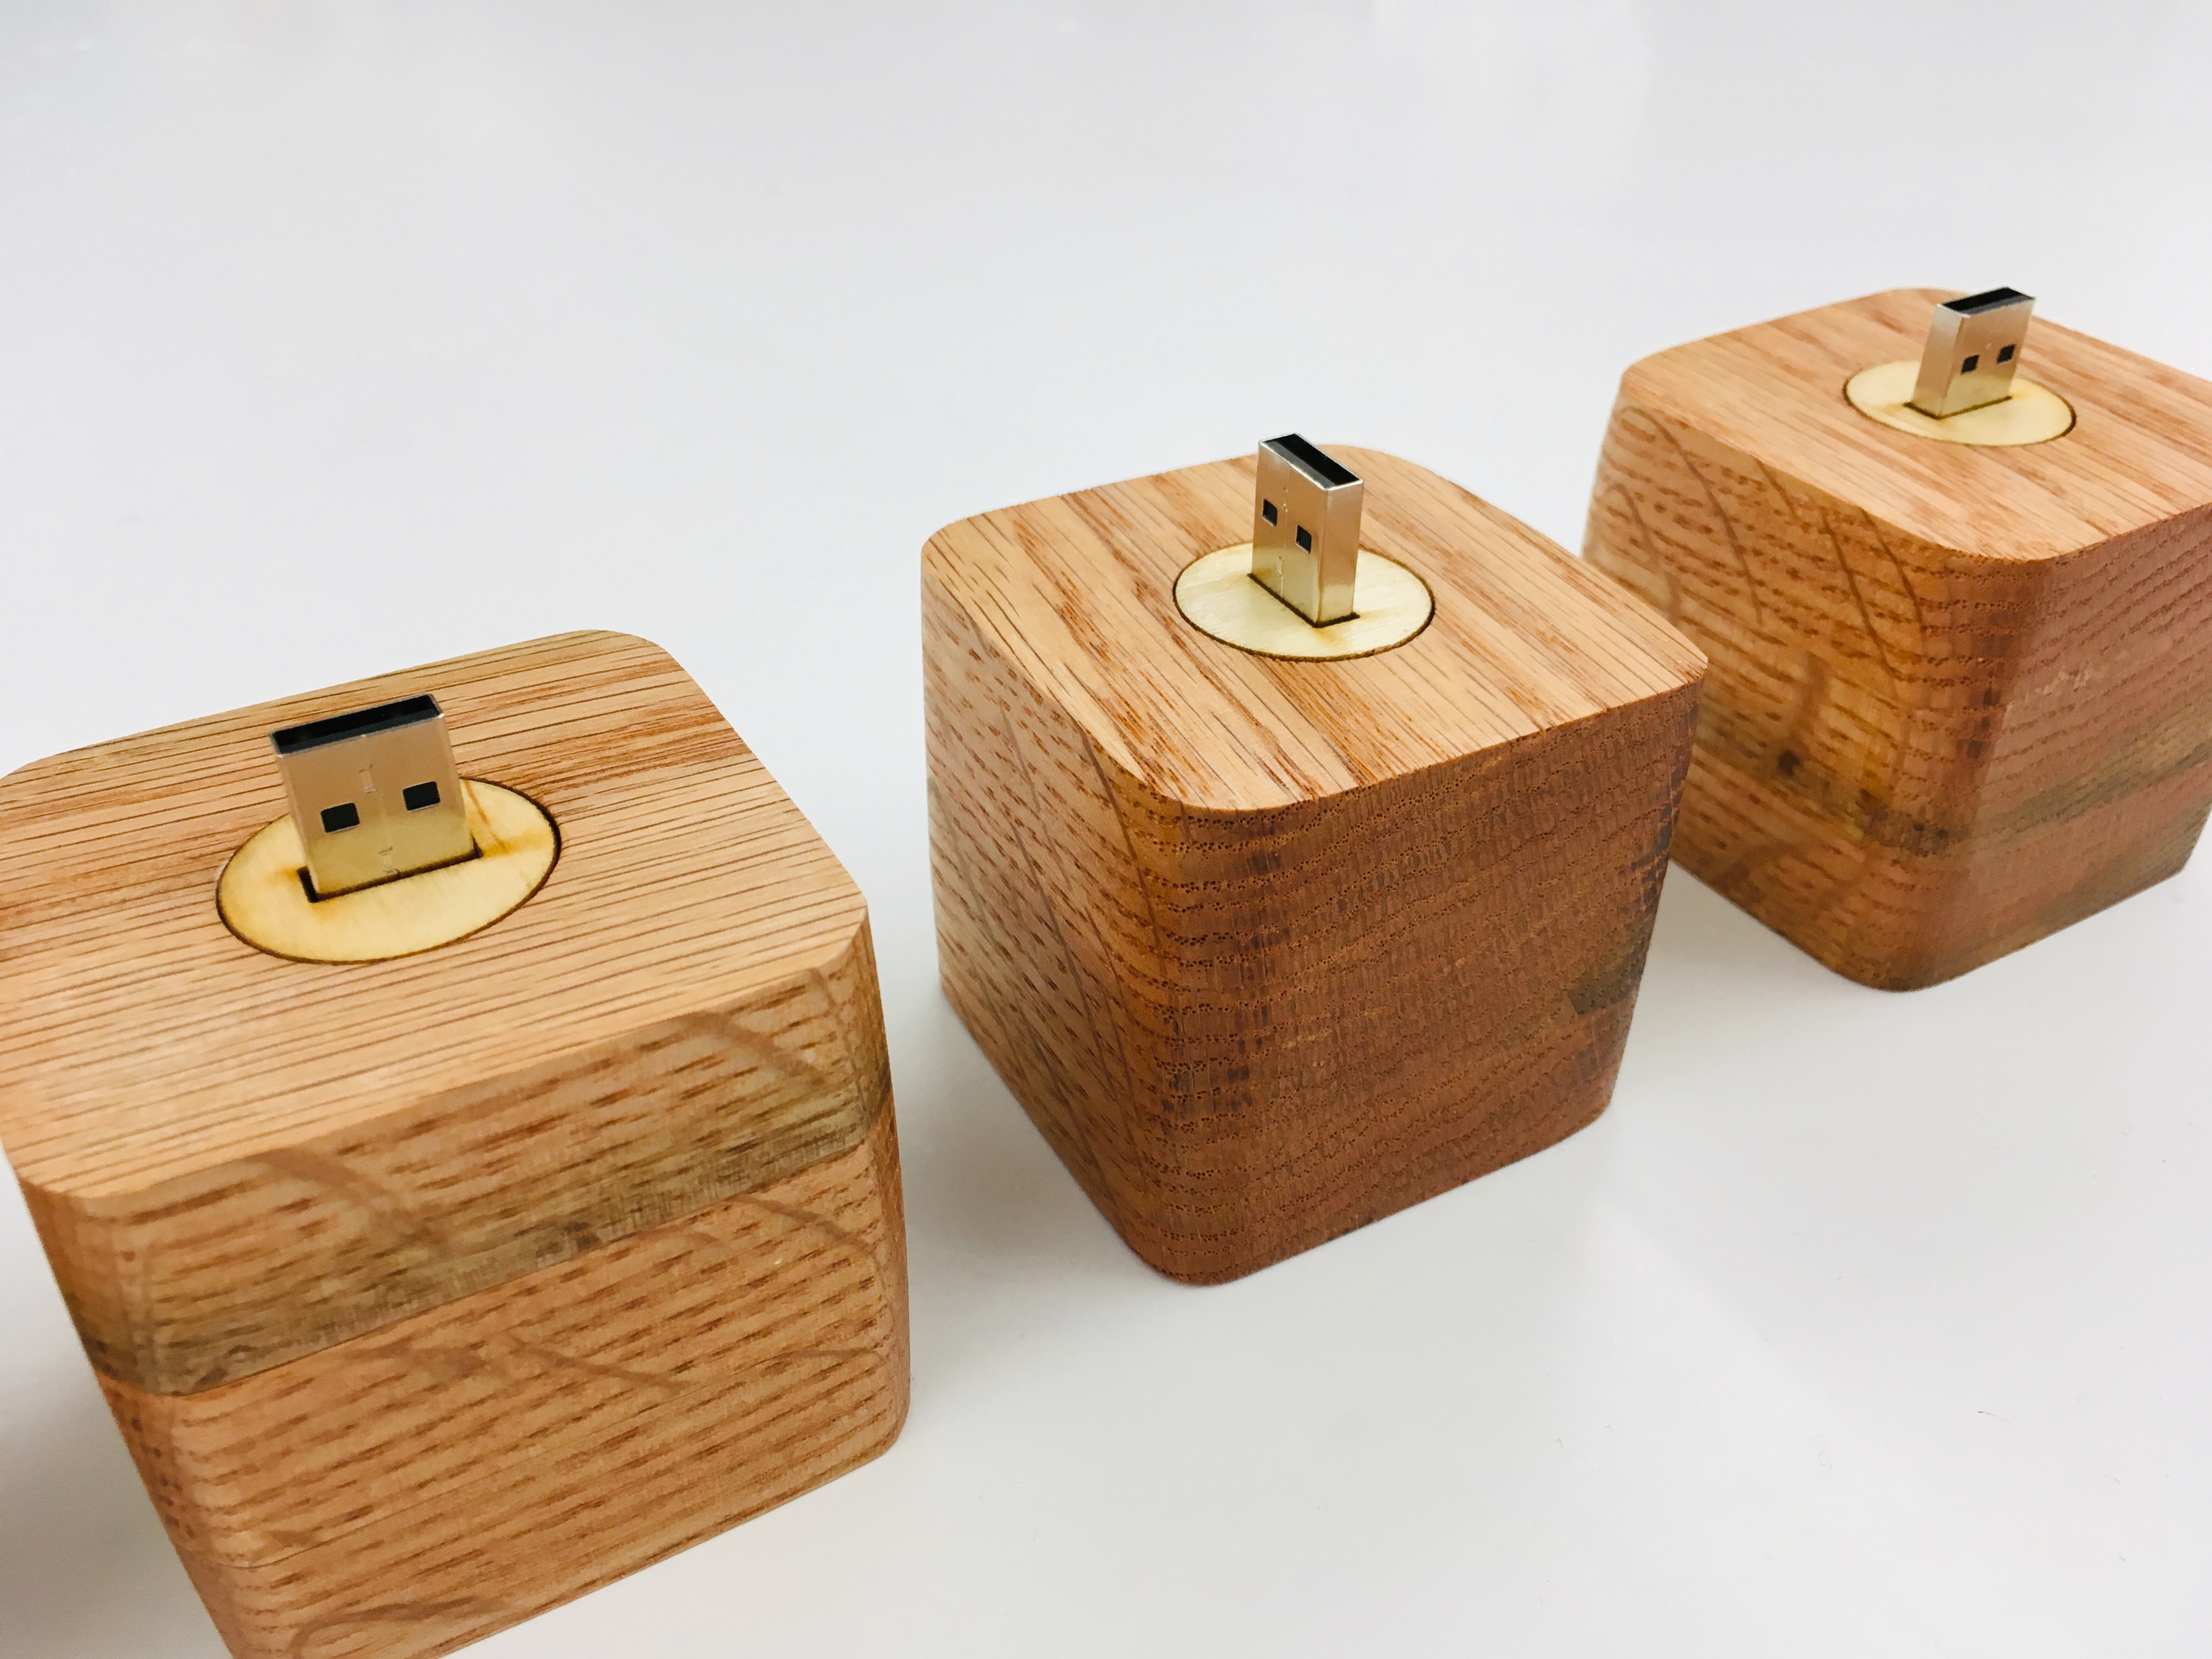
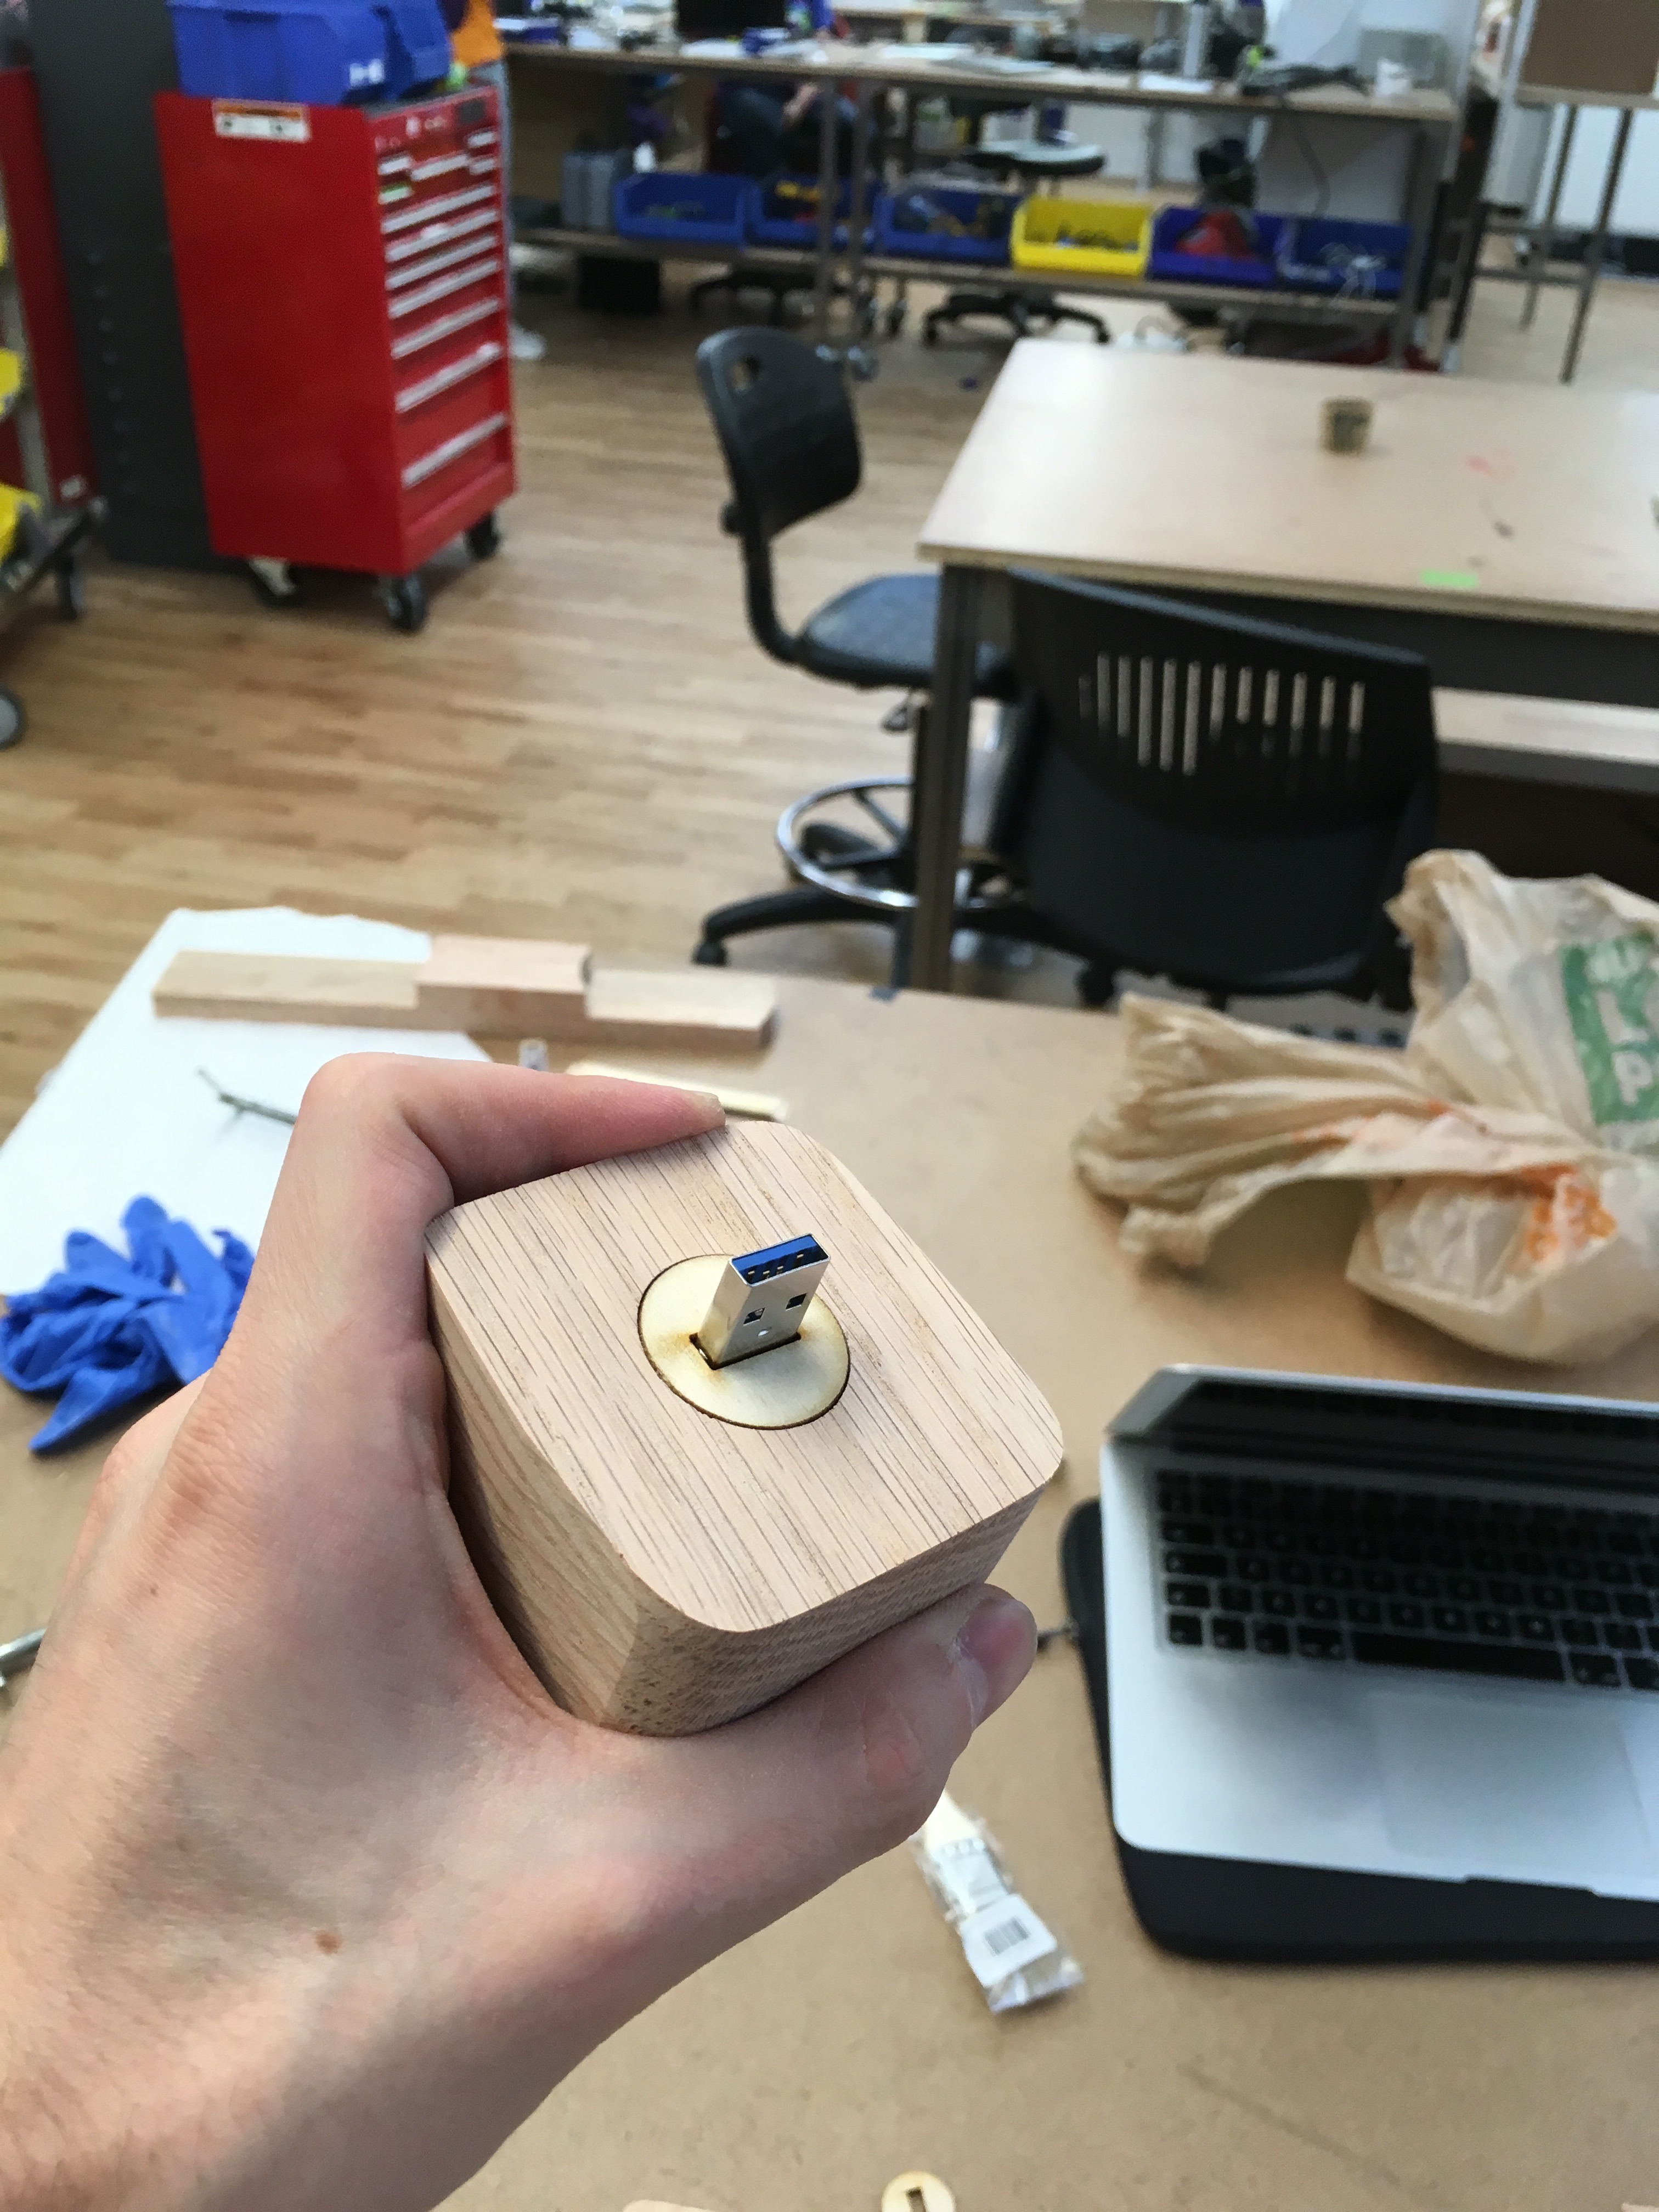
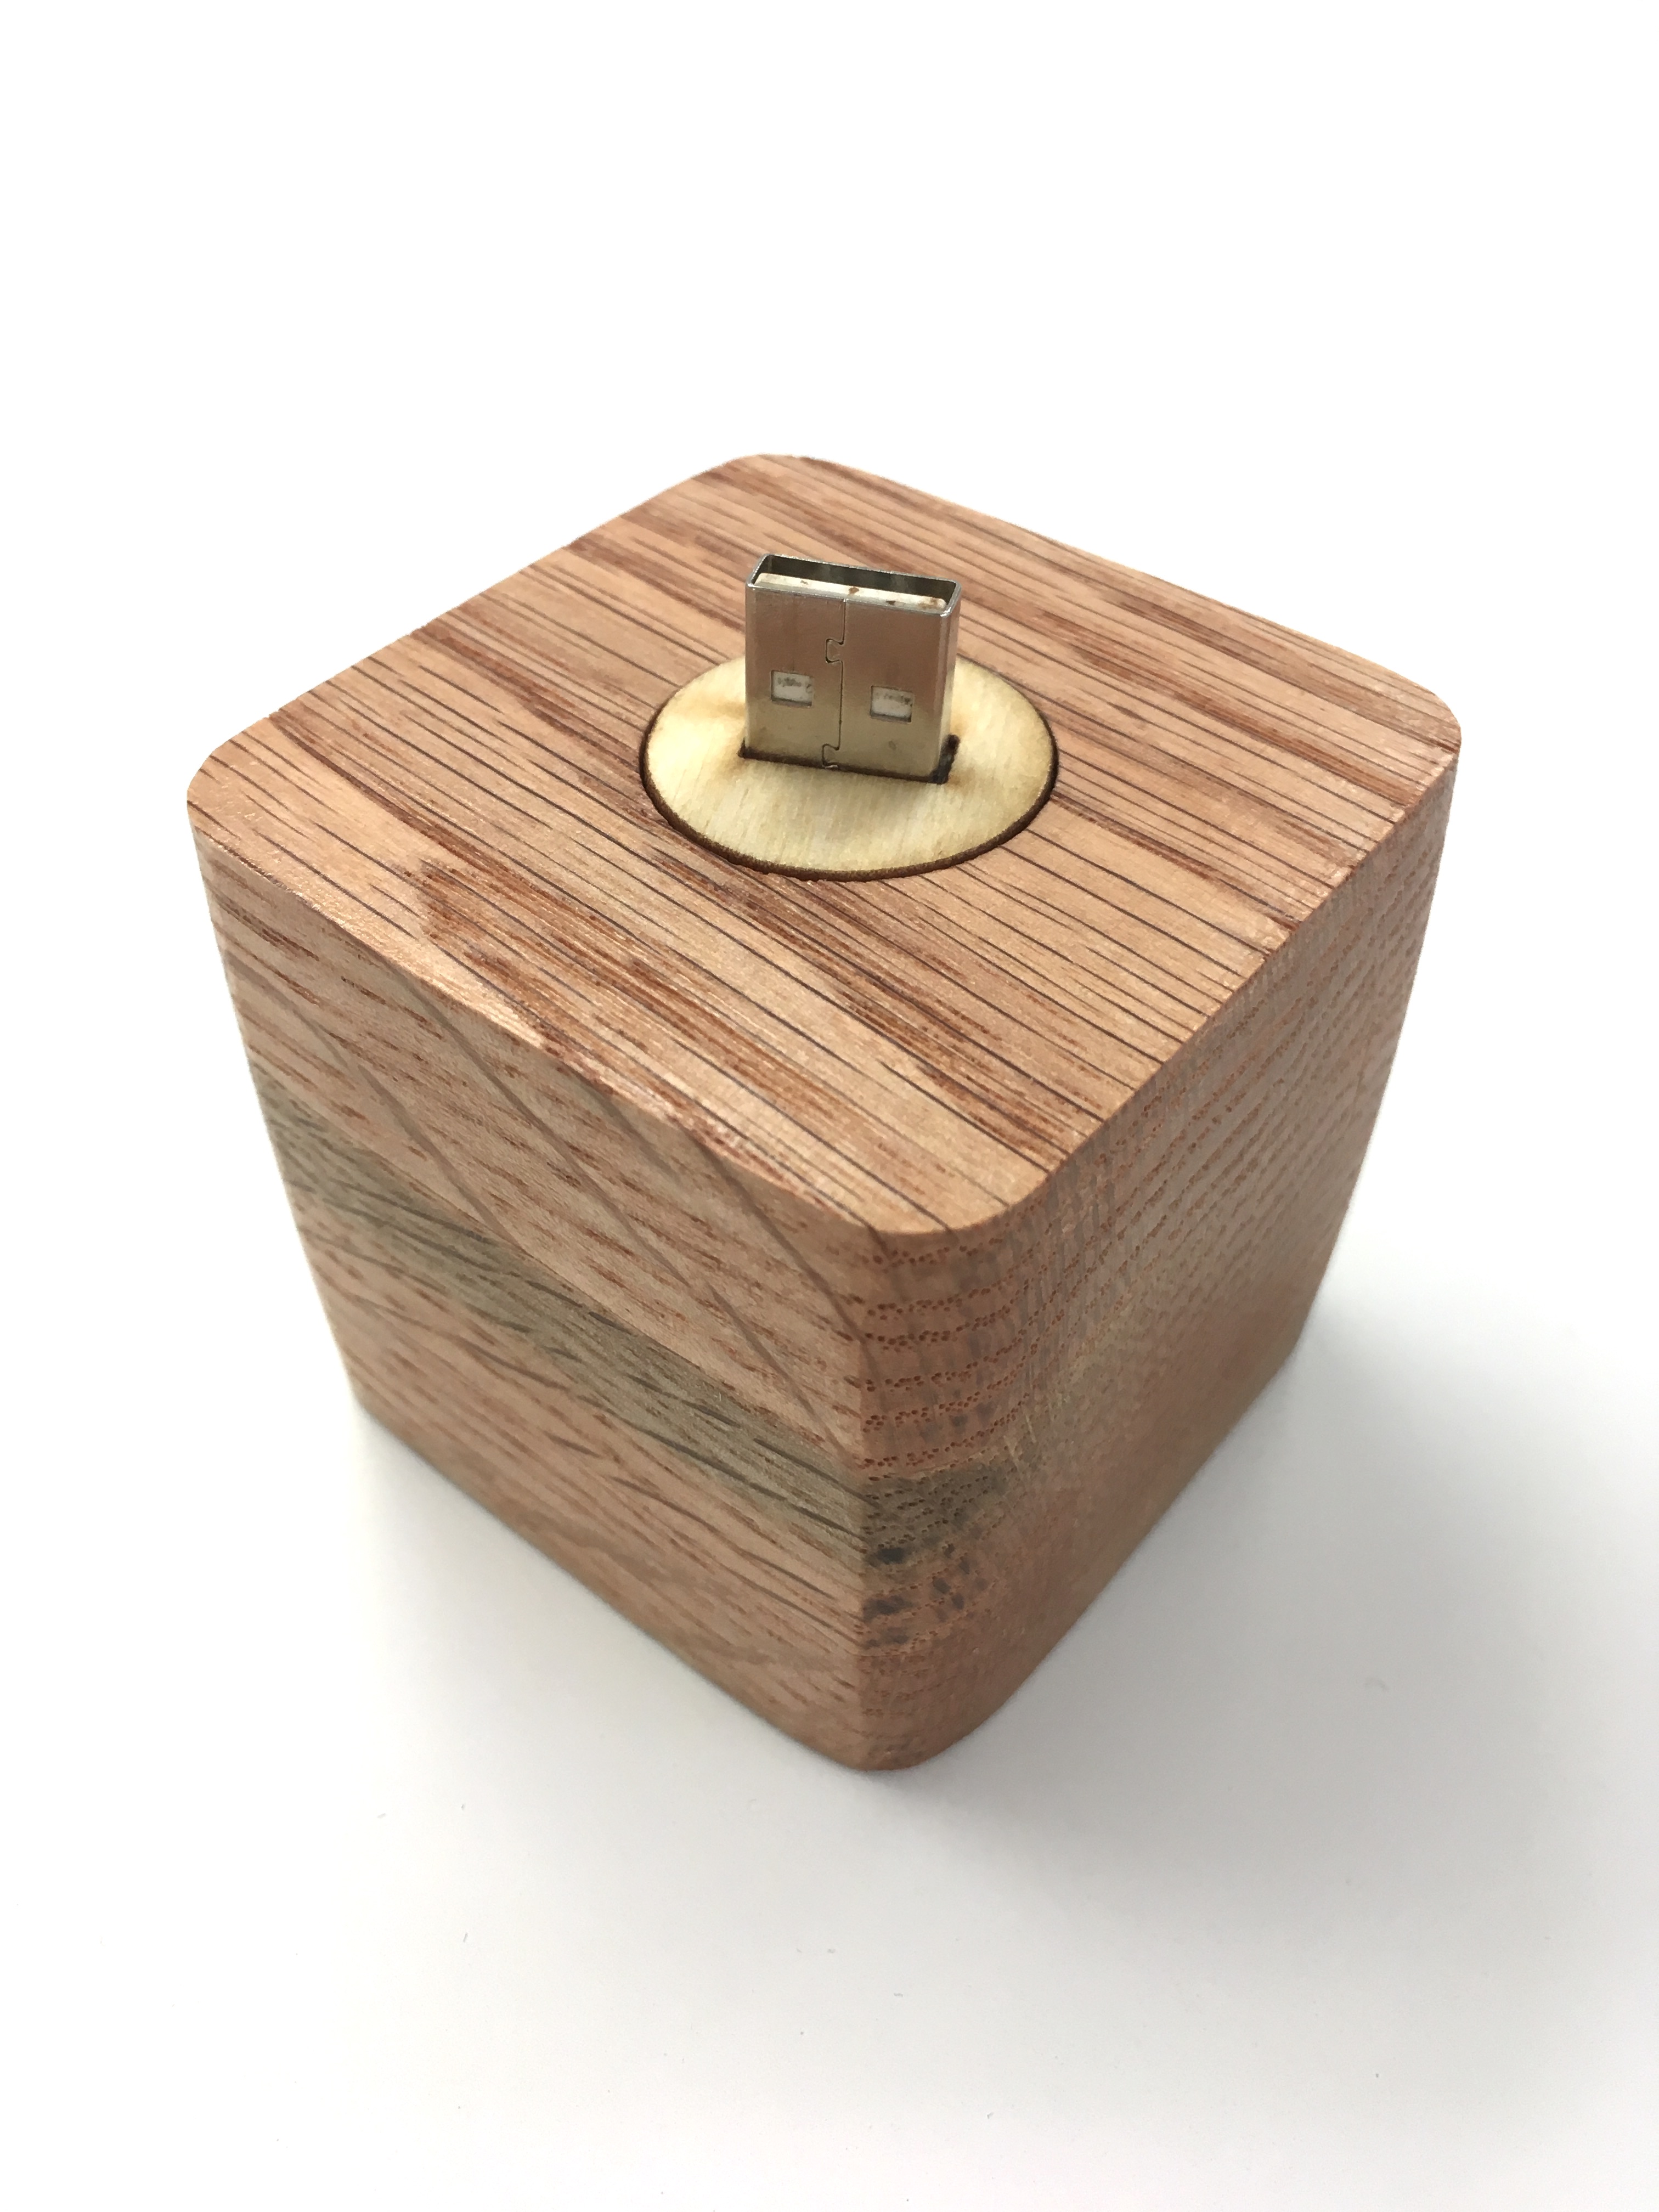
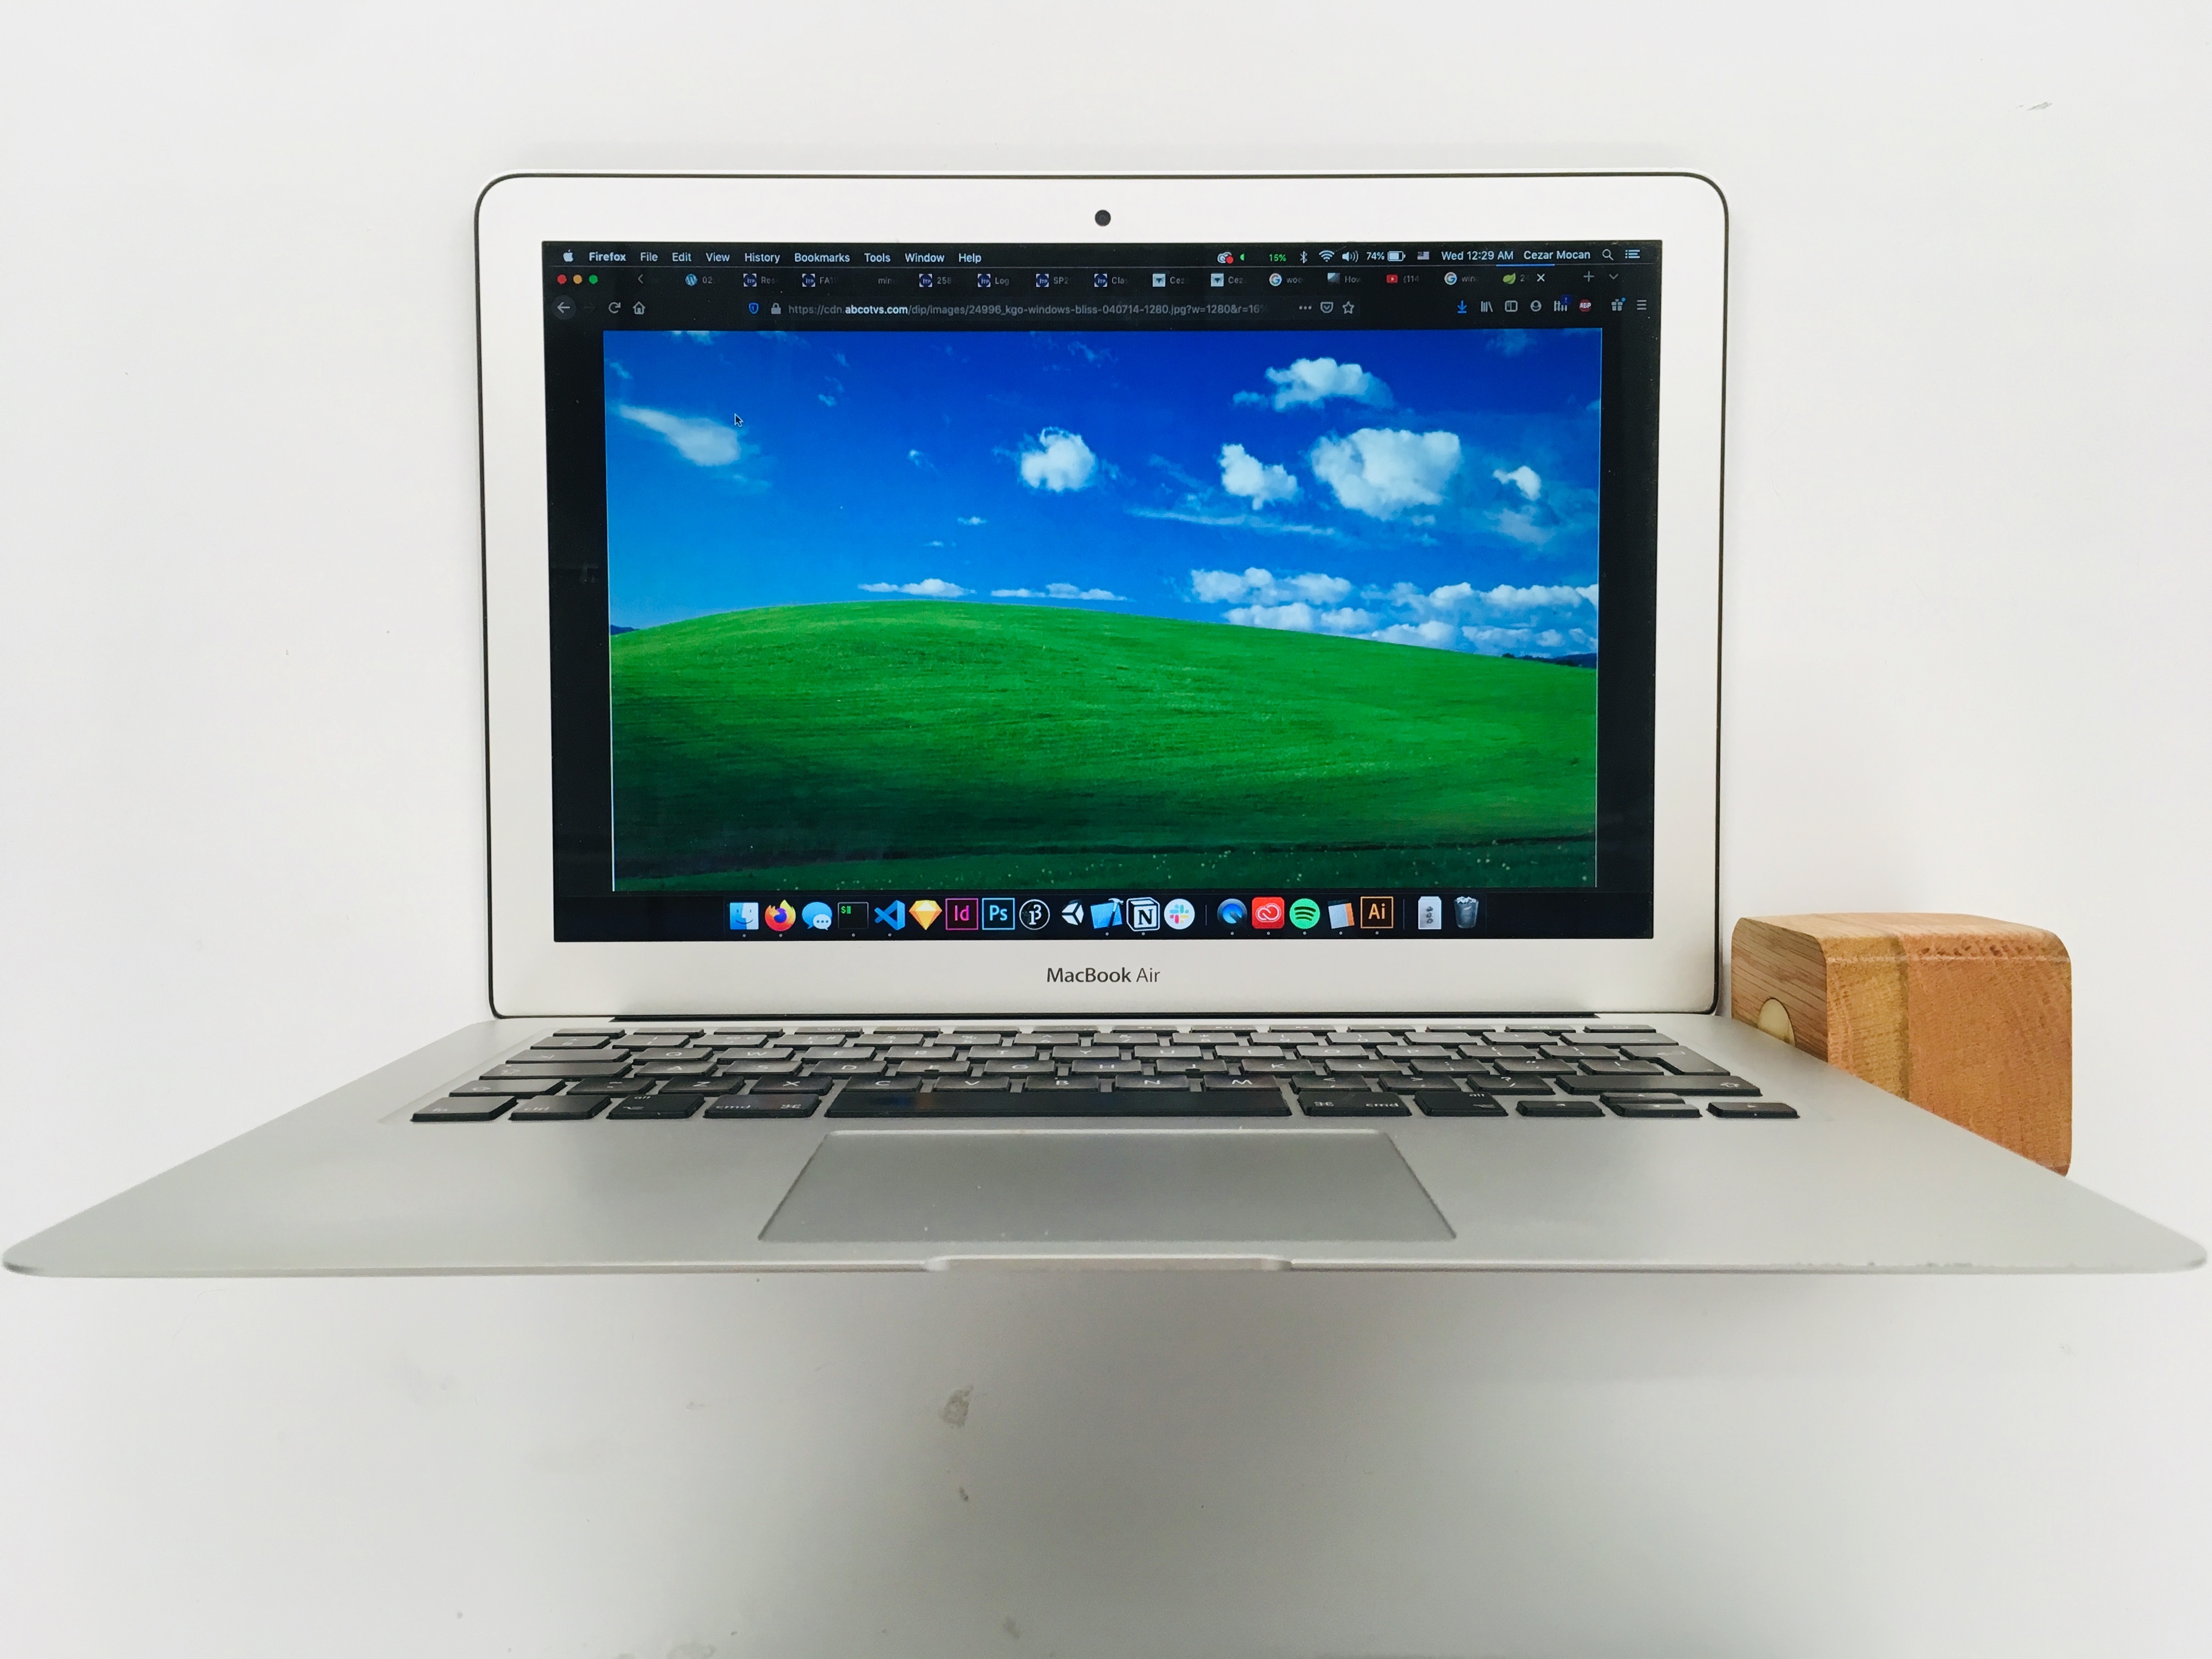
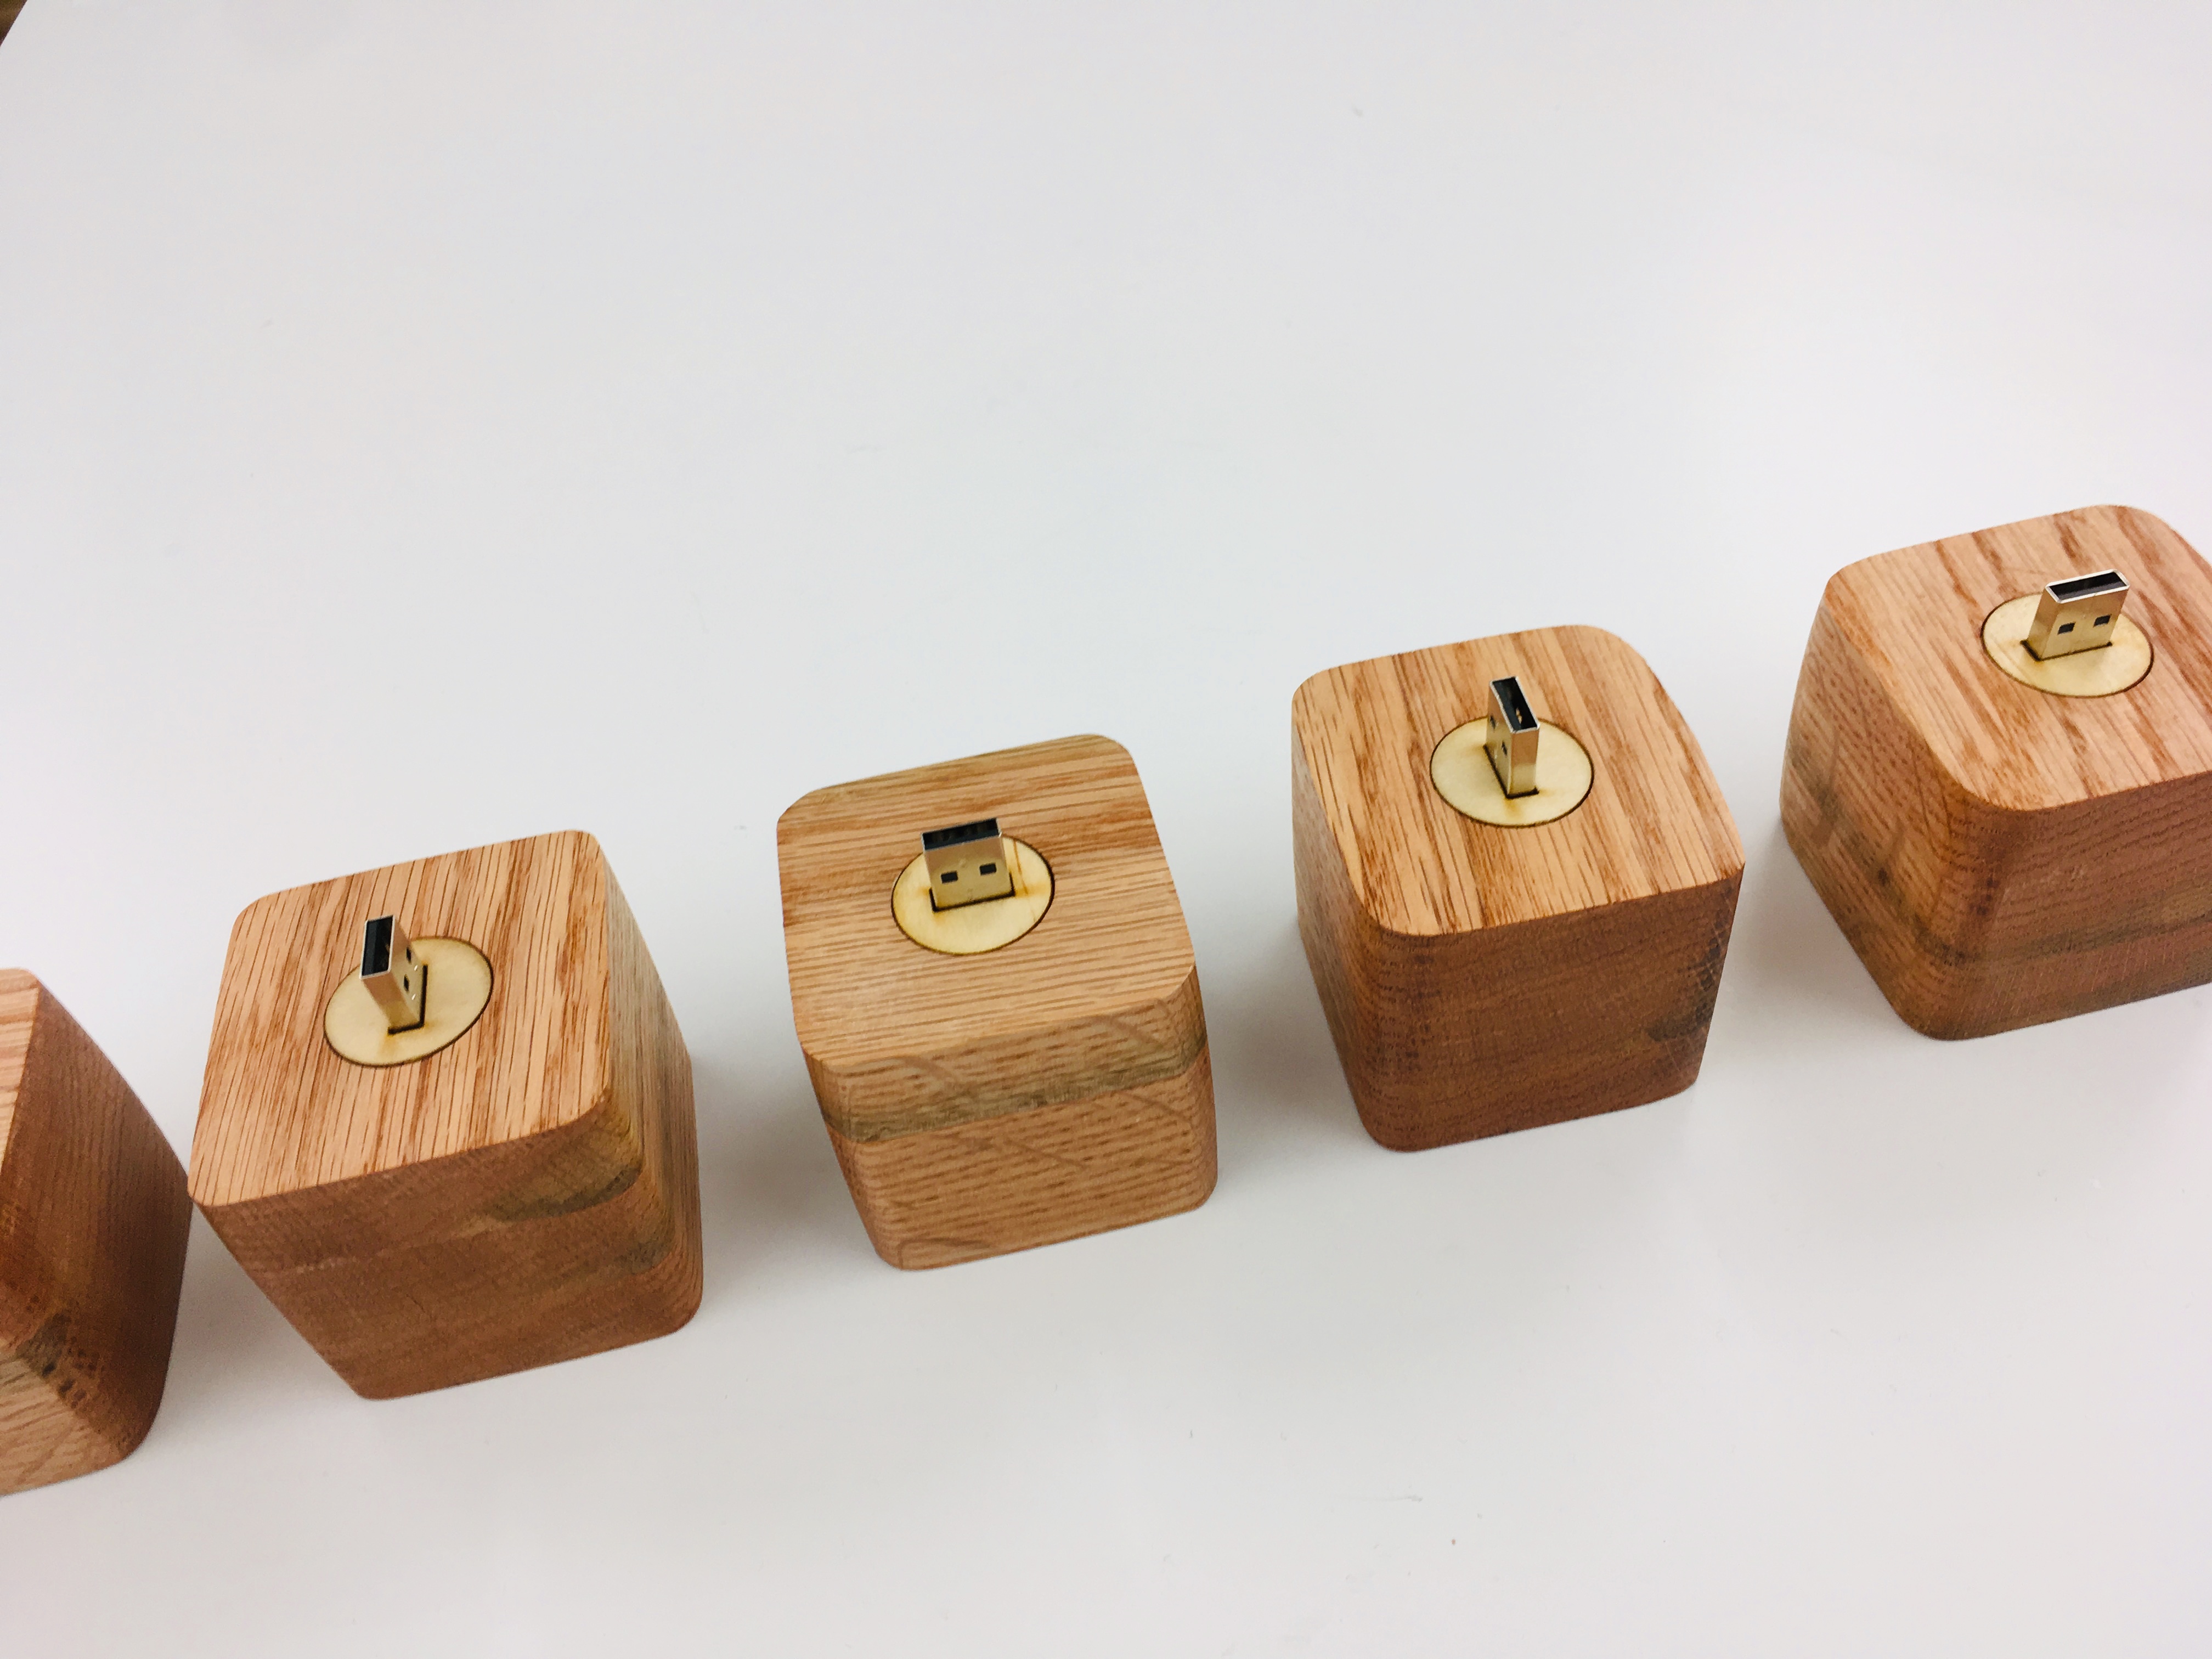
The second fabrication assignment is centered around streamlining our fabrication process, and building 5 or more of the same object as a result. I decided to maintain my focus on absurd and user unfriendly interfaces and made an awkwardly big, cube-shaped, wooden USB flash drive.
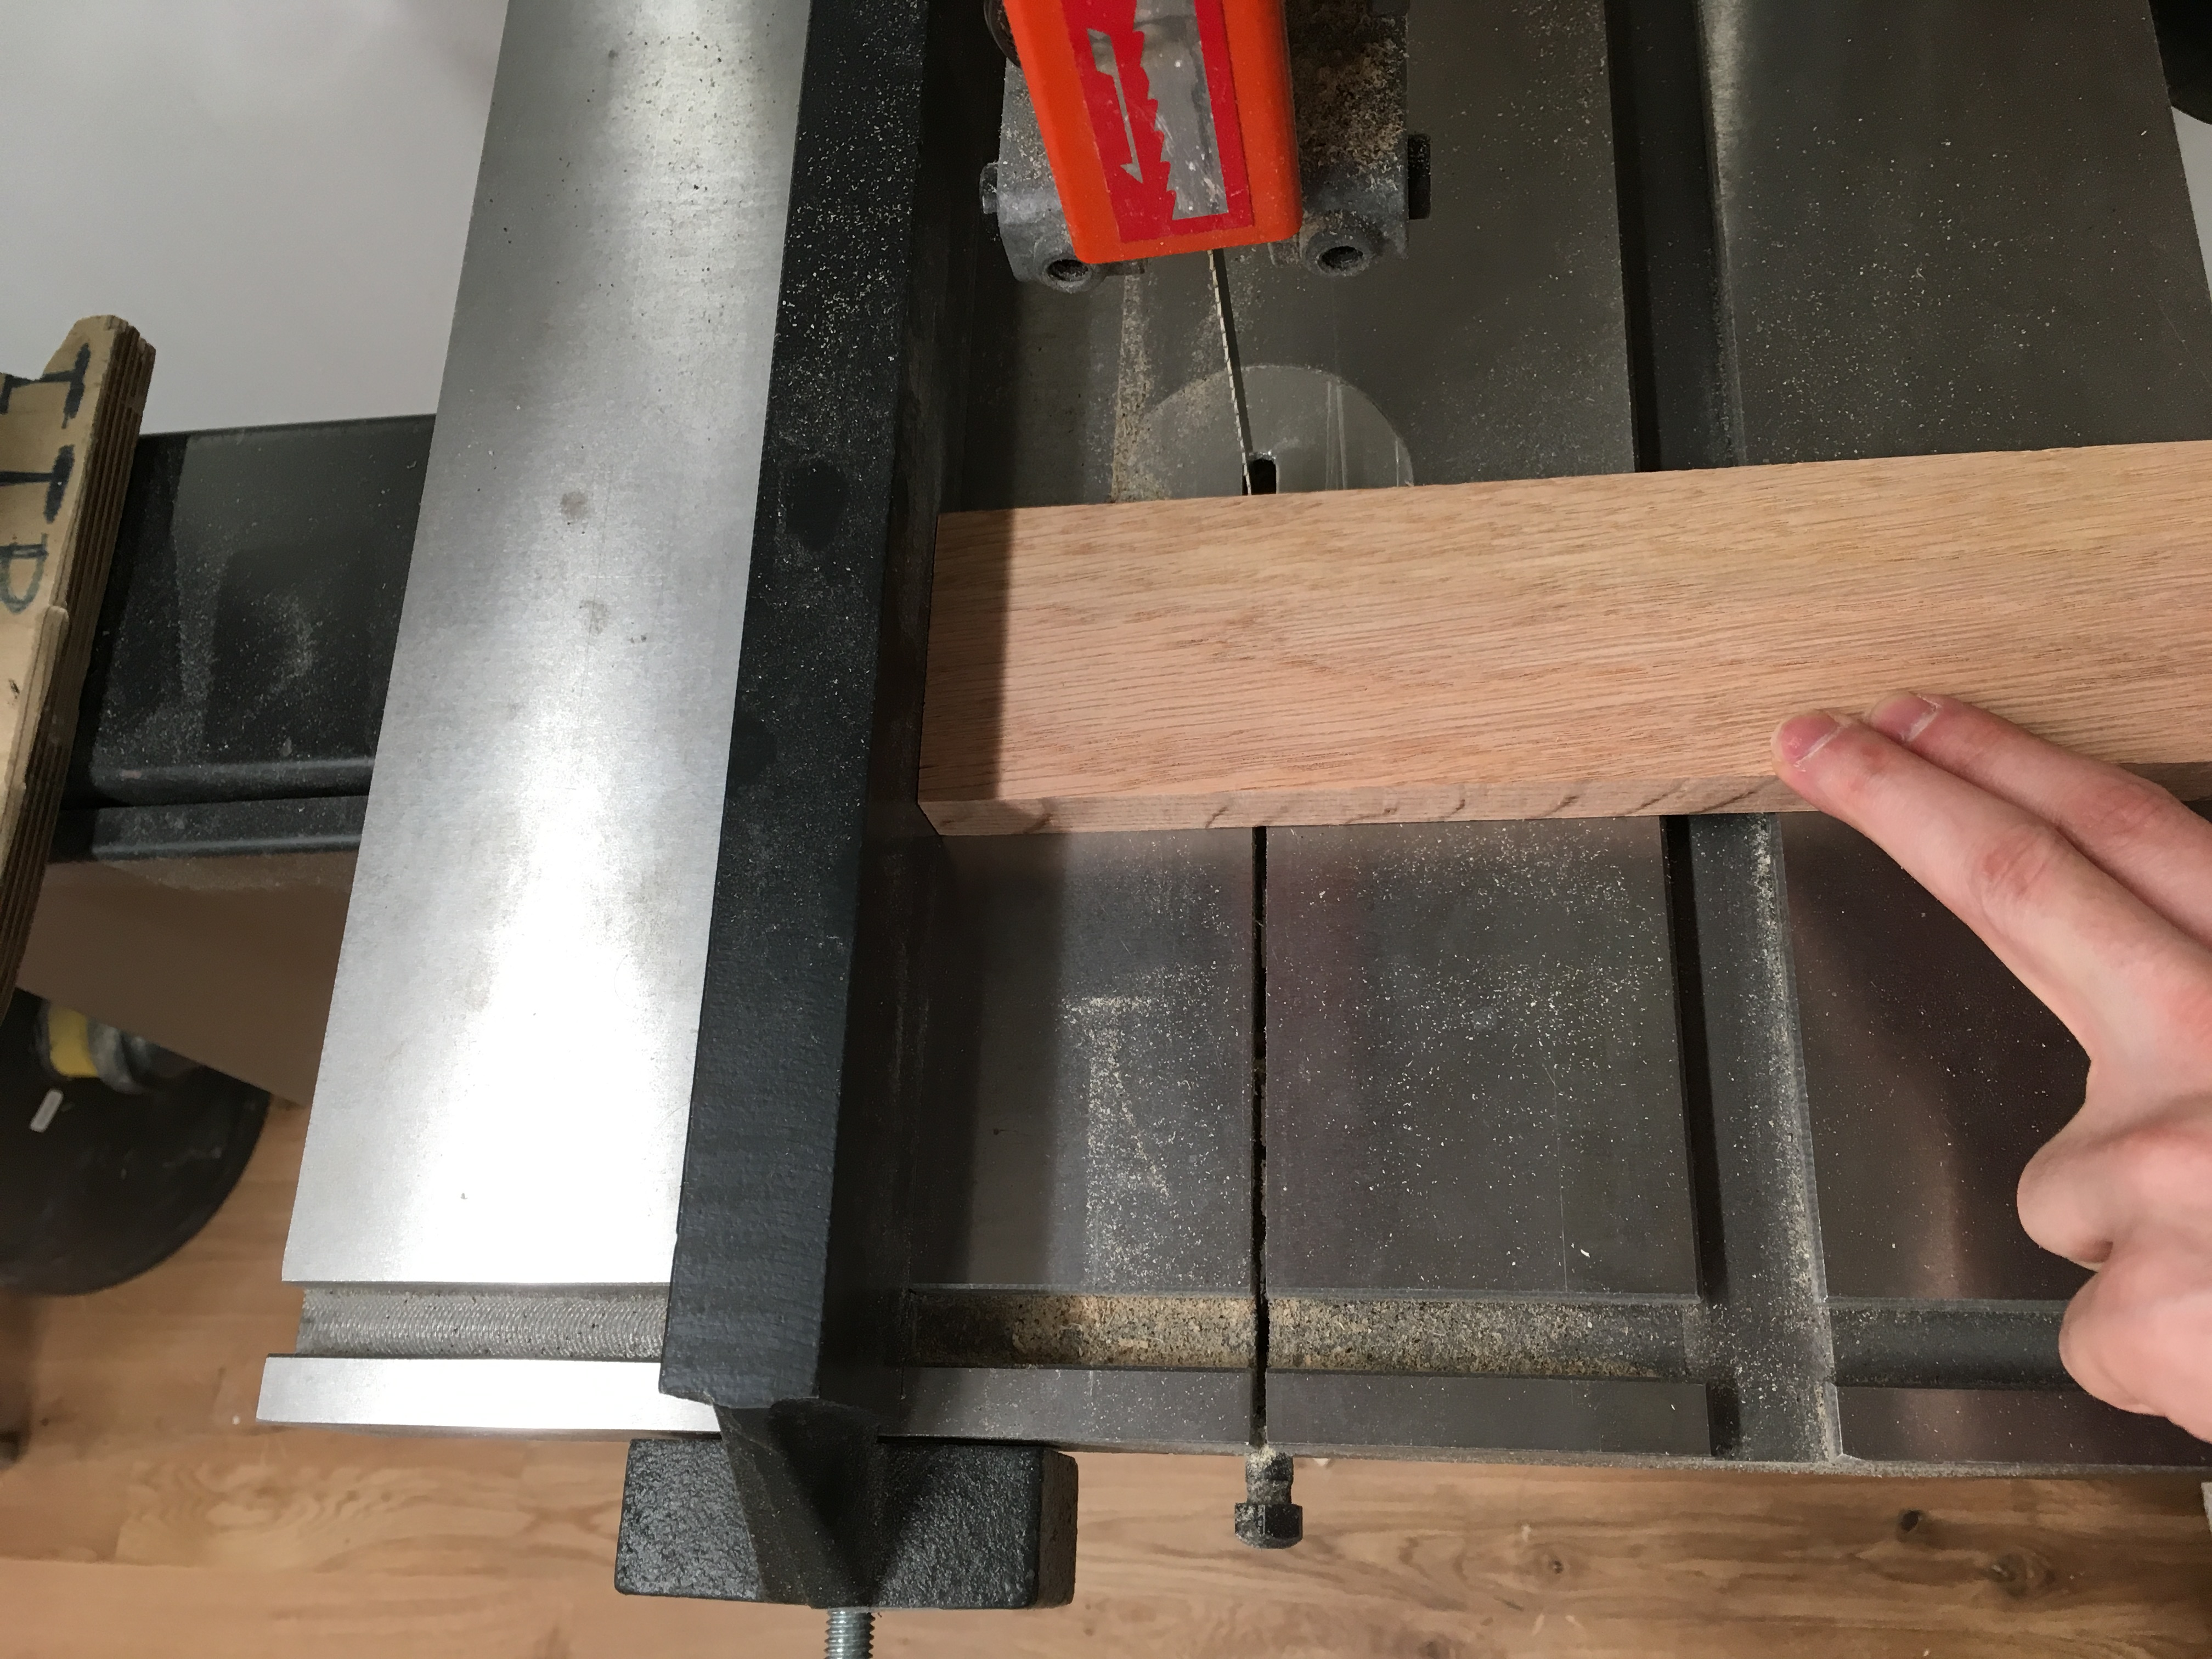
It all started with a trip to Home Depot for purchasing the wood—I ended up going with oak, purely based on feel. I was planning on my cubes having a side length of roughly 3 inches, so I got a 6ft long, 3in wide, 0.75in thick beam, meaning that each cube would be produced by glueing together 3 squares 0.75in deep each.
The wood beam on the left, and preparing to cut it on the band saw on the right. The band saw was not on when I took this photo :)
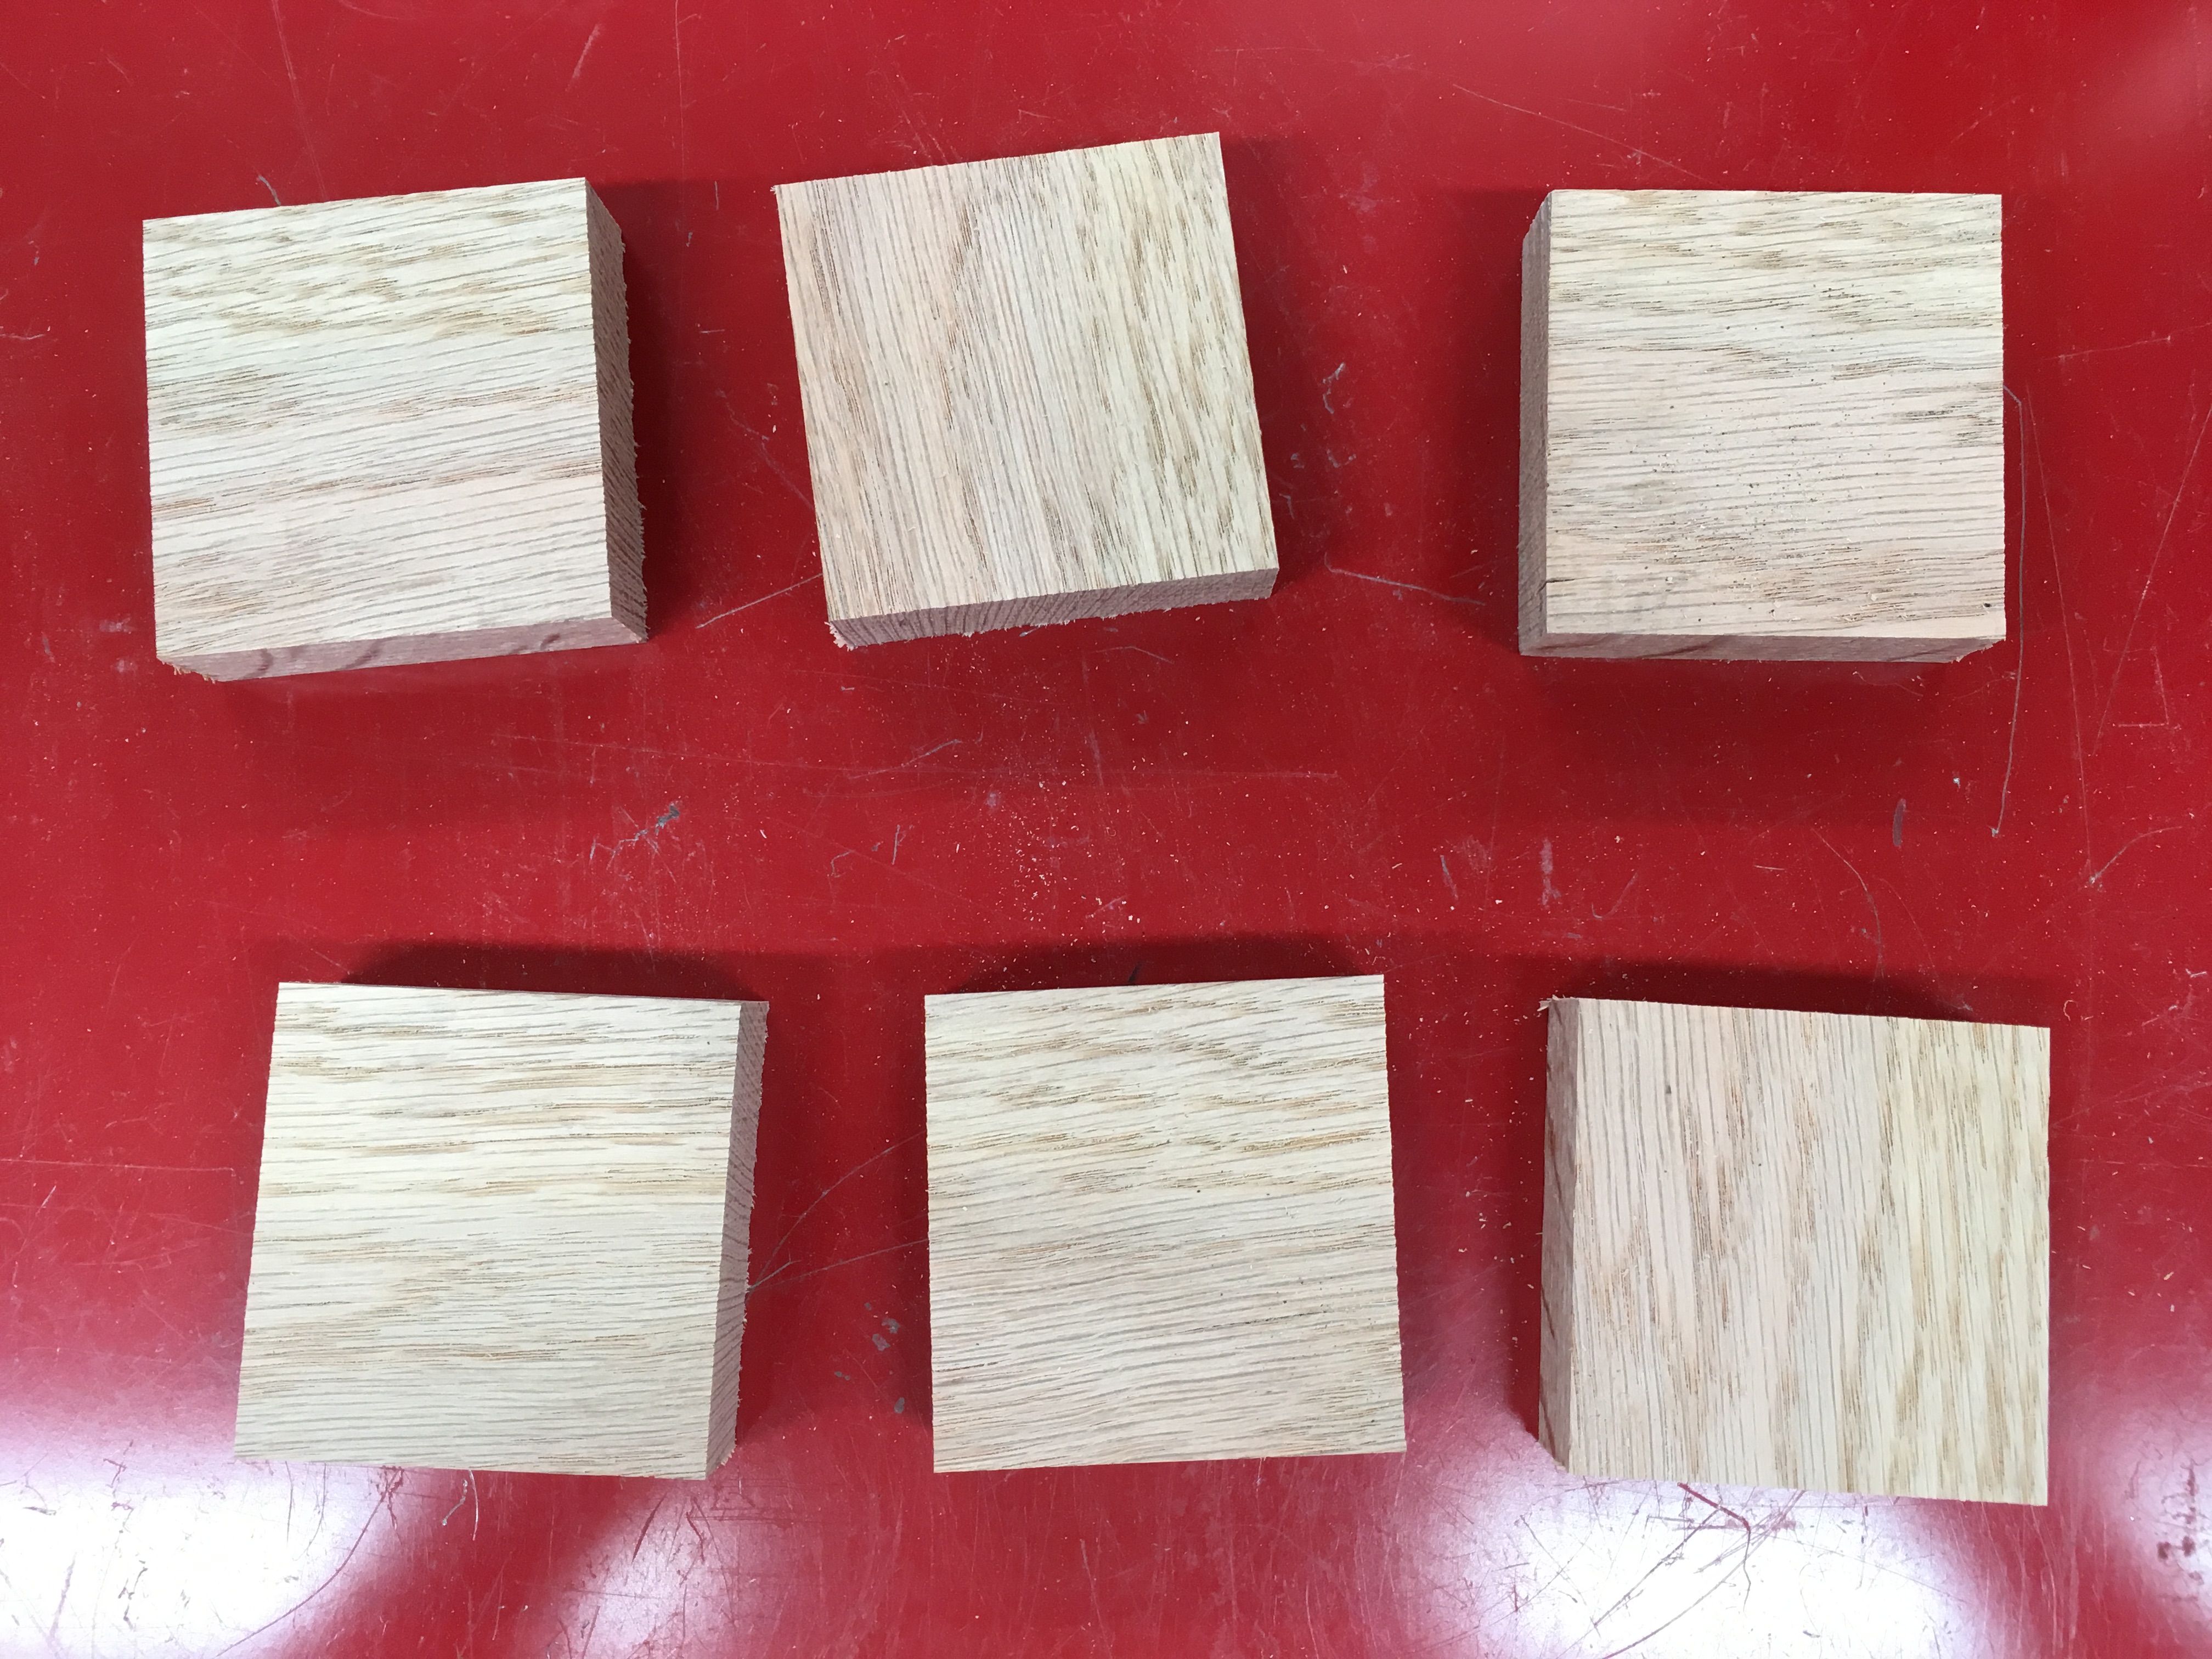
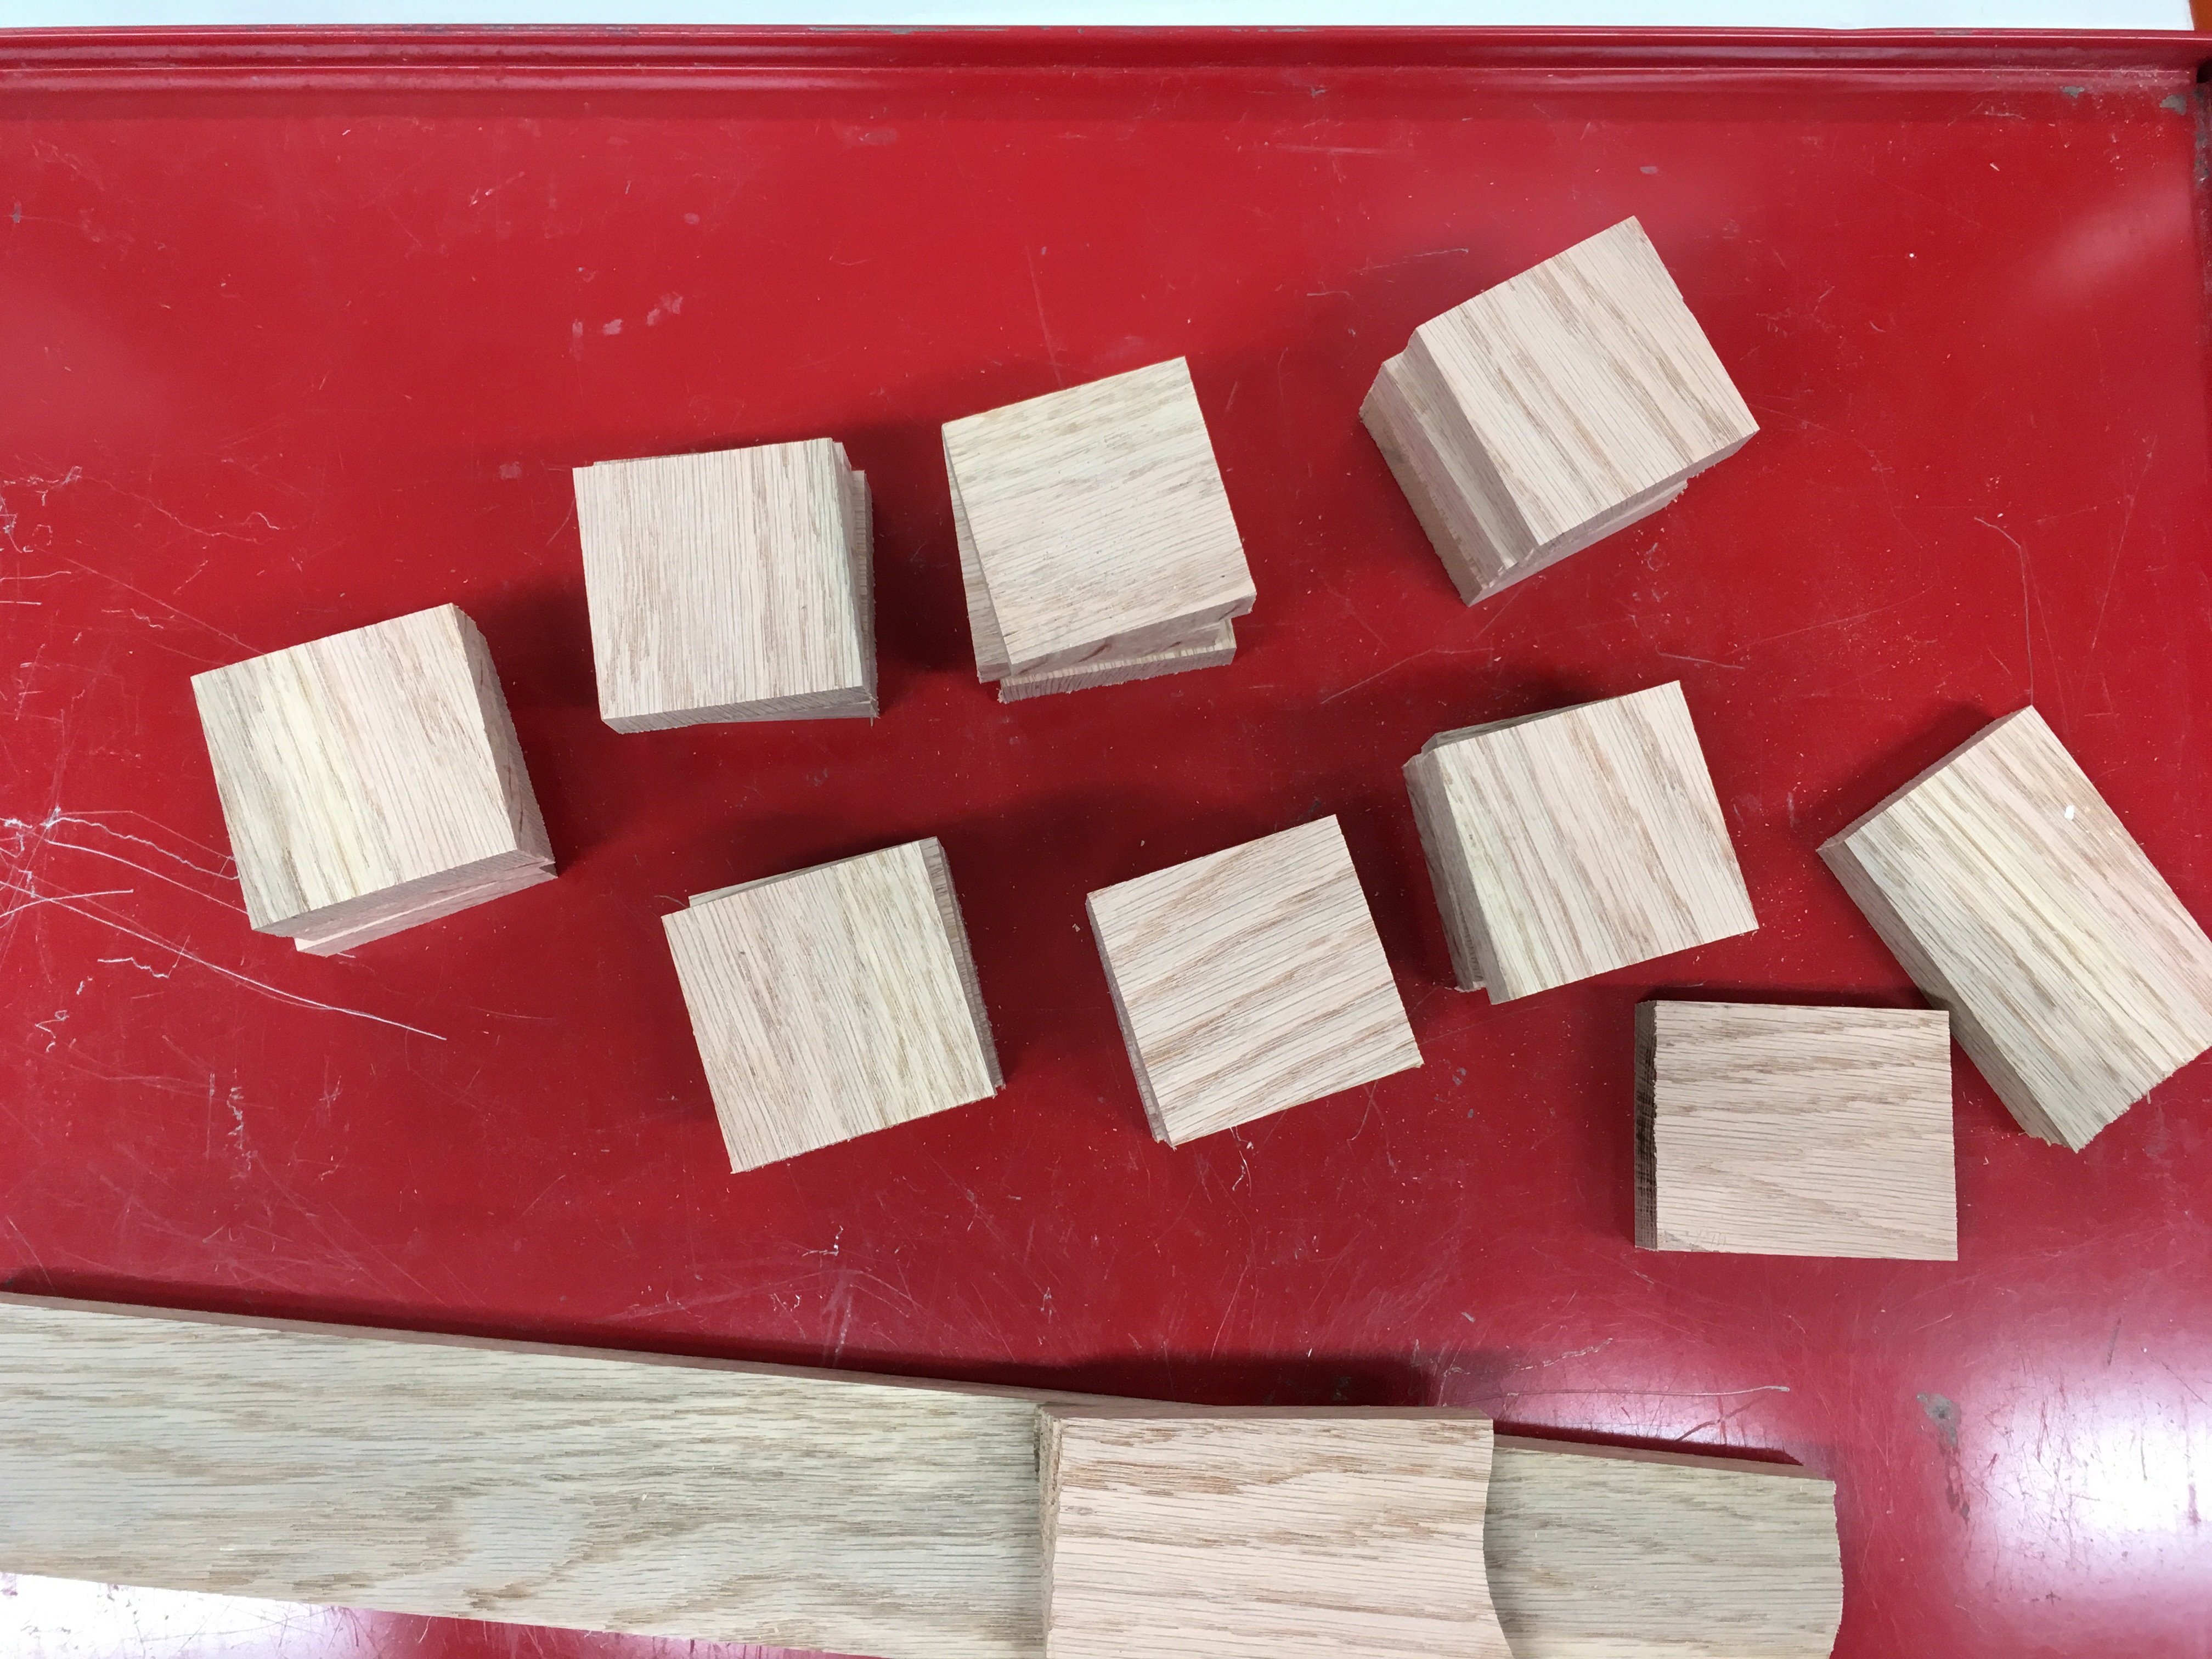
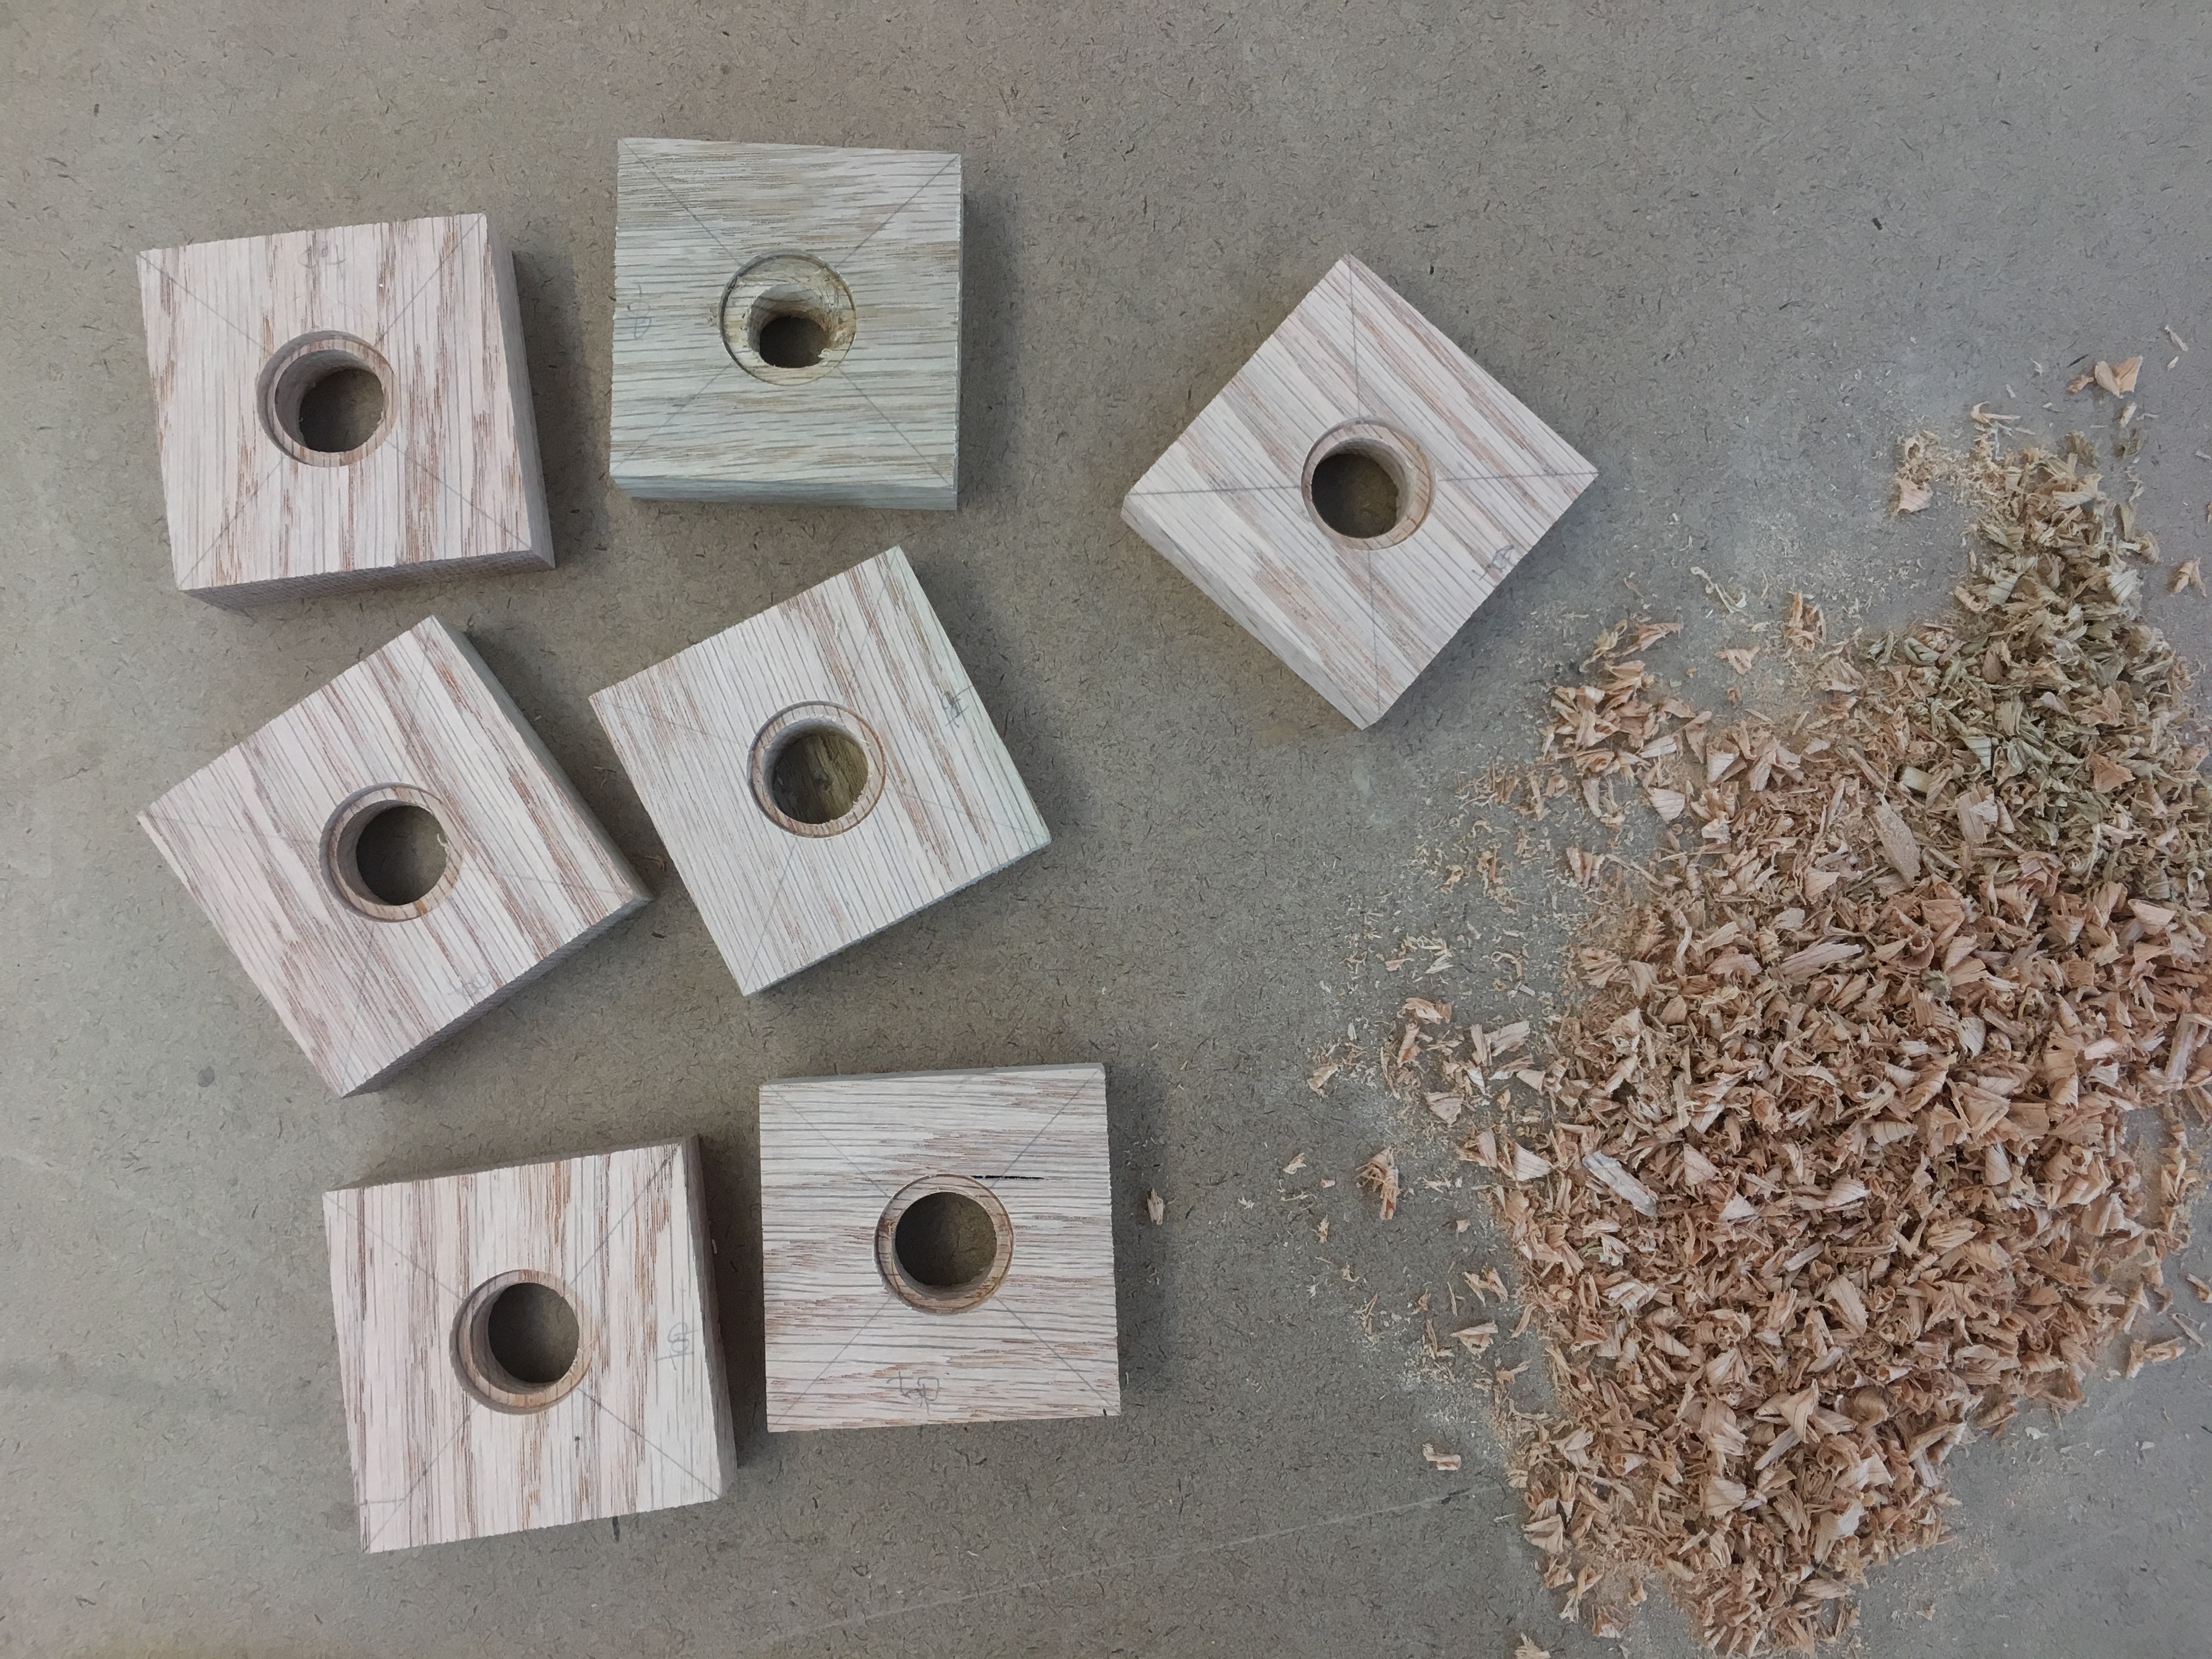
The squares, fresh off the band saw.
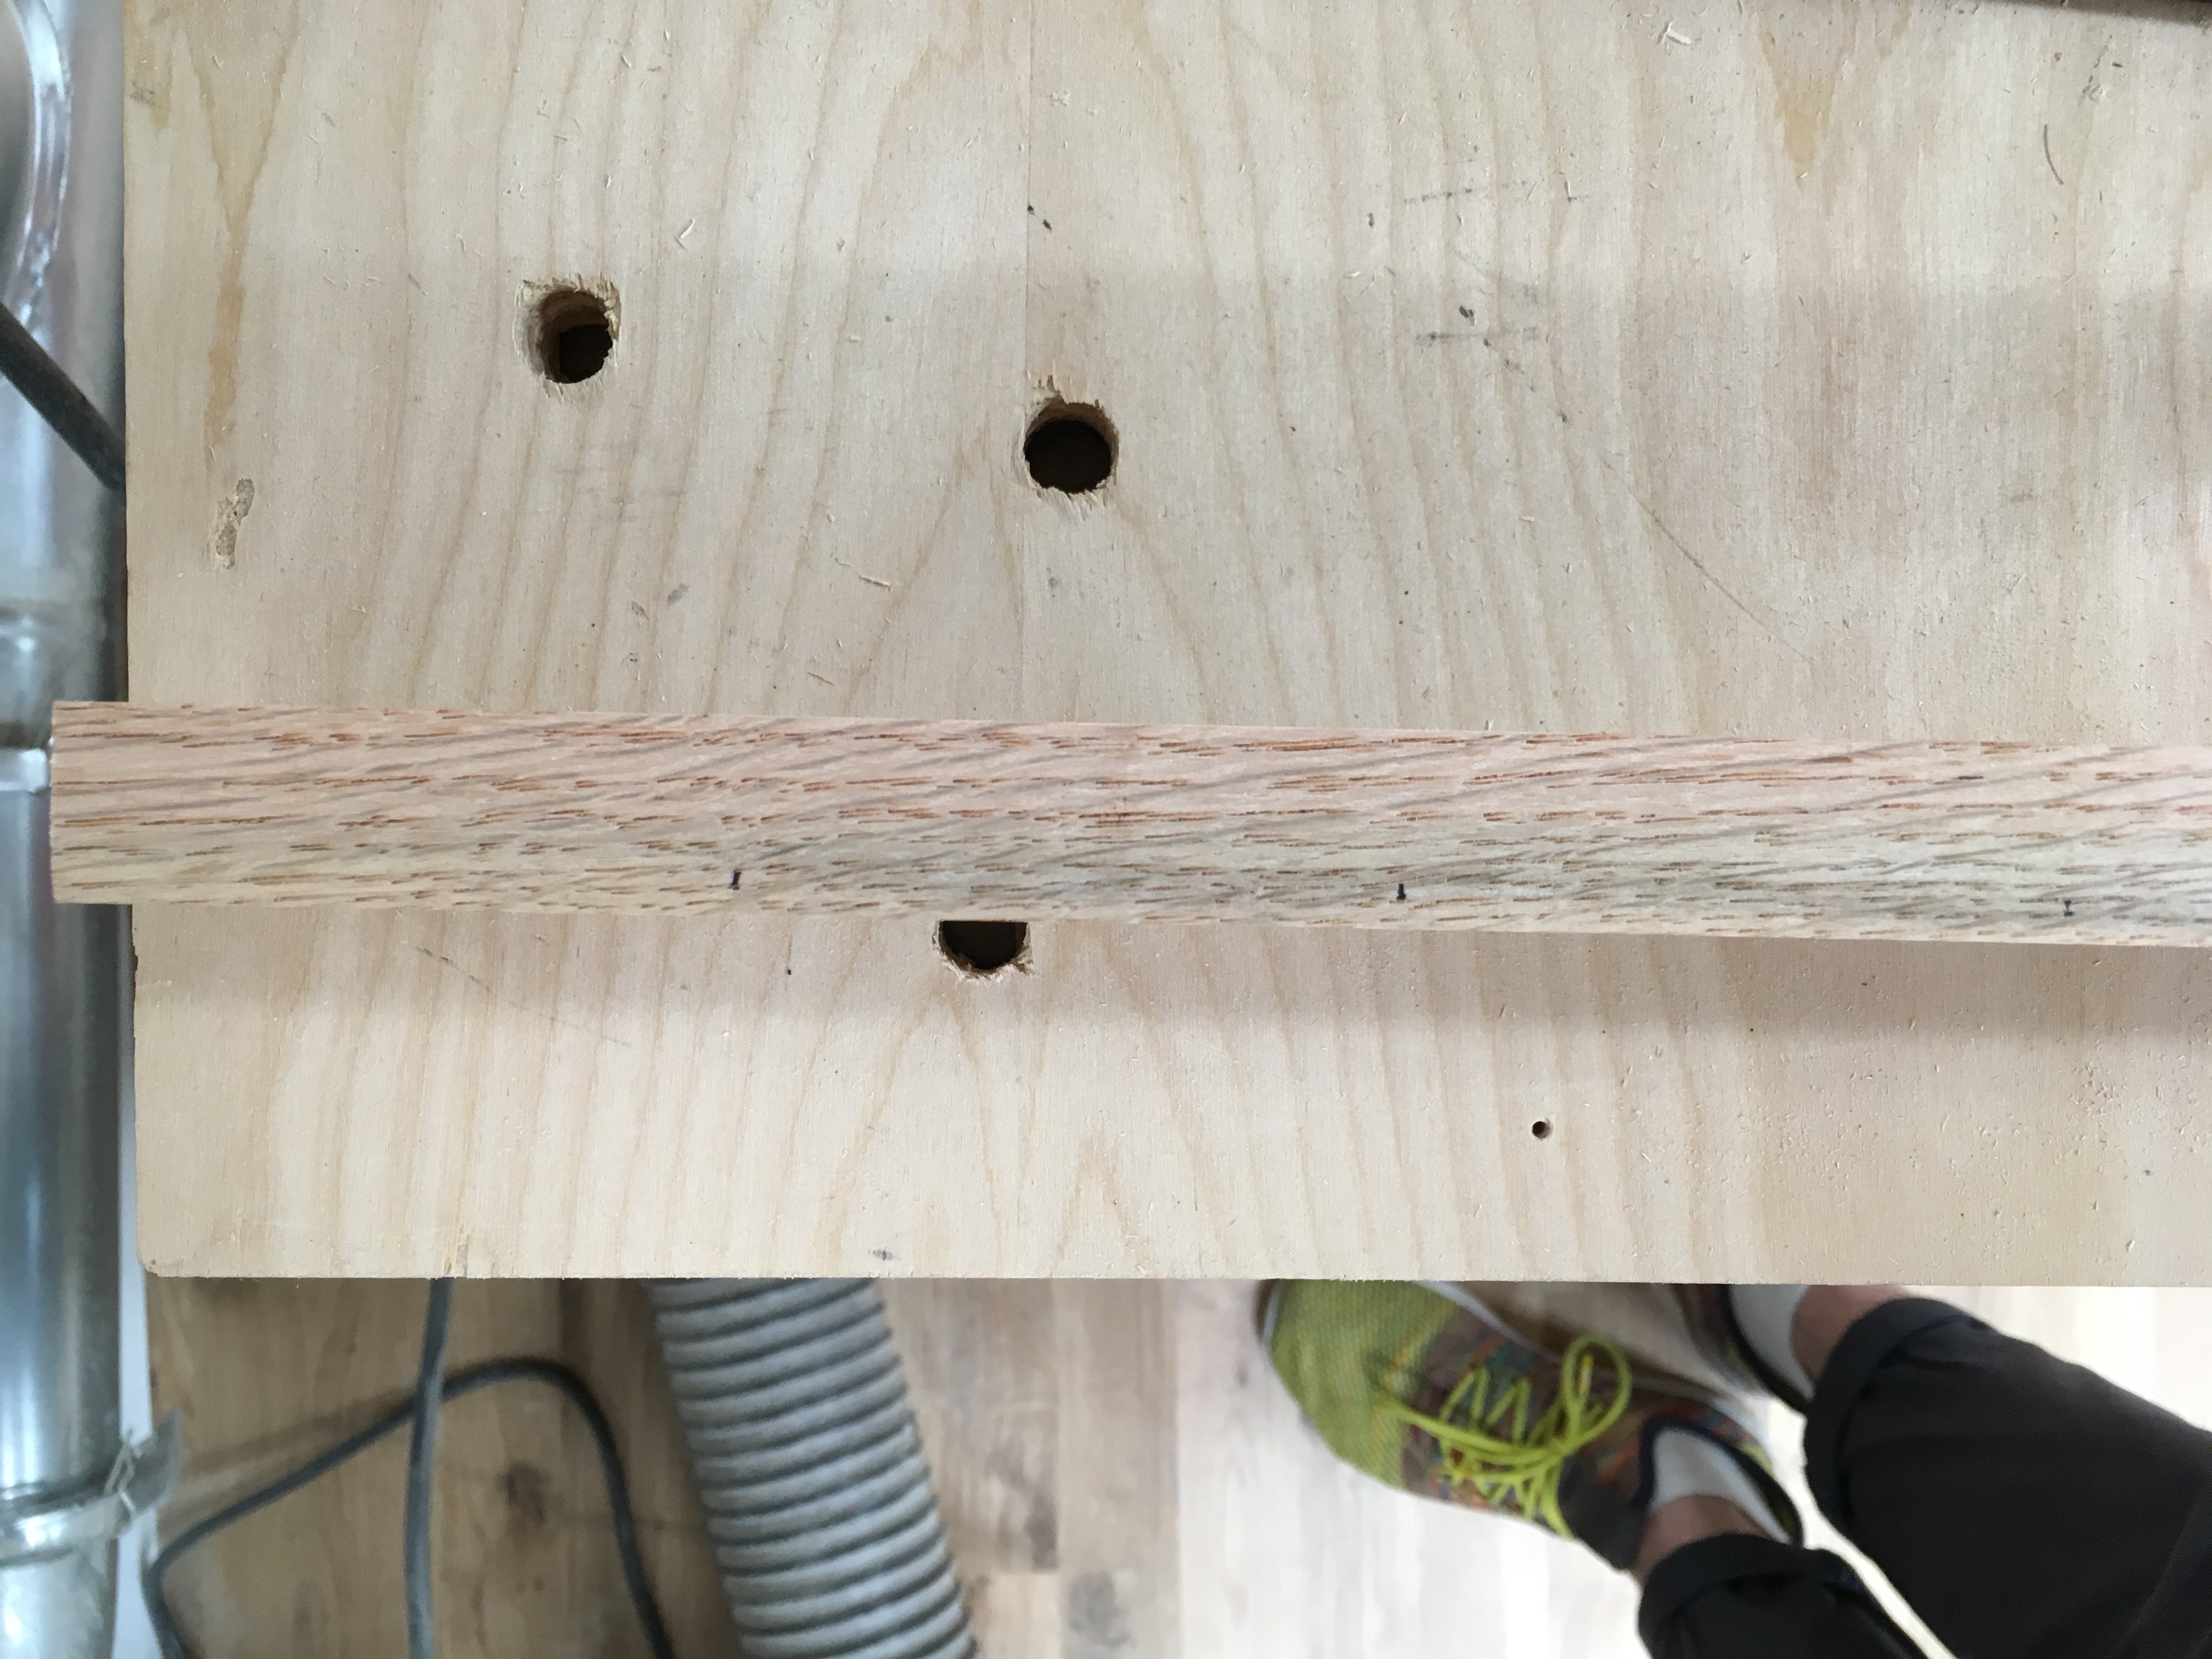
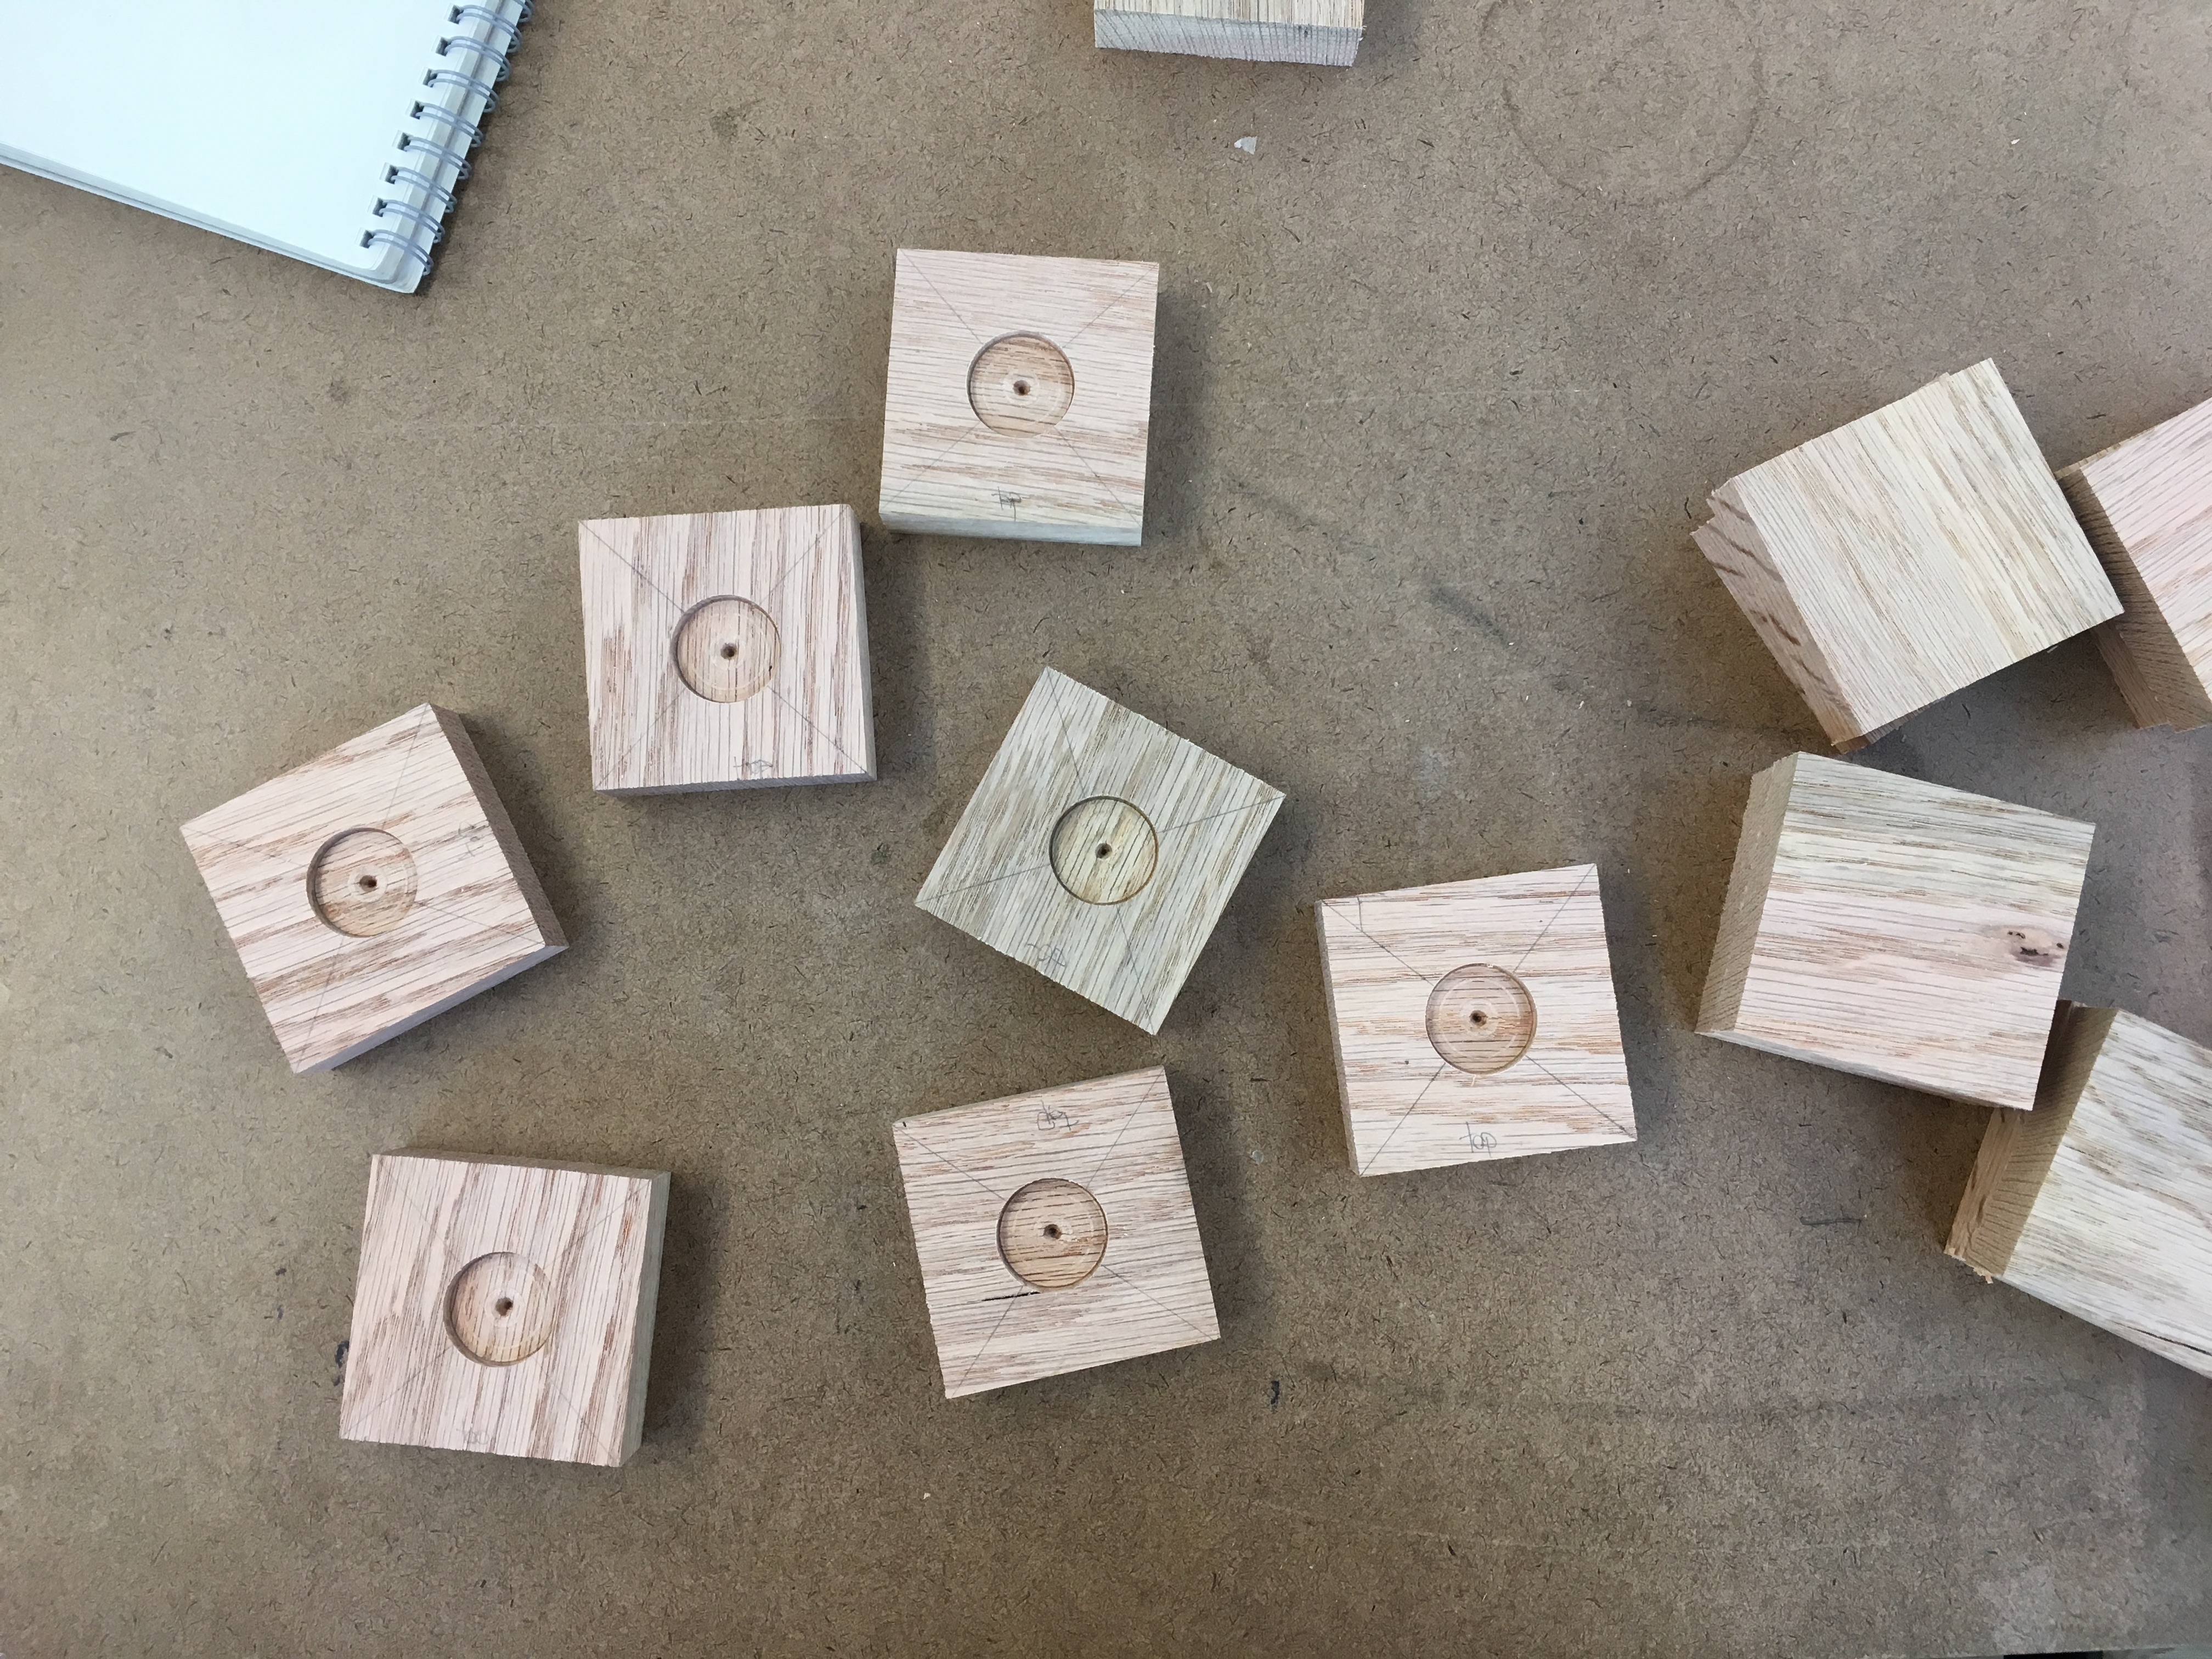
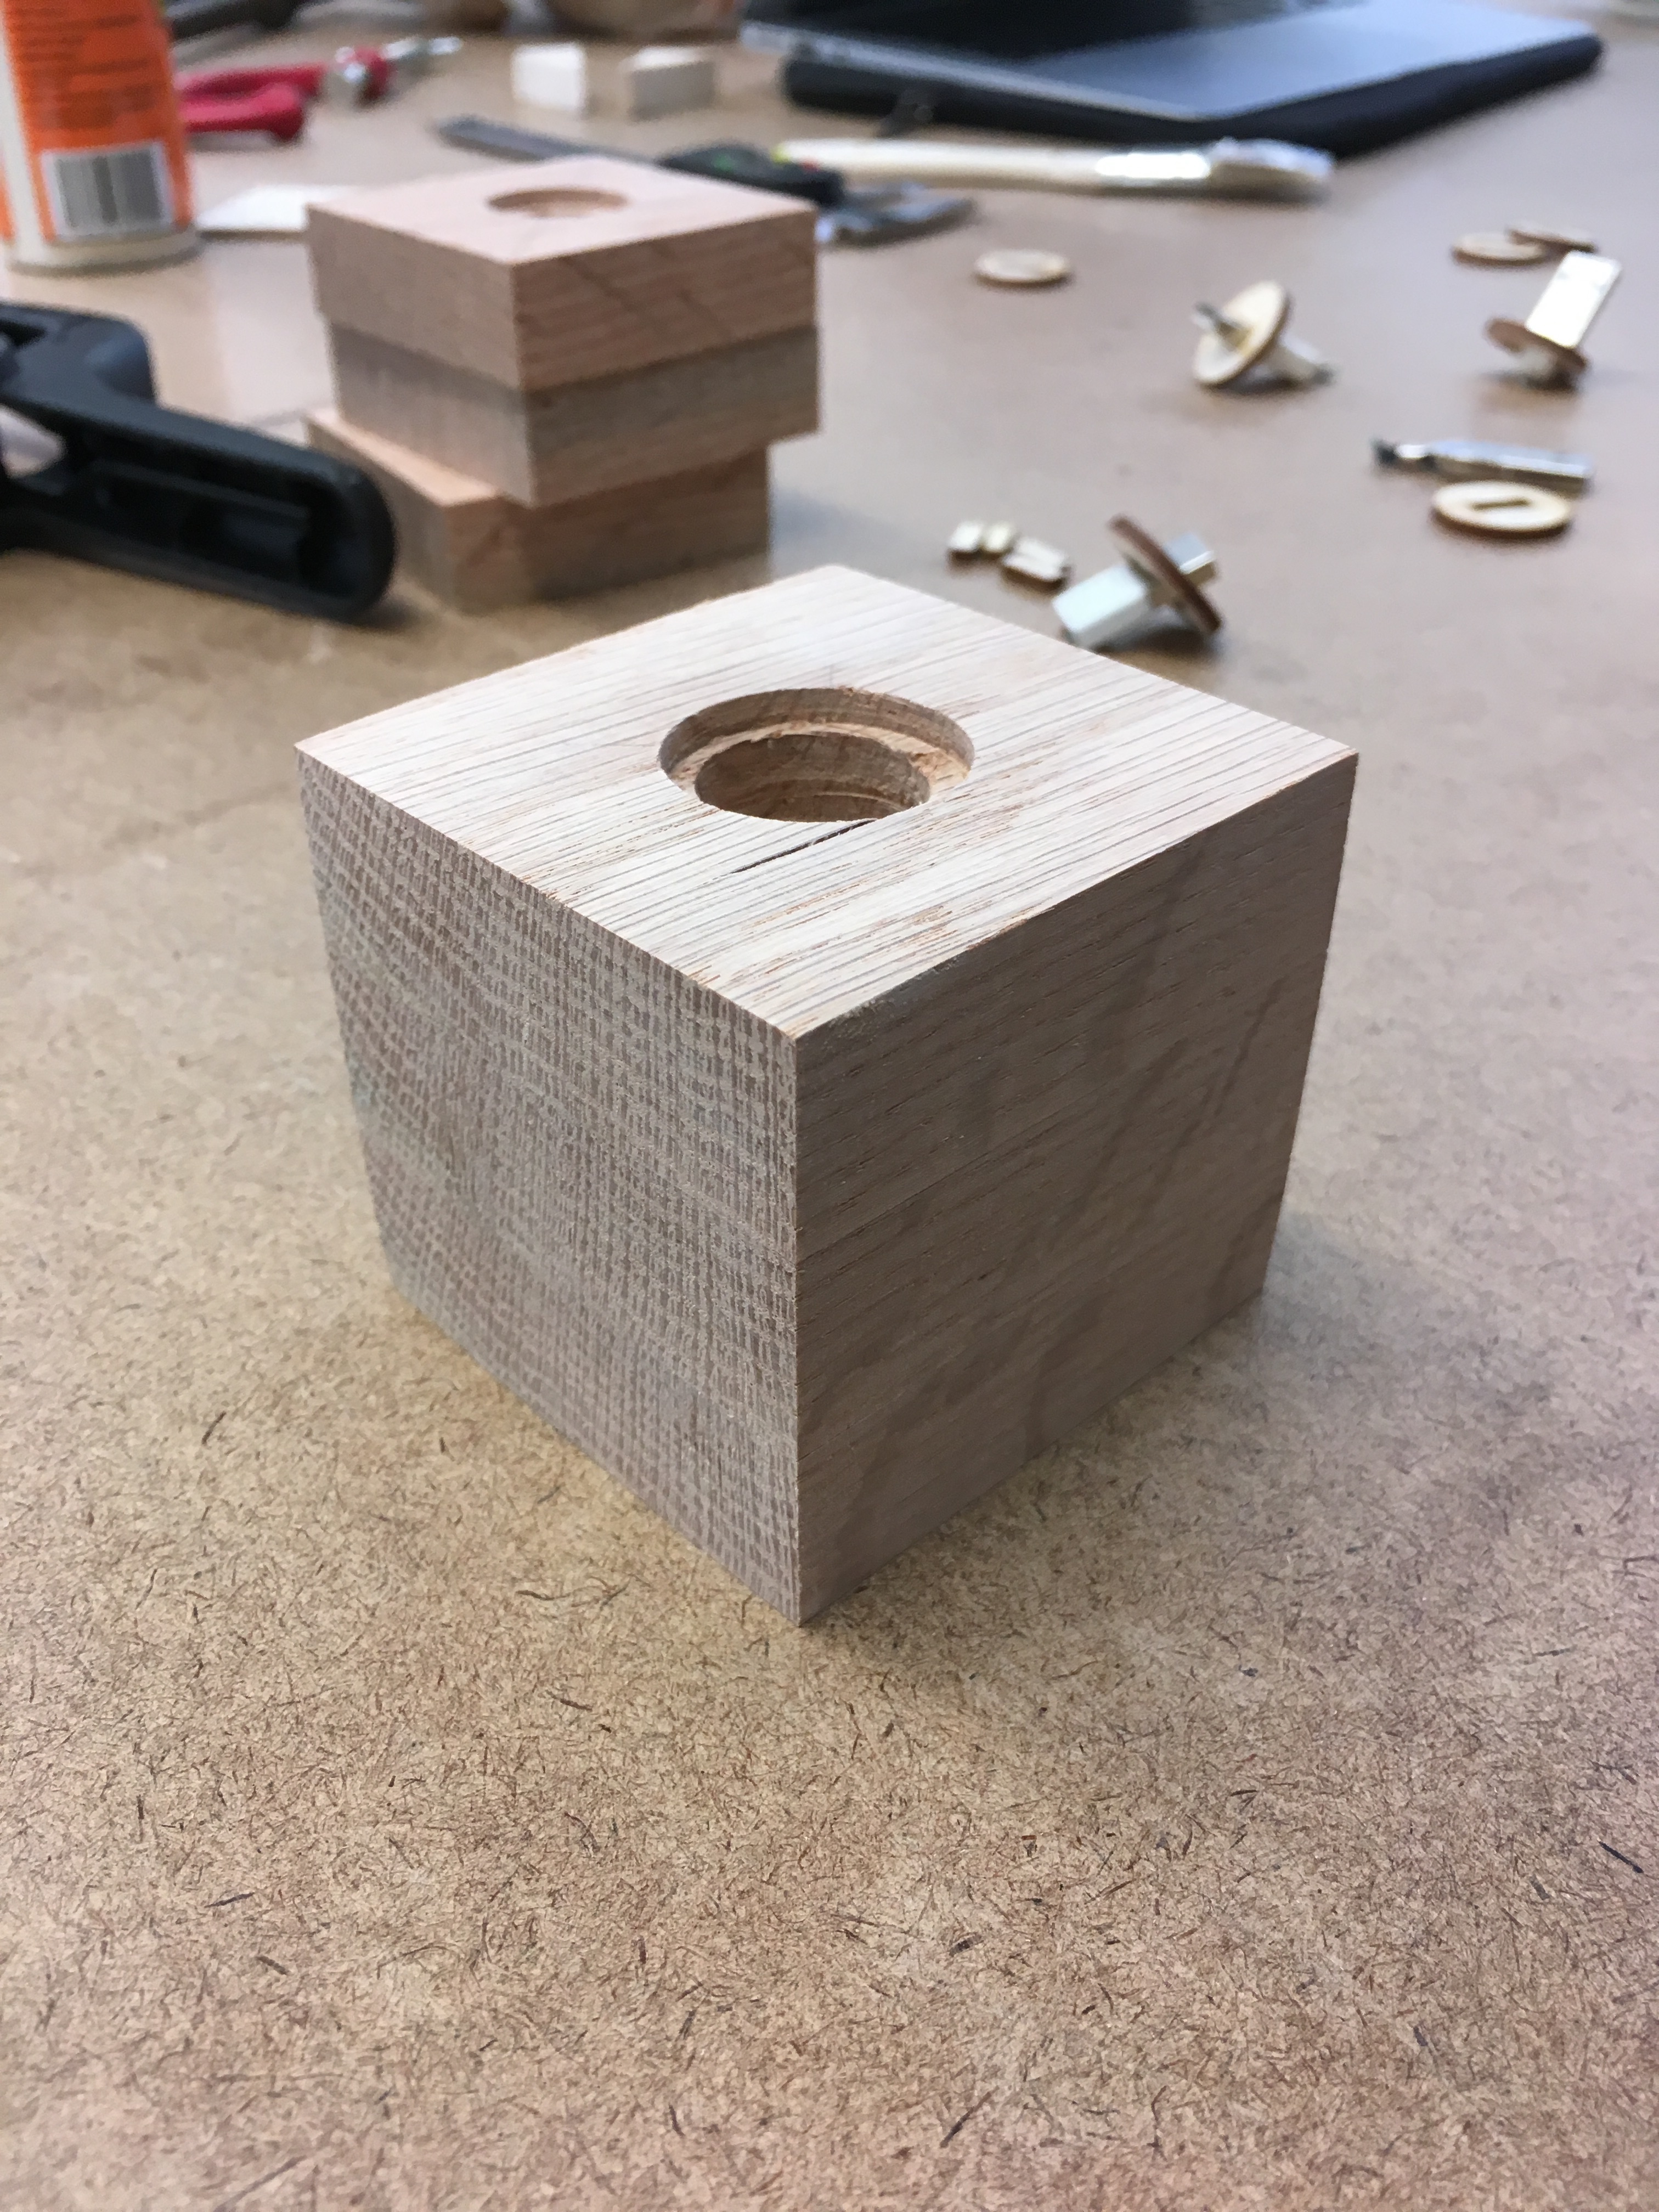
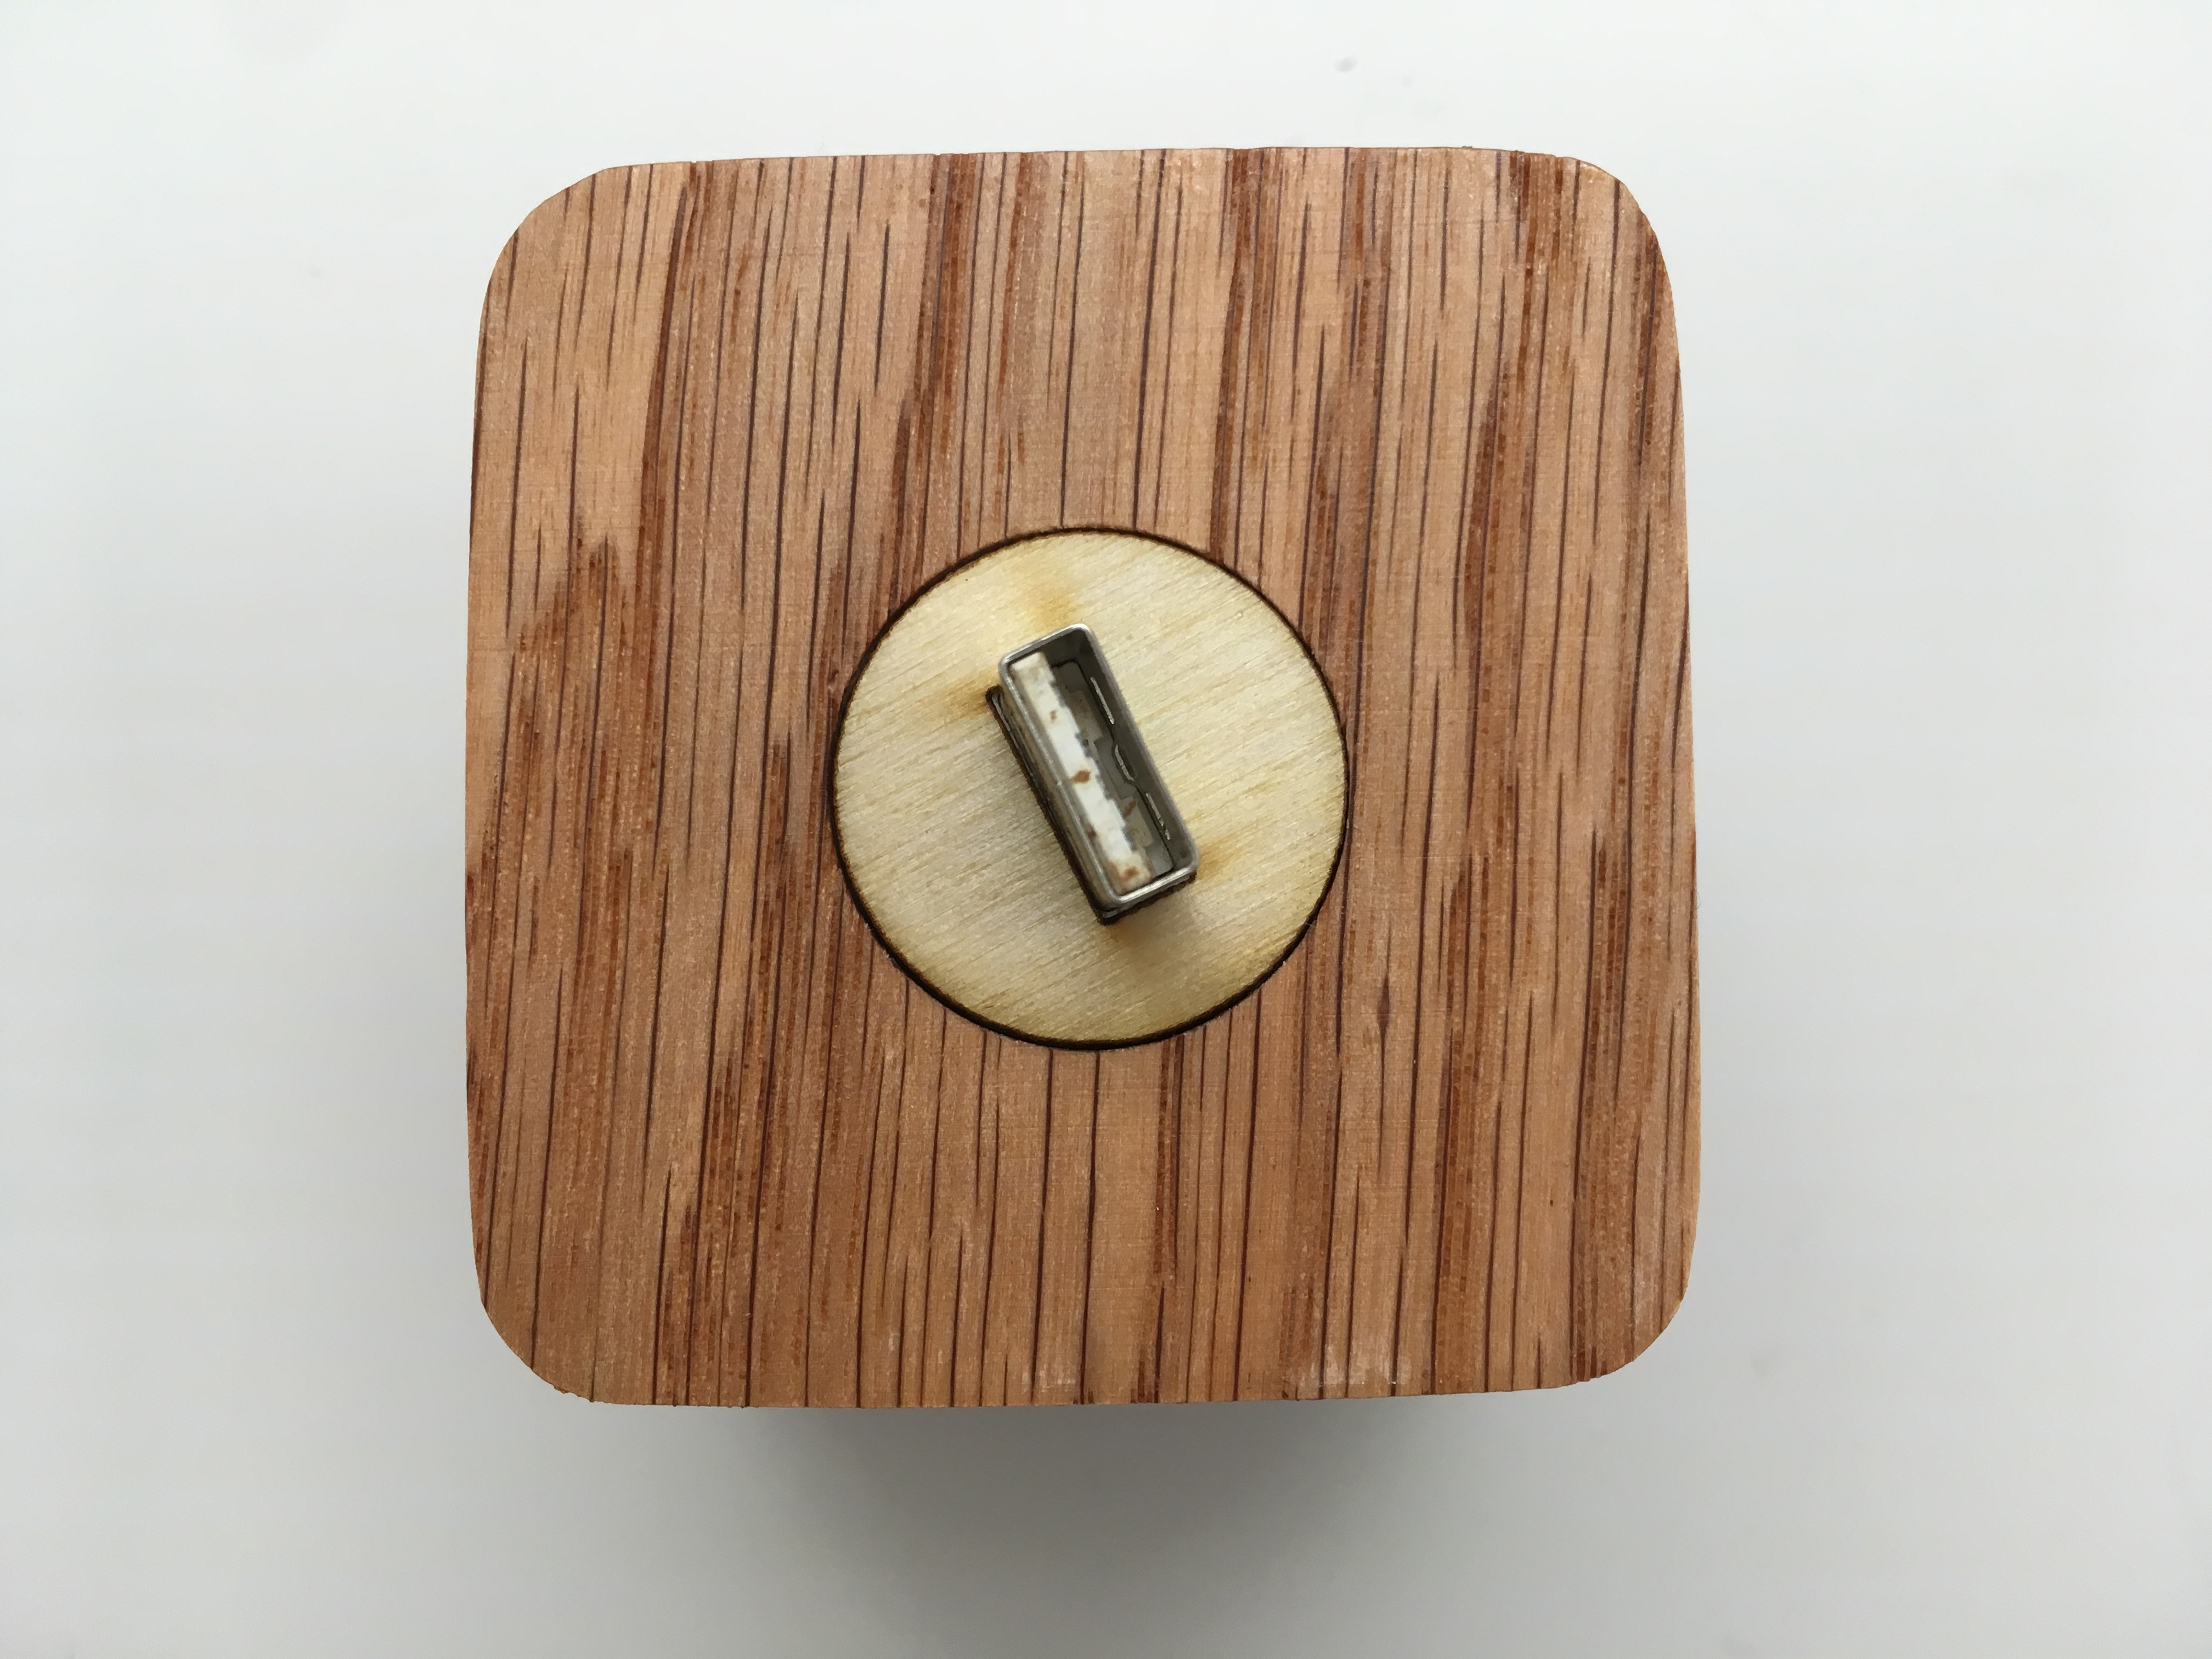
Before glueing the cubes together, I planned the way the USB port is going to be exposed. I went for circular holes in the centers of one face of each cube, deep enough to fit a USB memory stick, and cover the hole using a laser cut circular piece, with a rectangular center through which the USB port would come out.
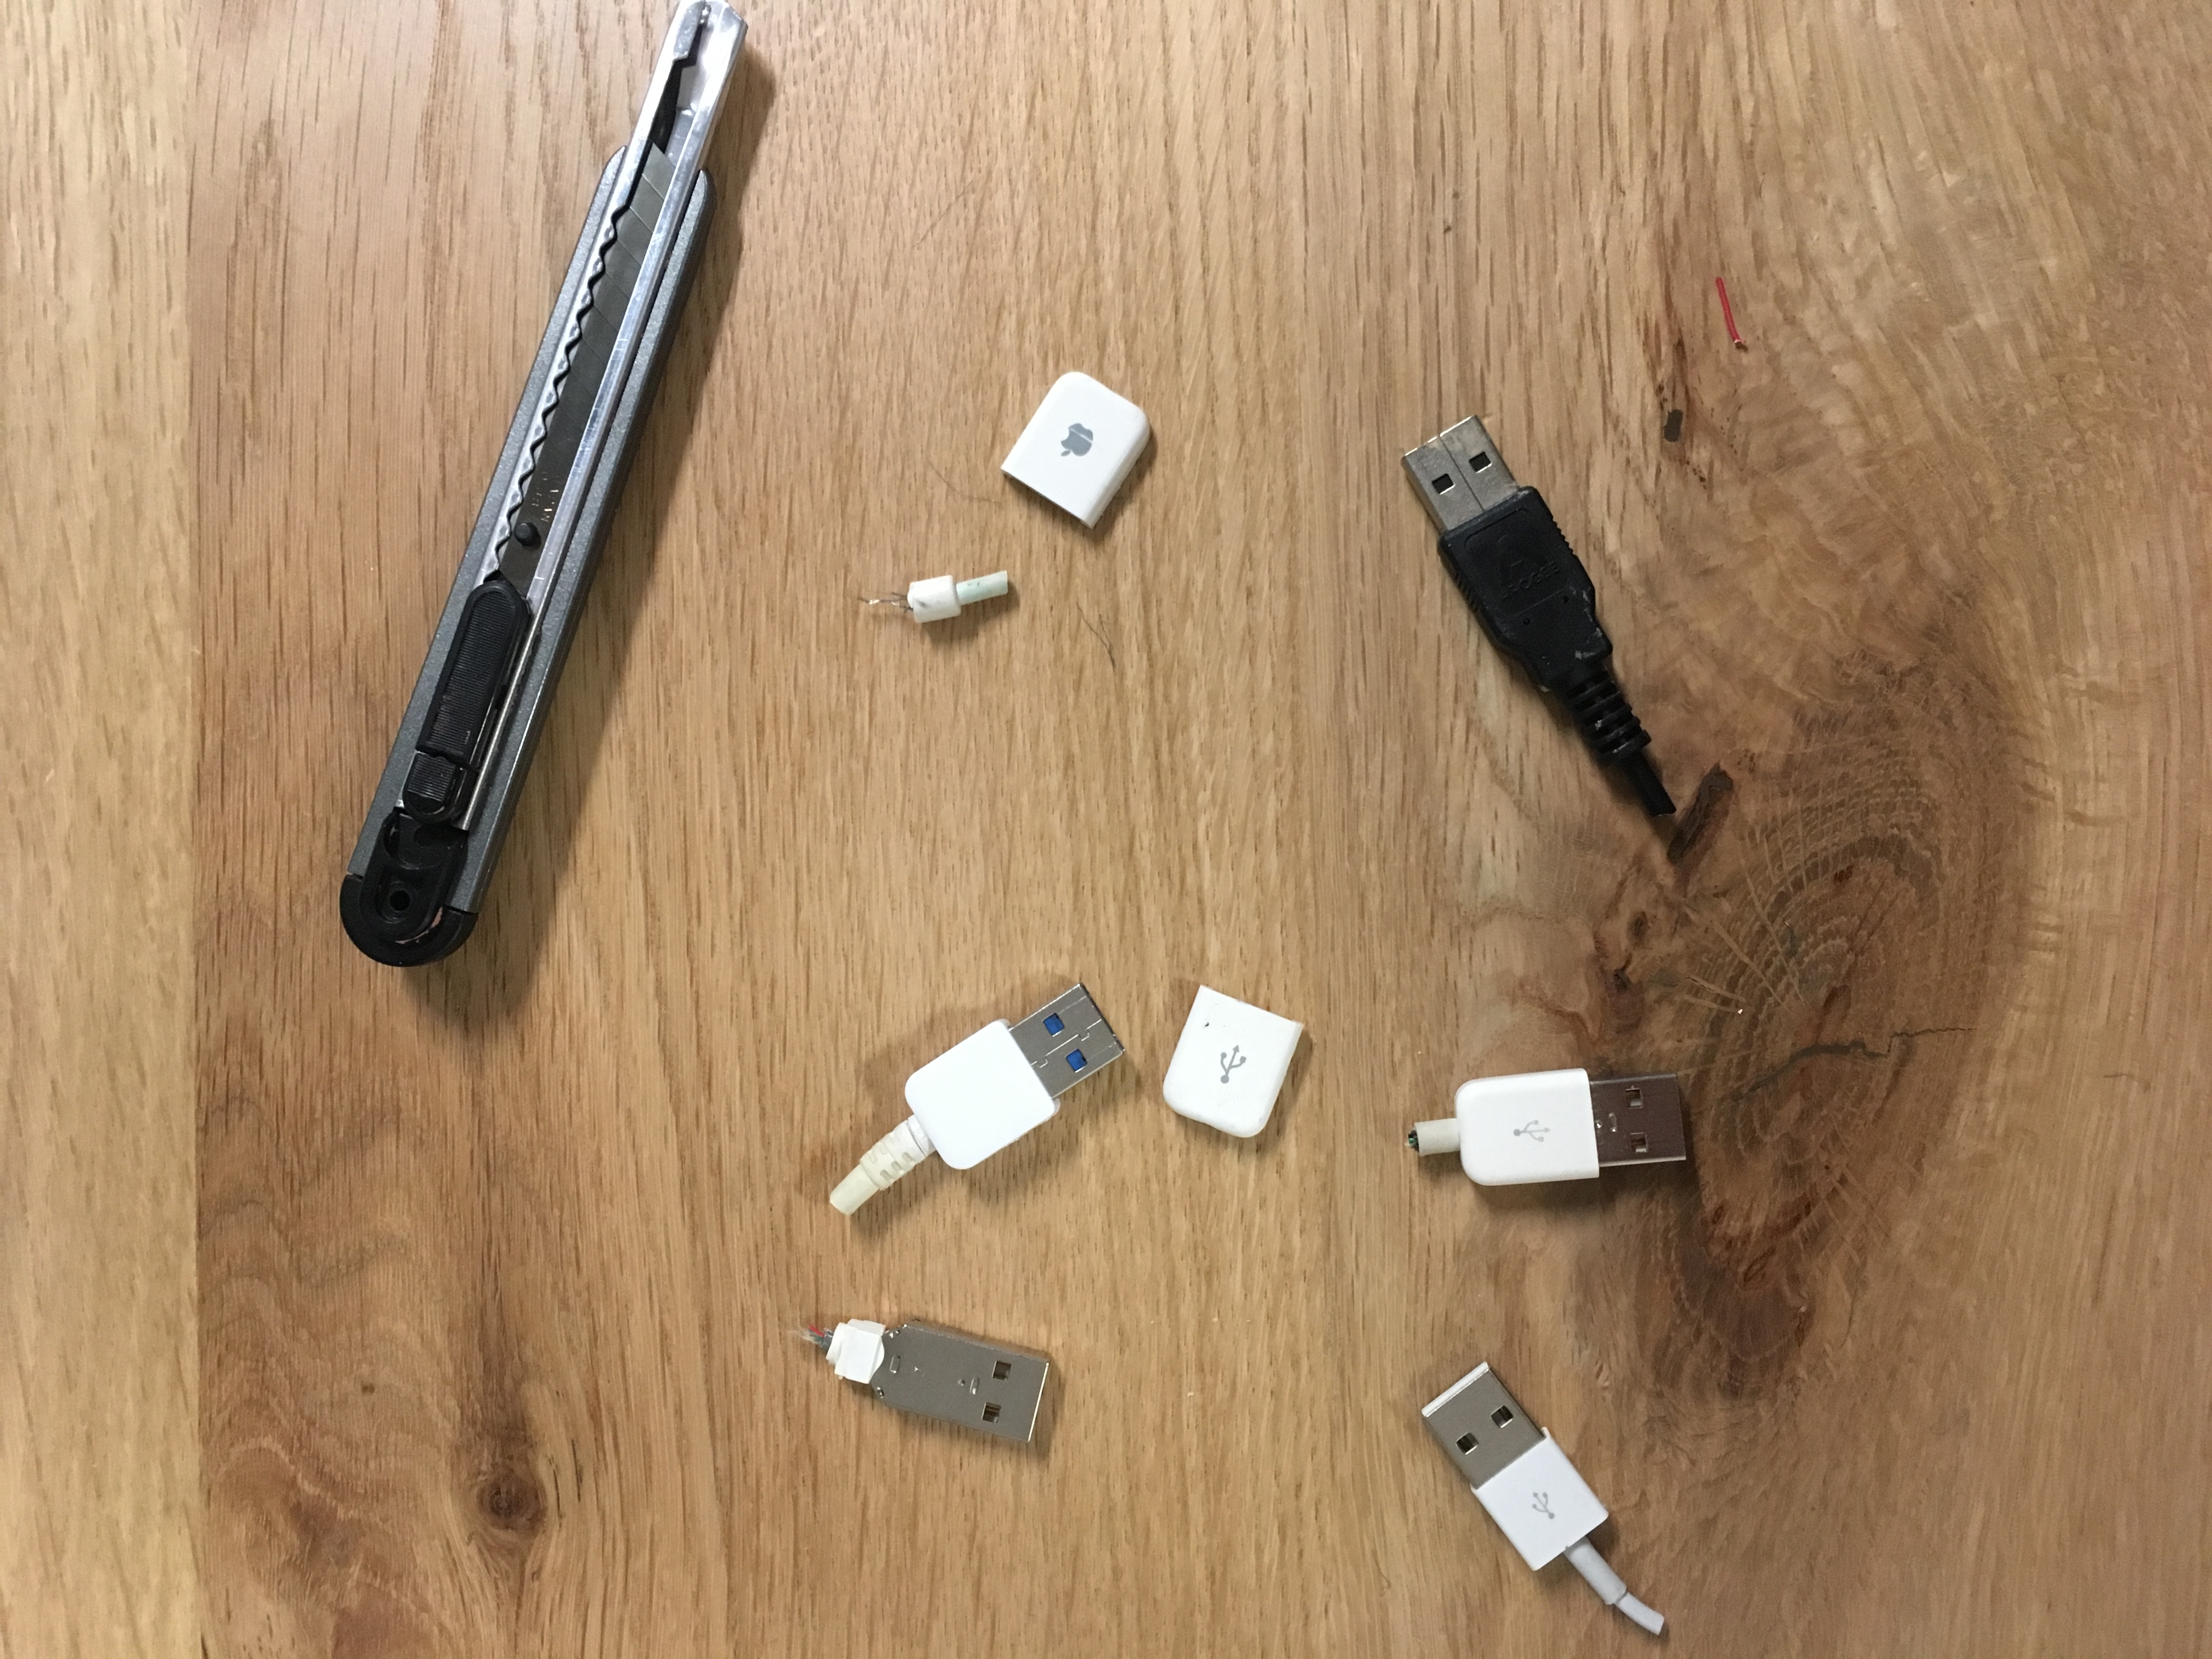
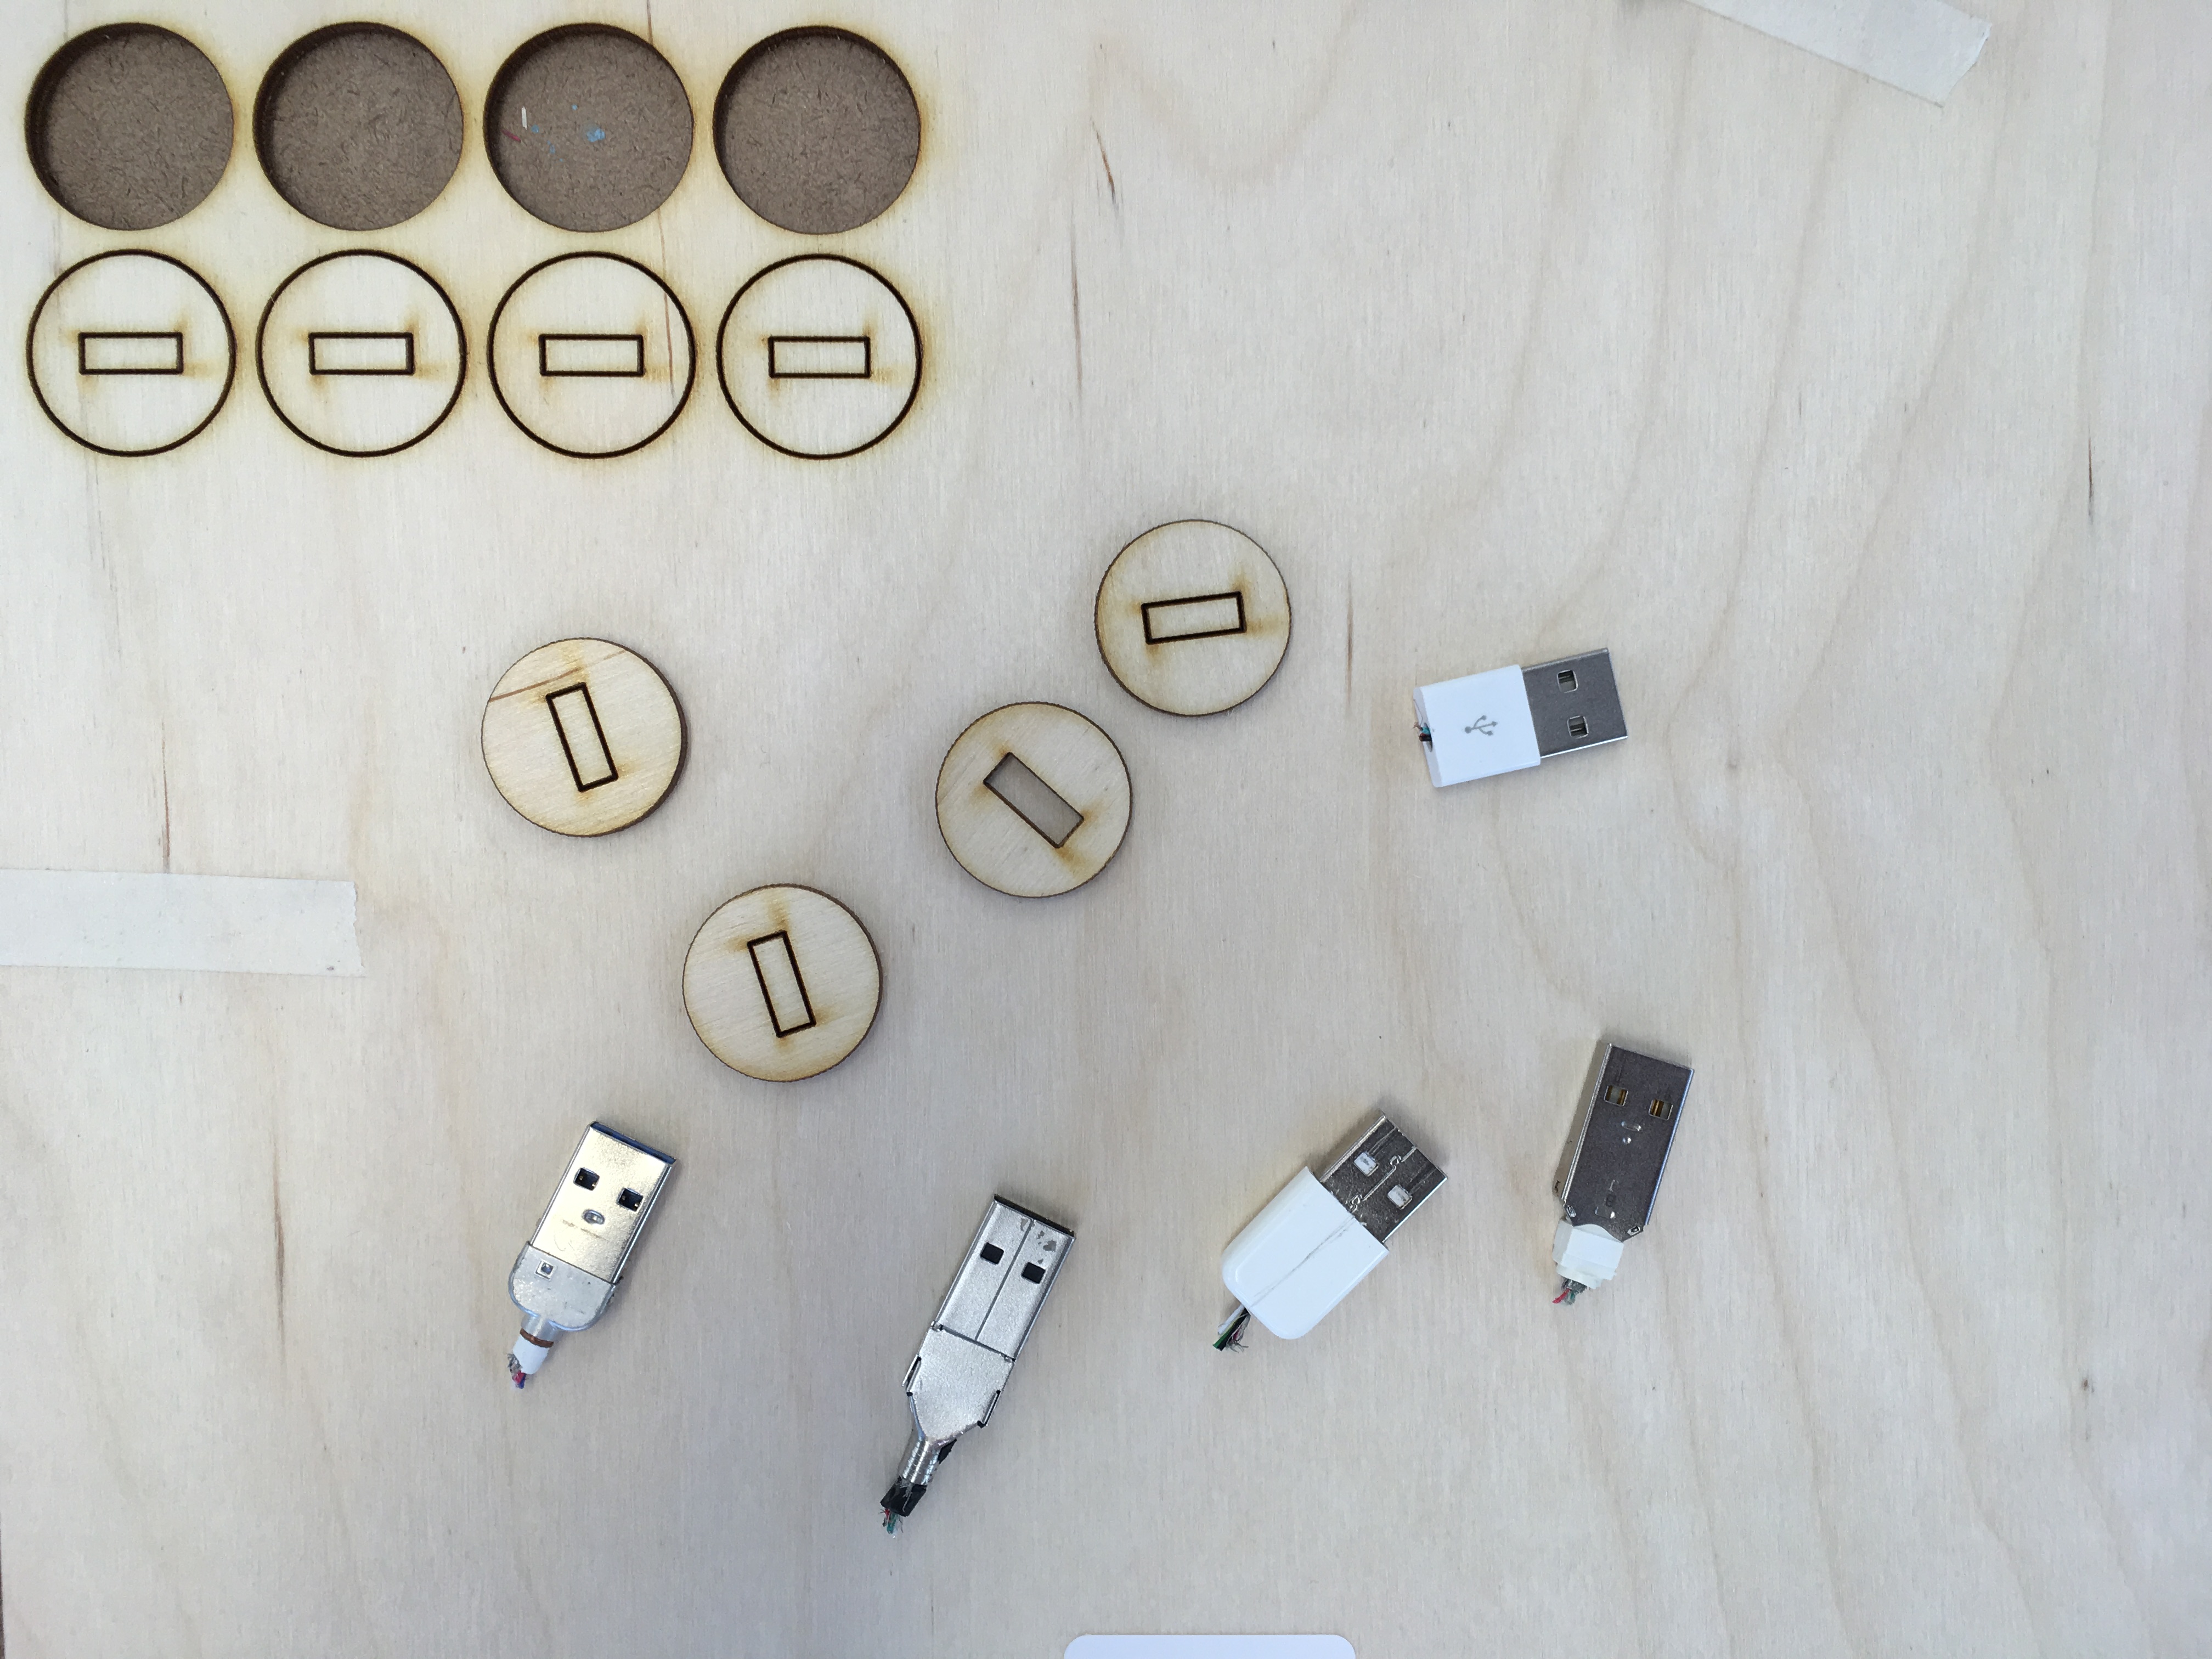
I cut off the USB ends of a few cables from the junk shelf, in order to prototype the wooden "enclosure" for the port.
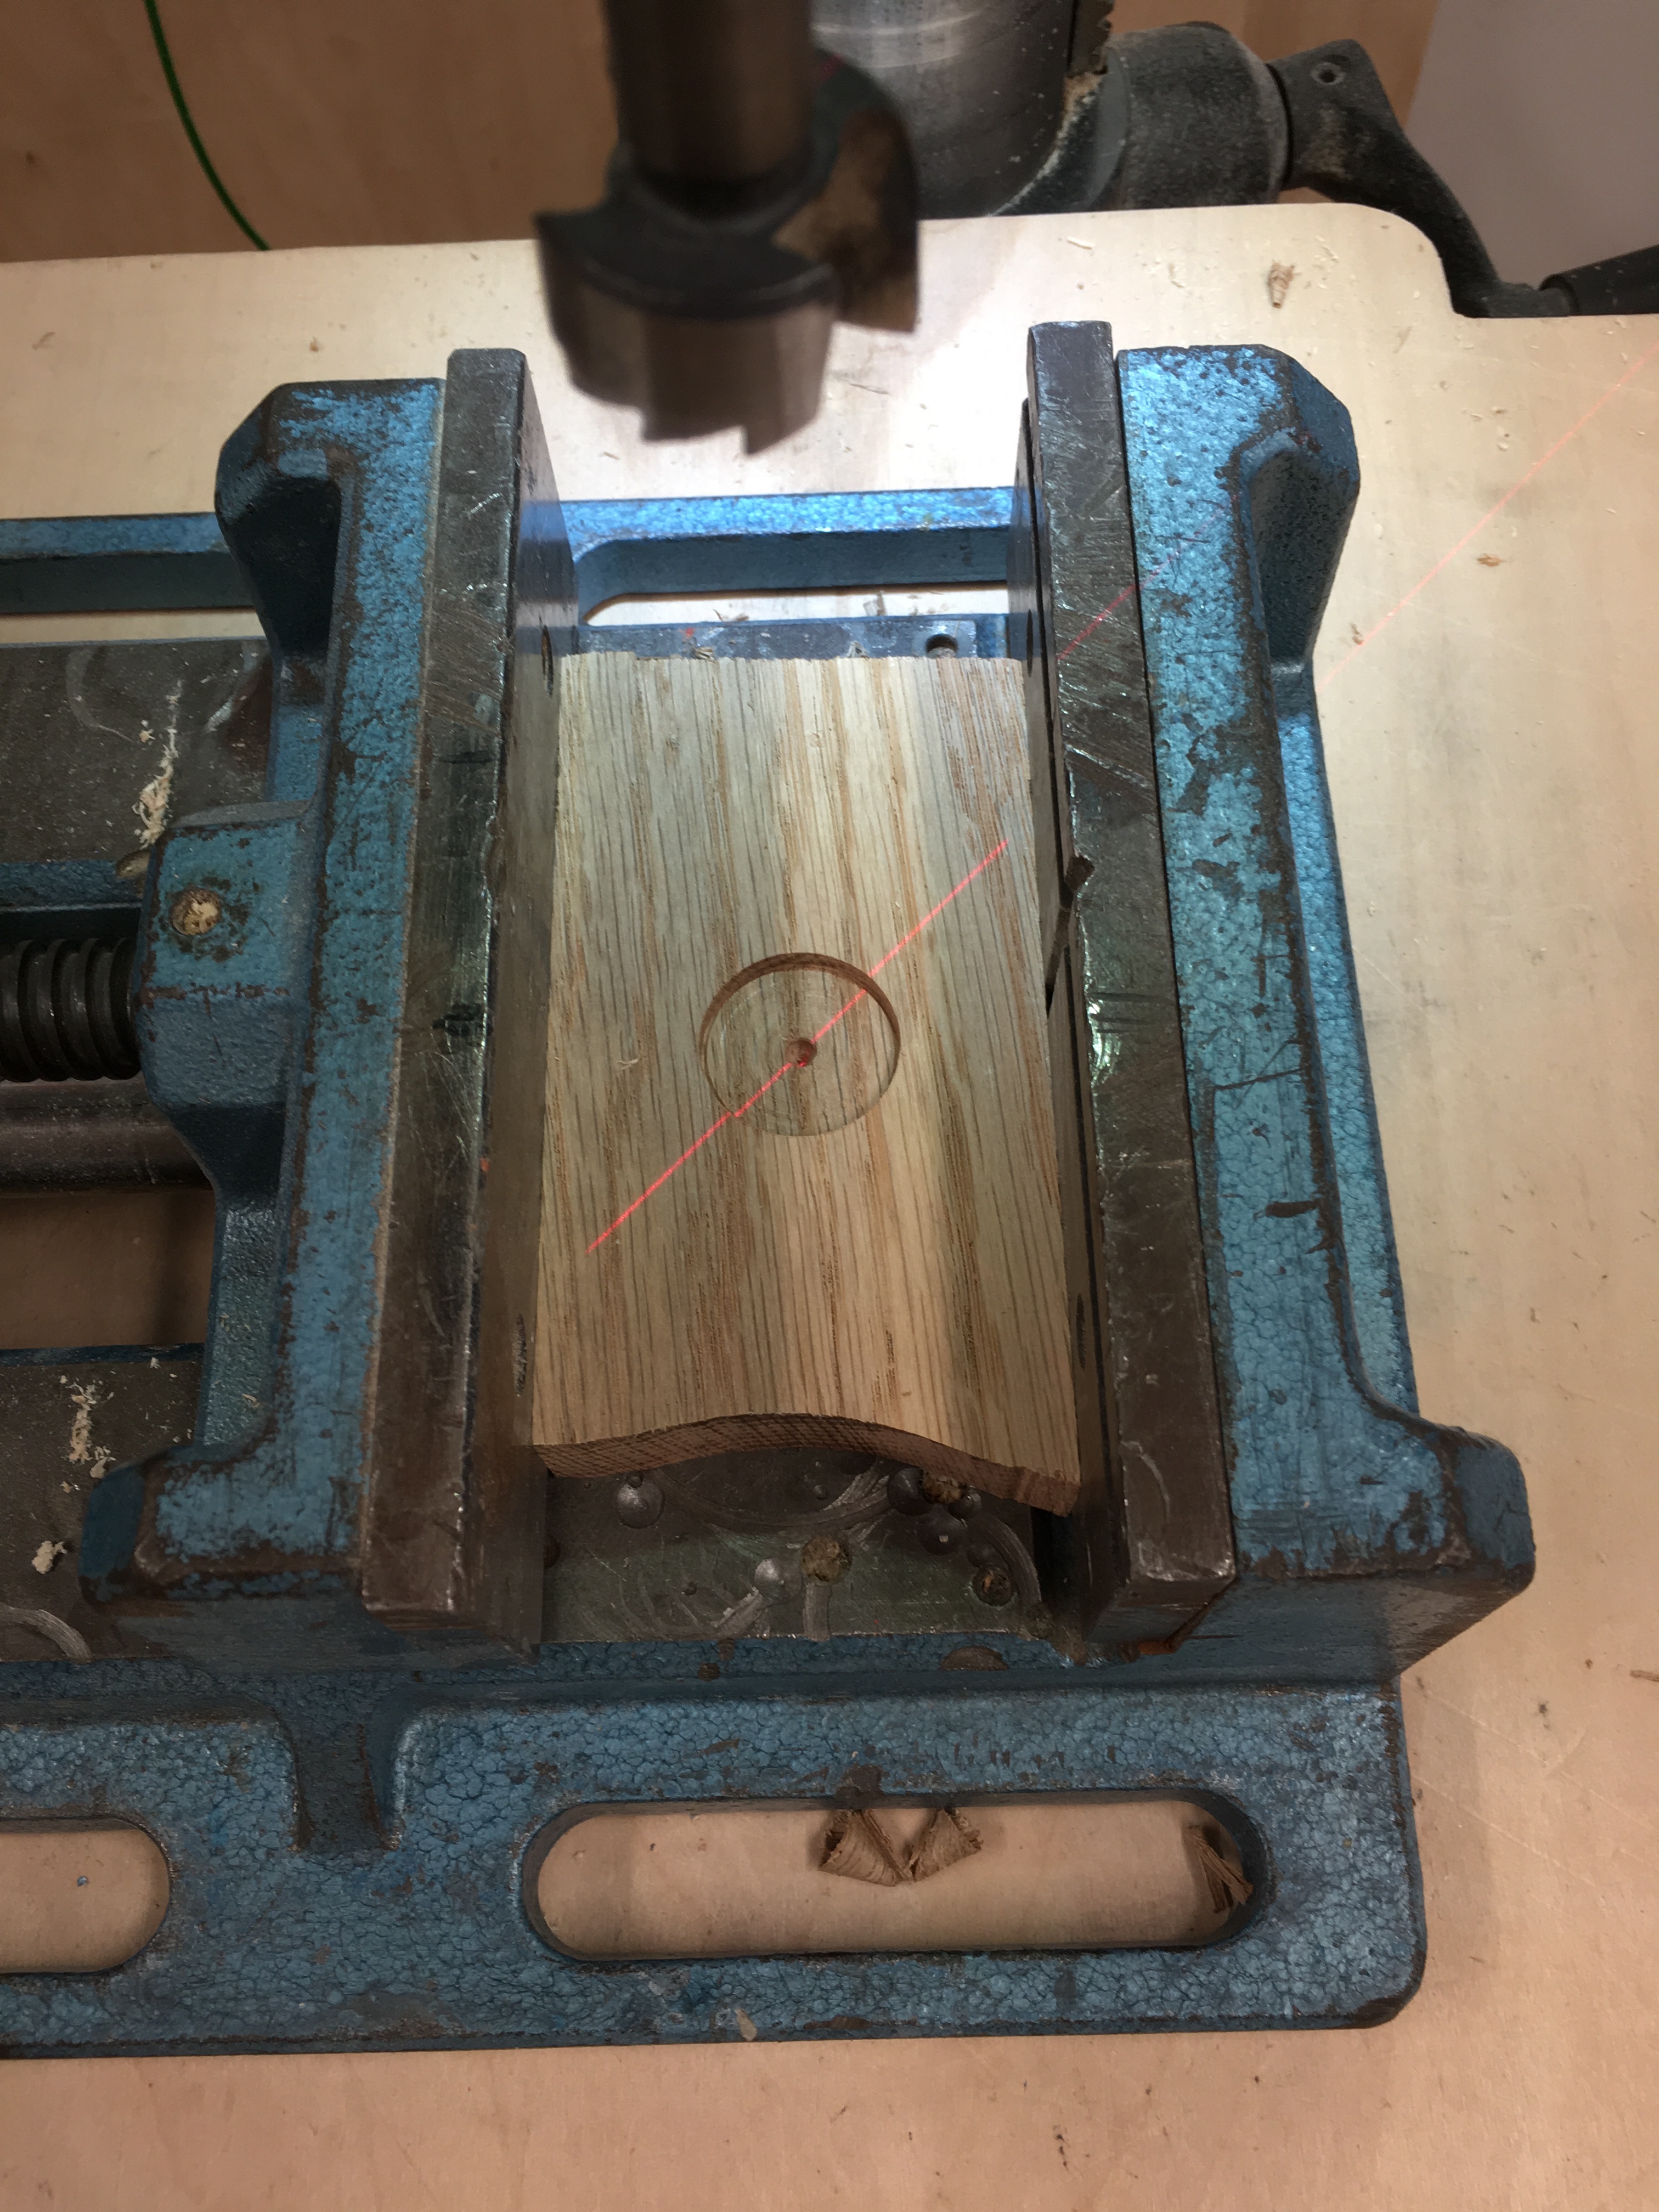
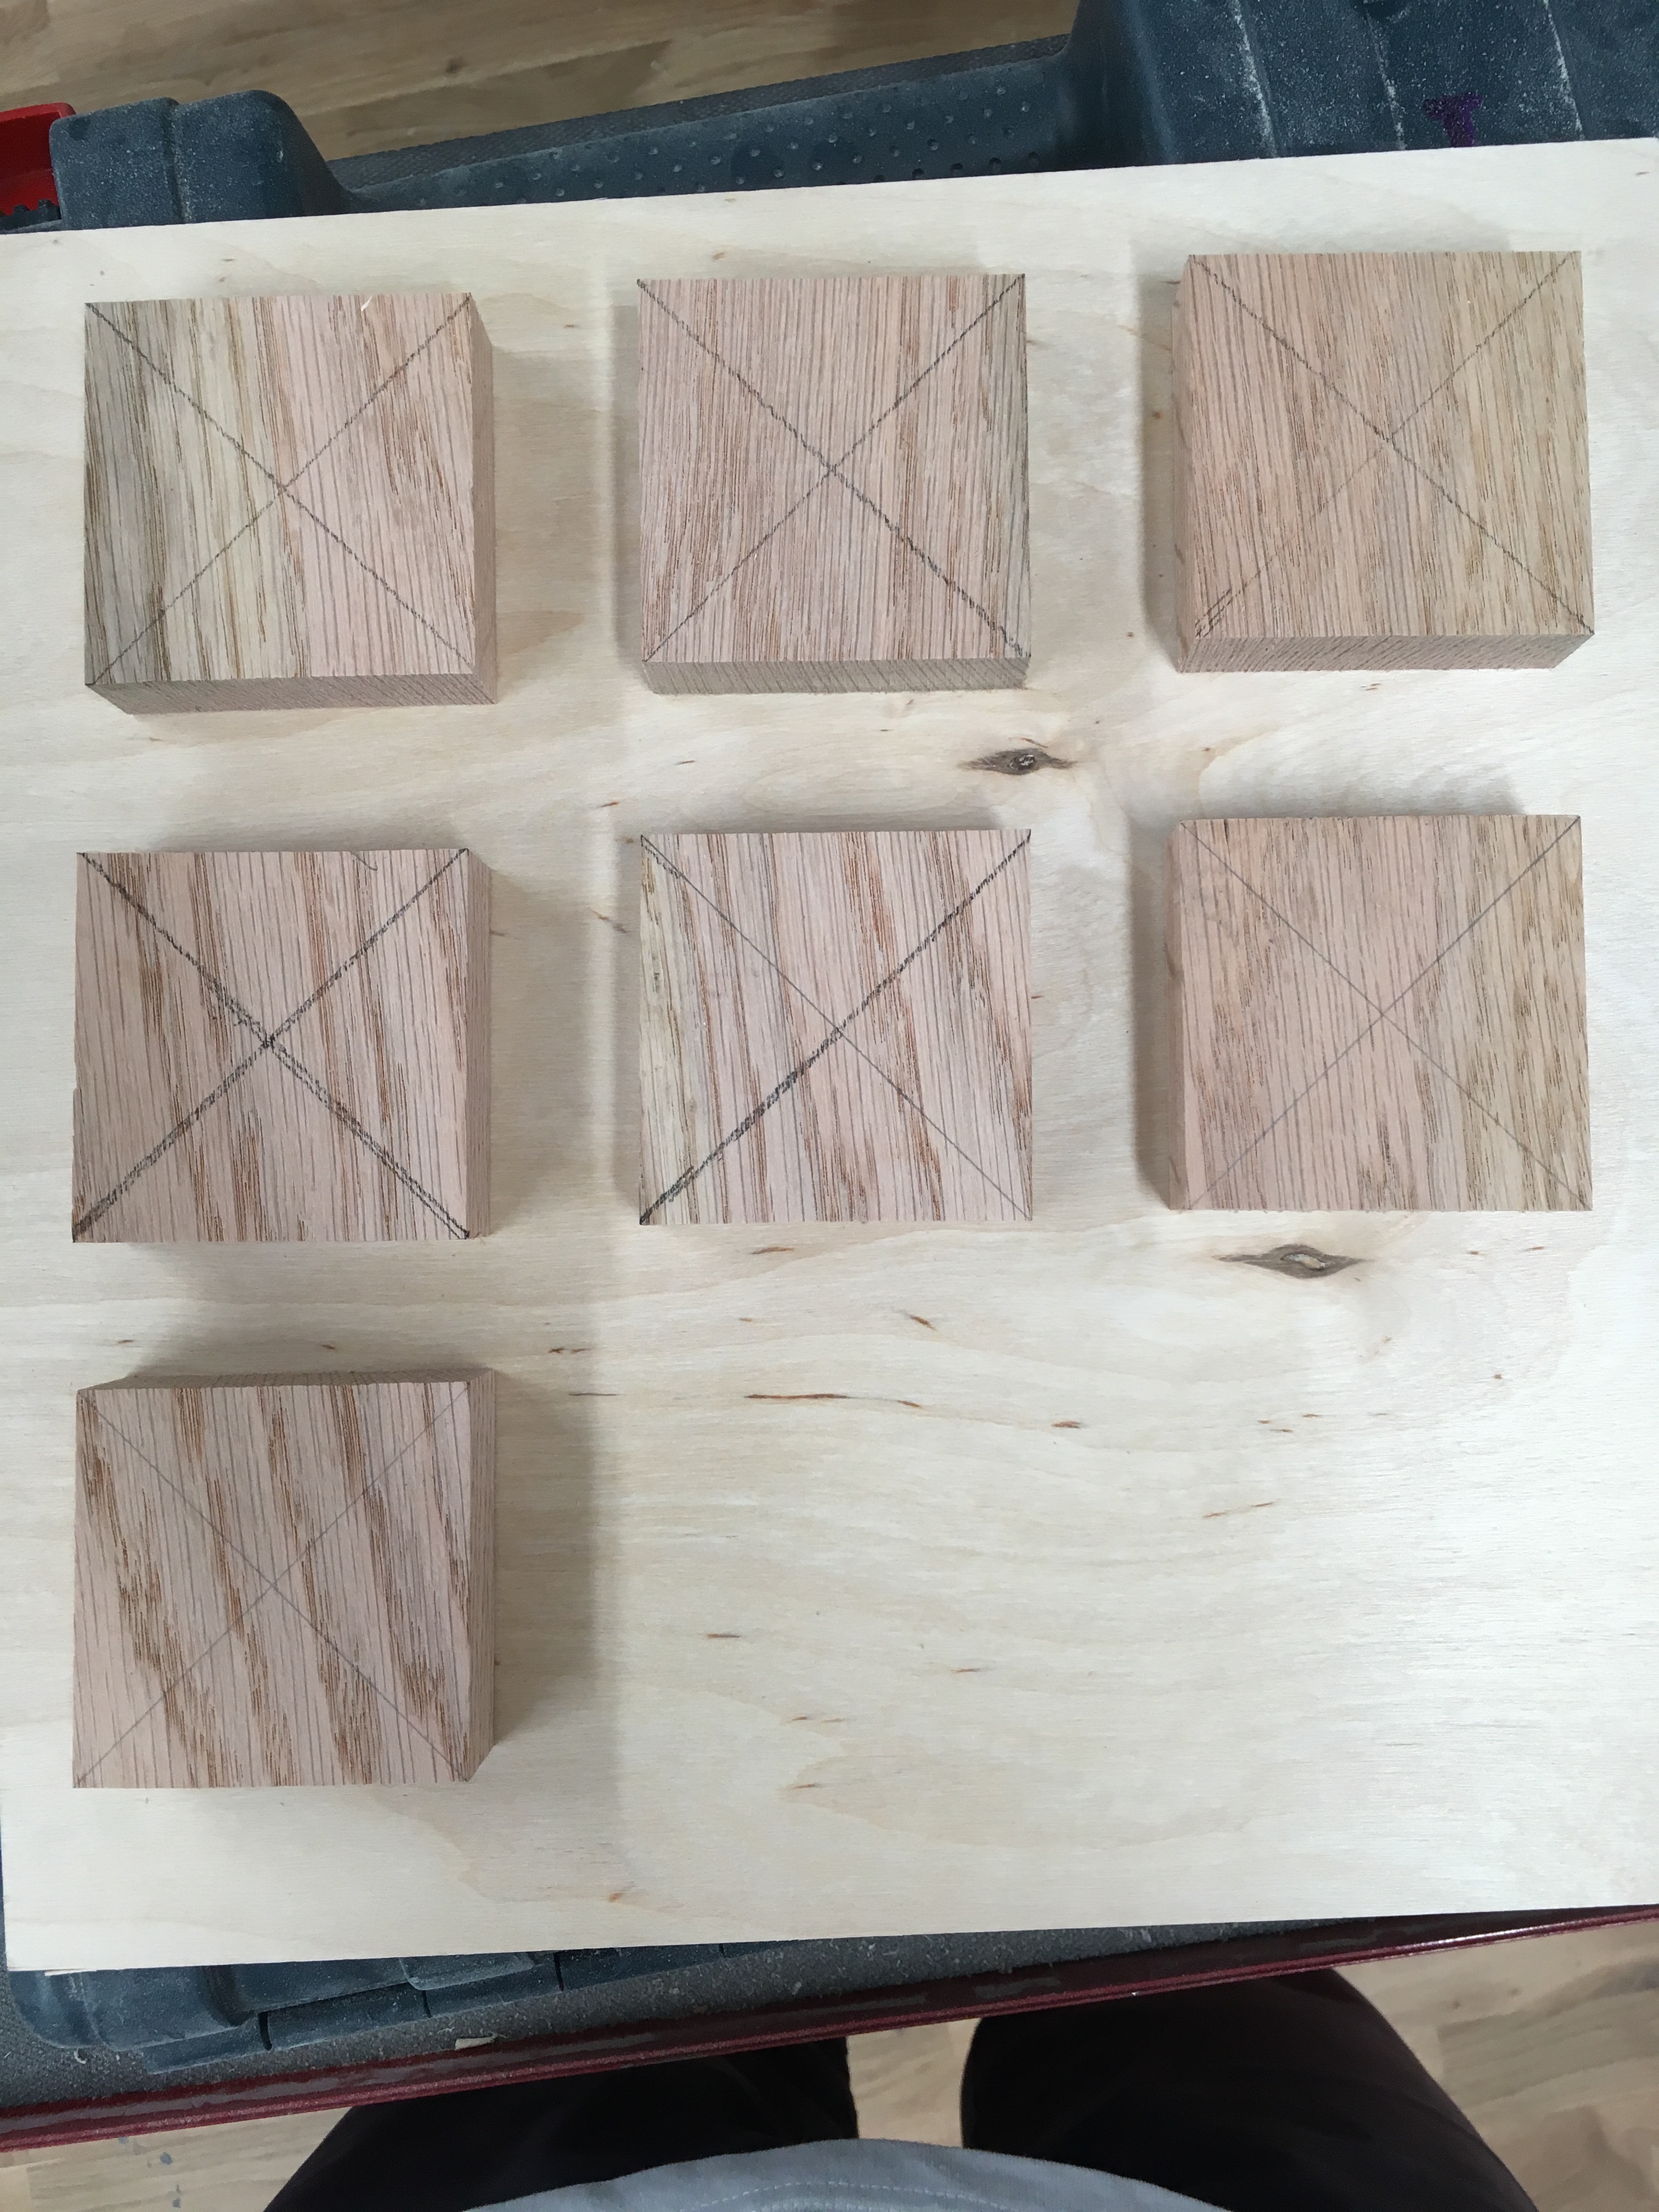
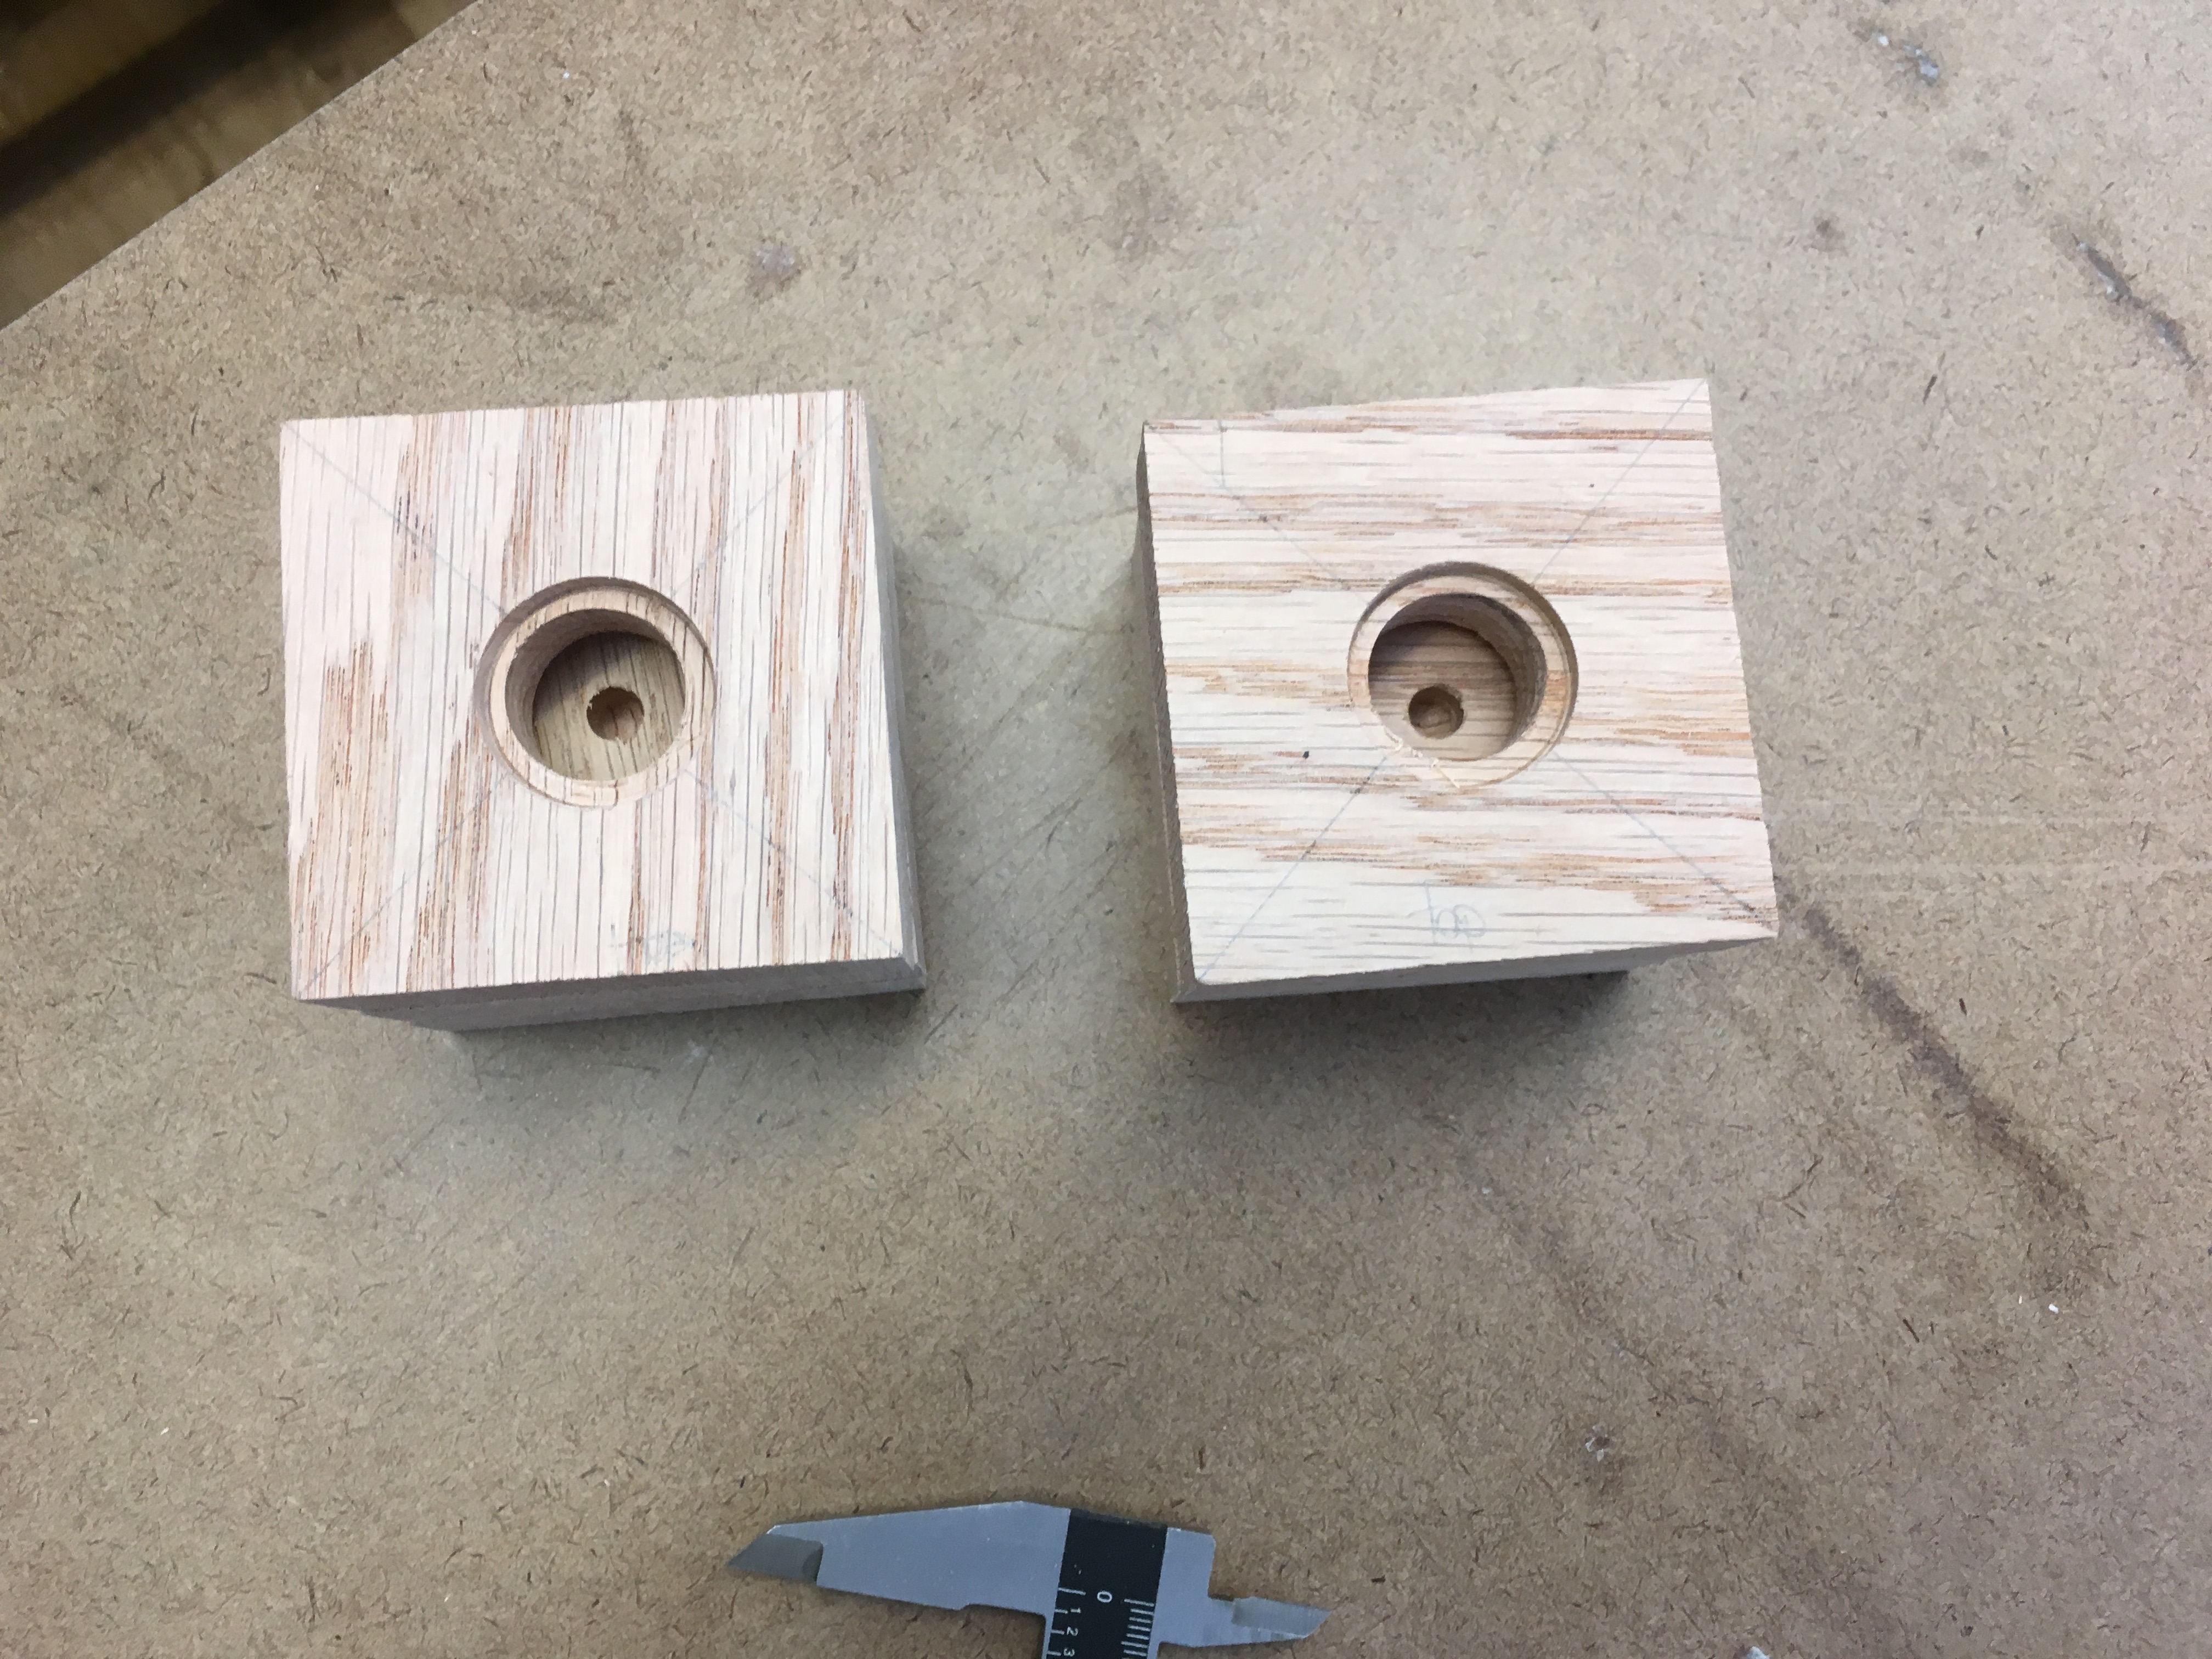
Prototyping a shallow circular hole on the drill press, and calculating the center for each cube's top part.
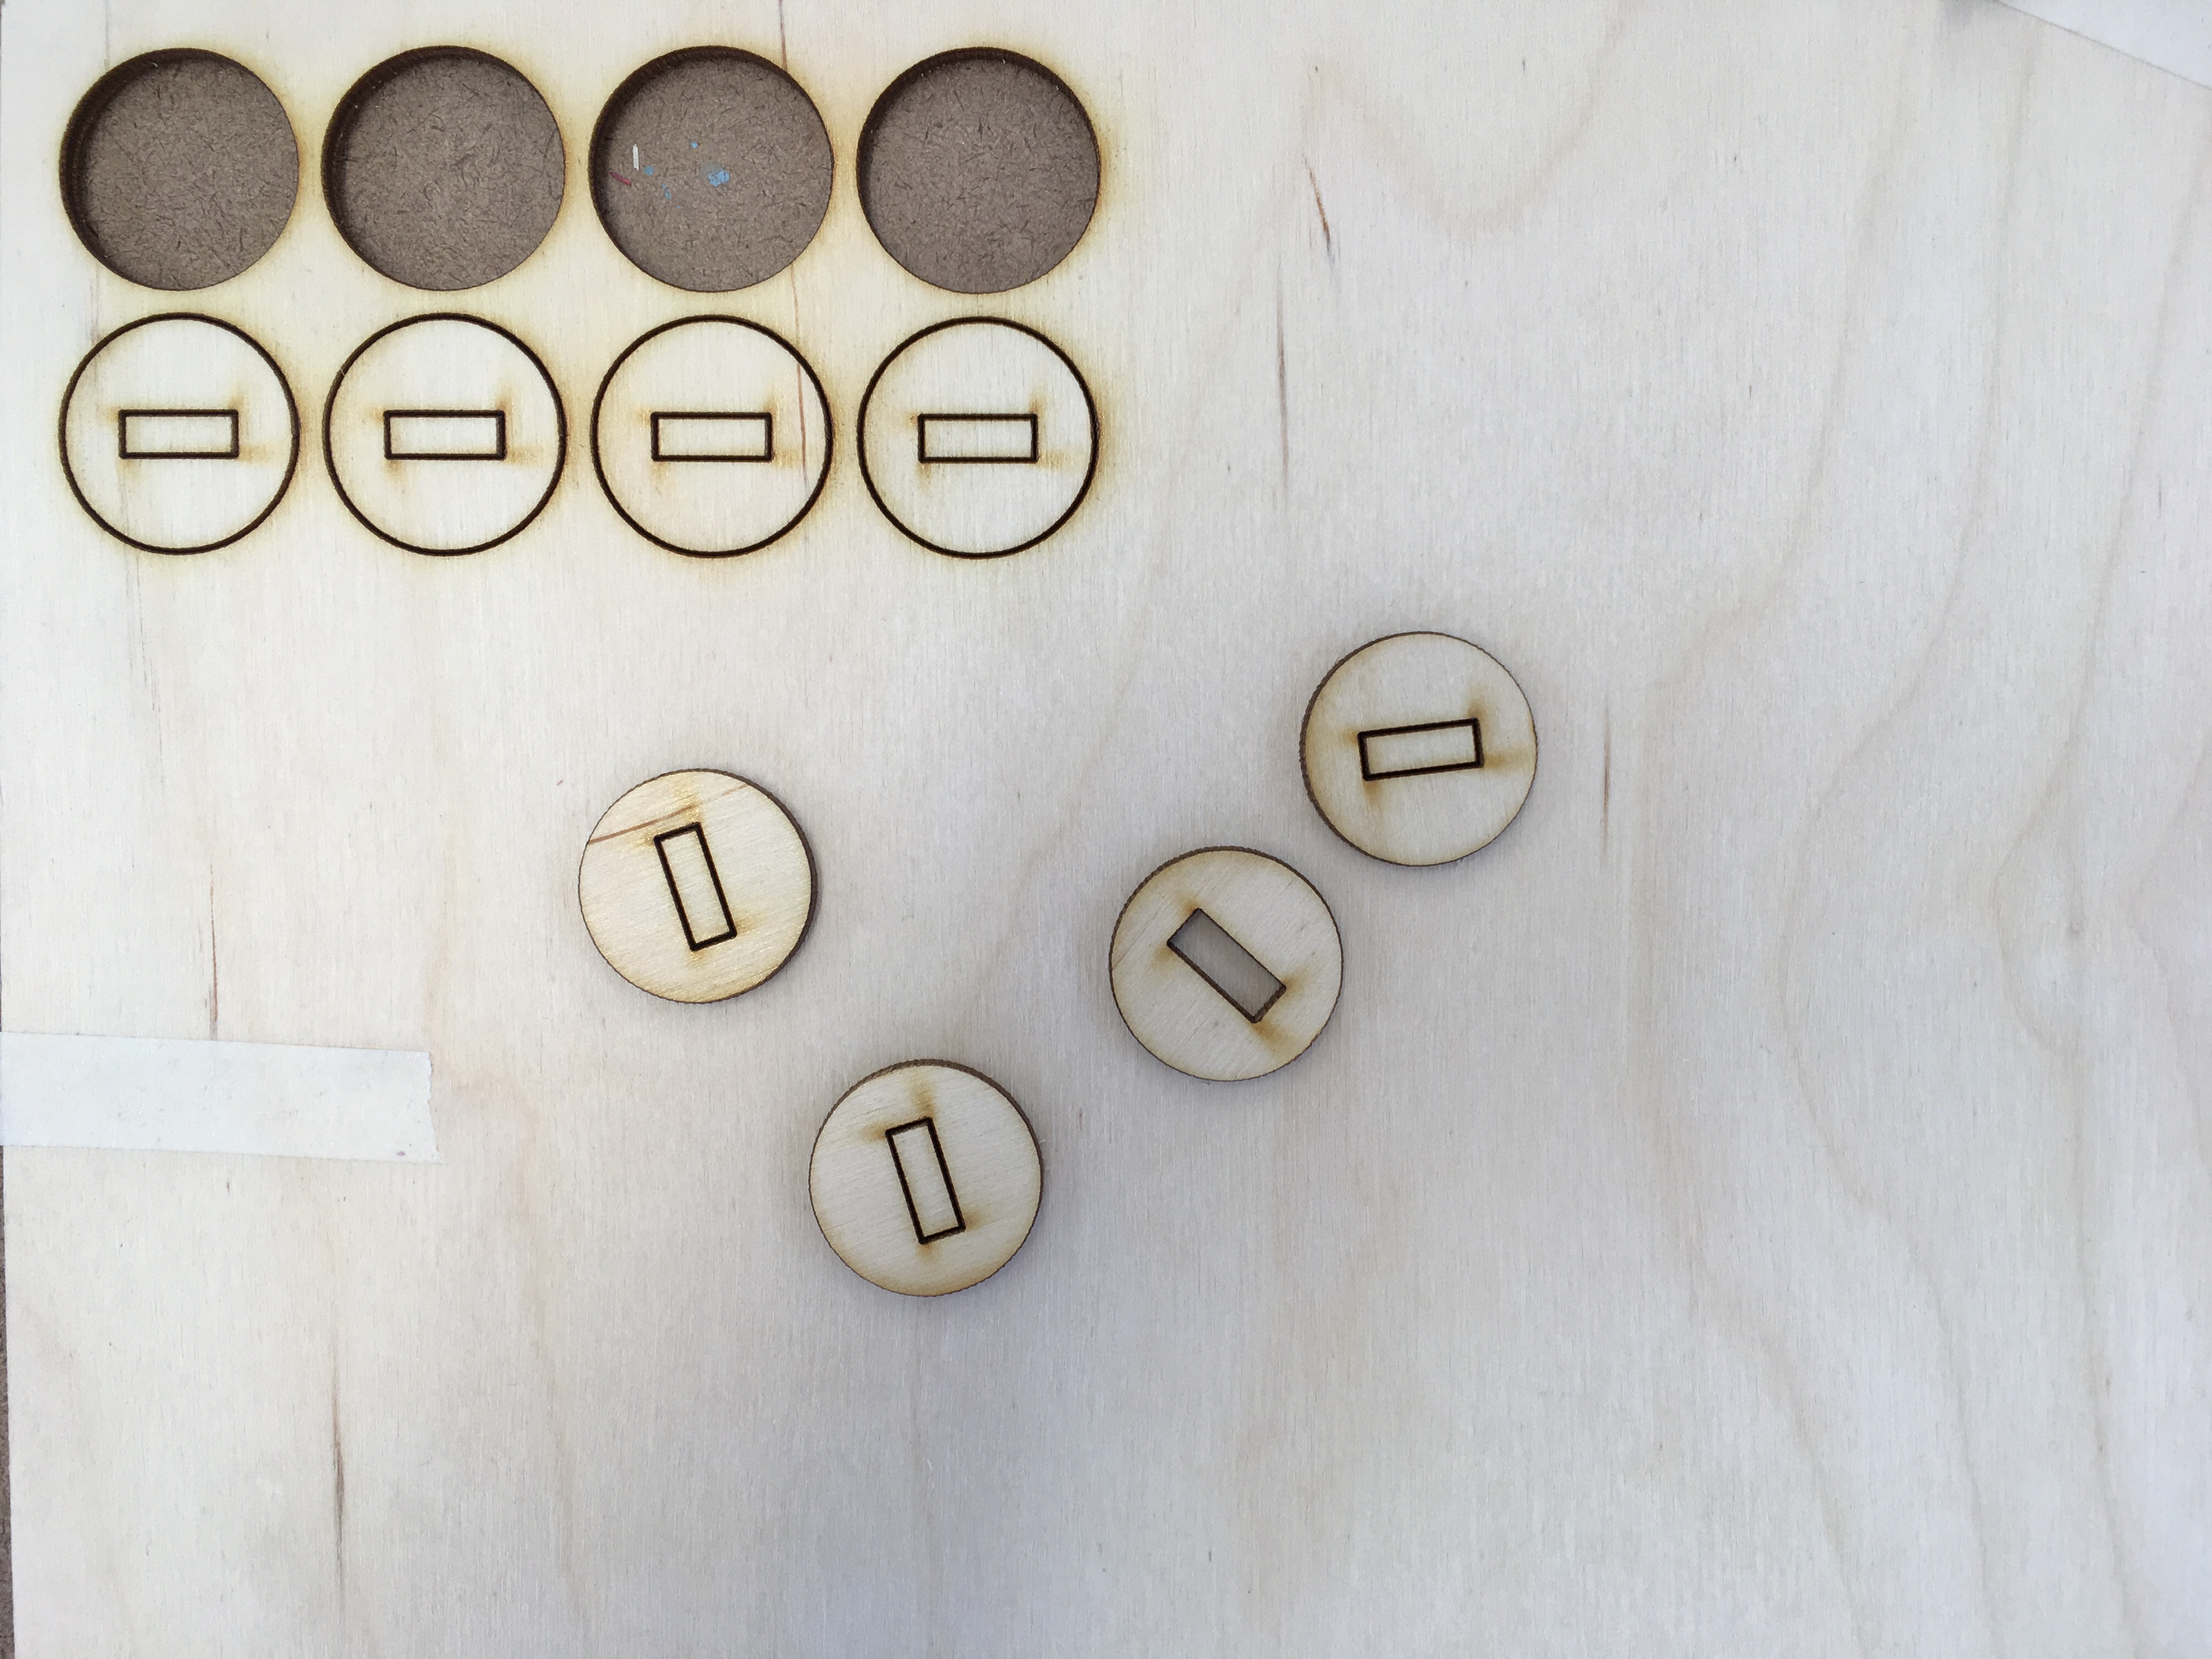
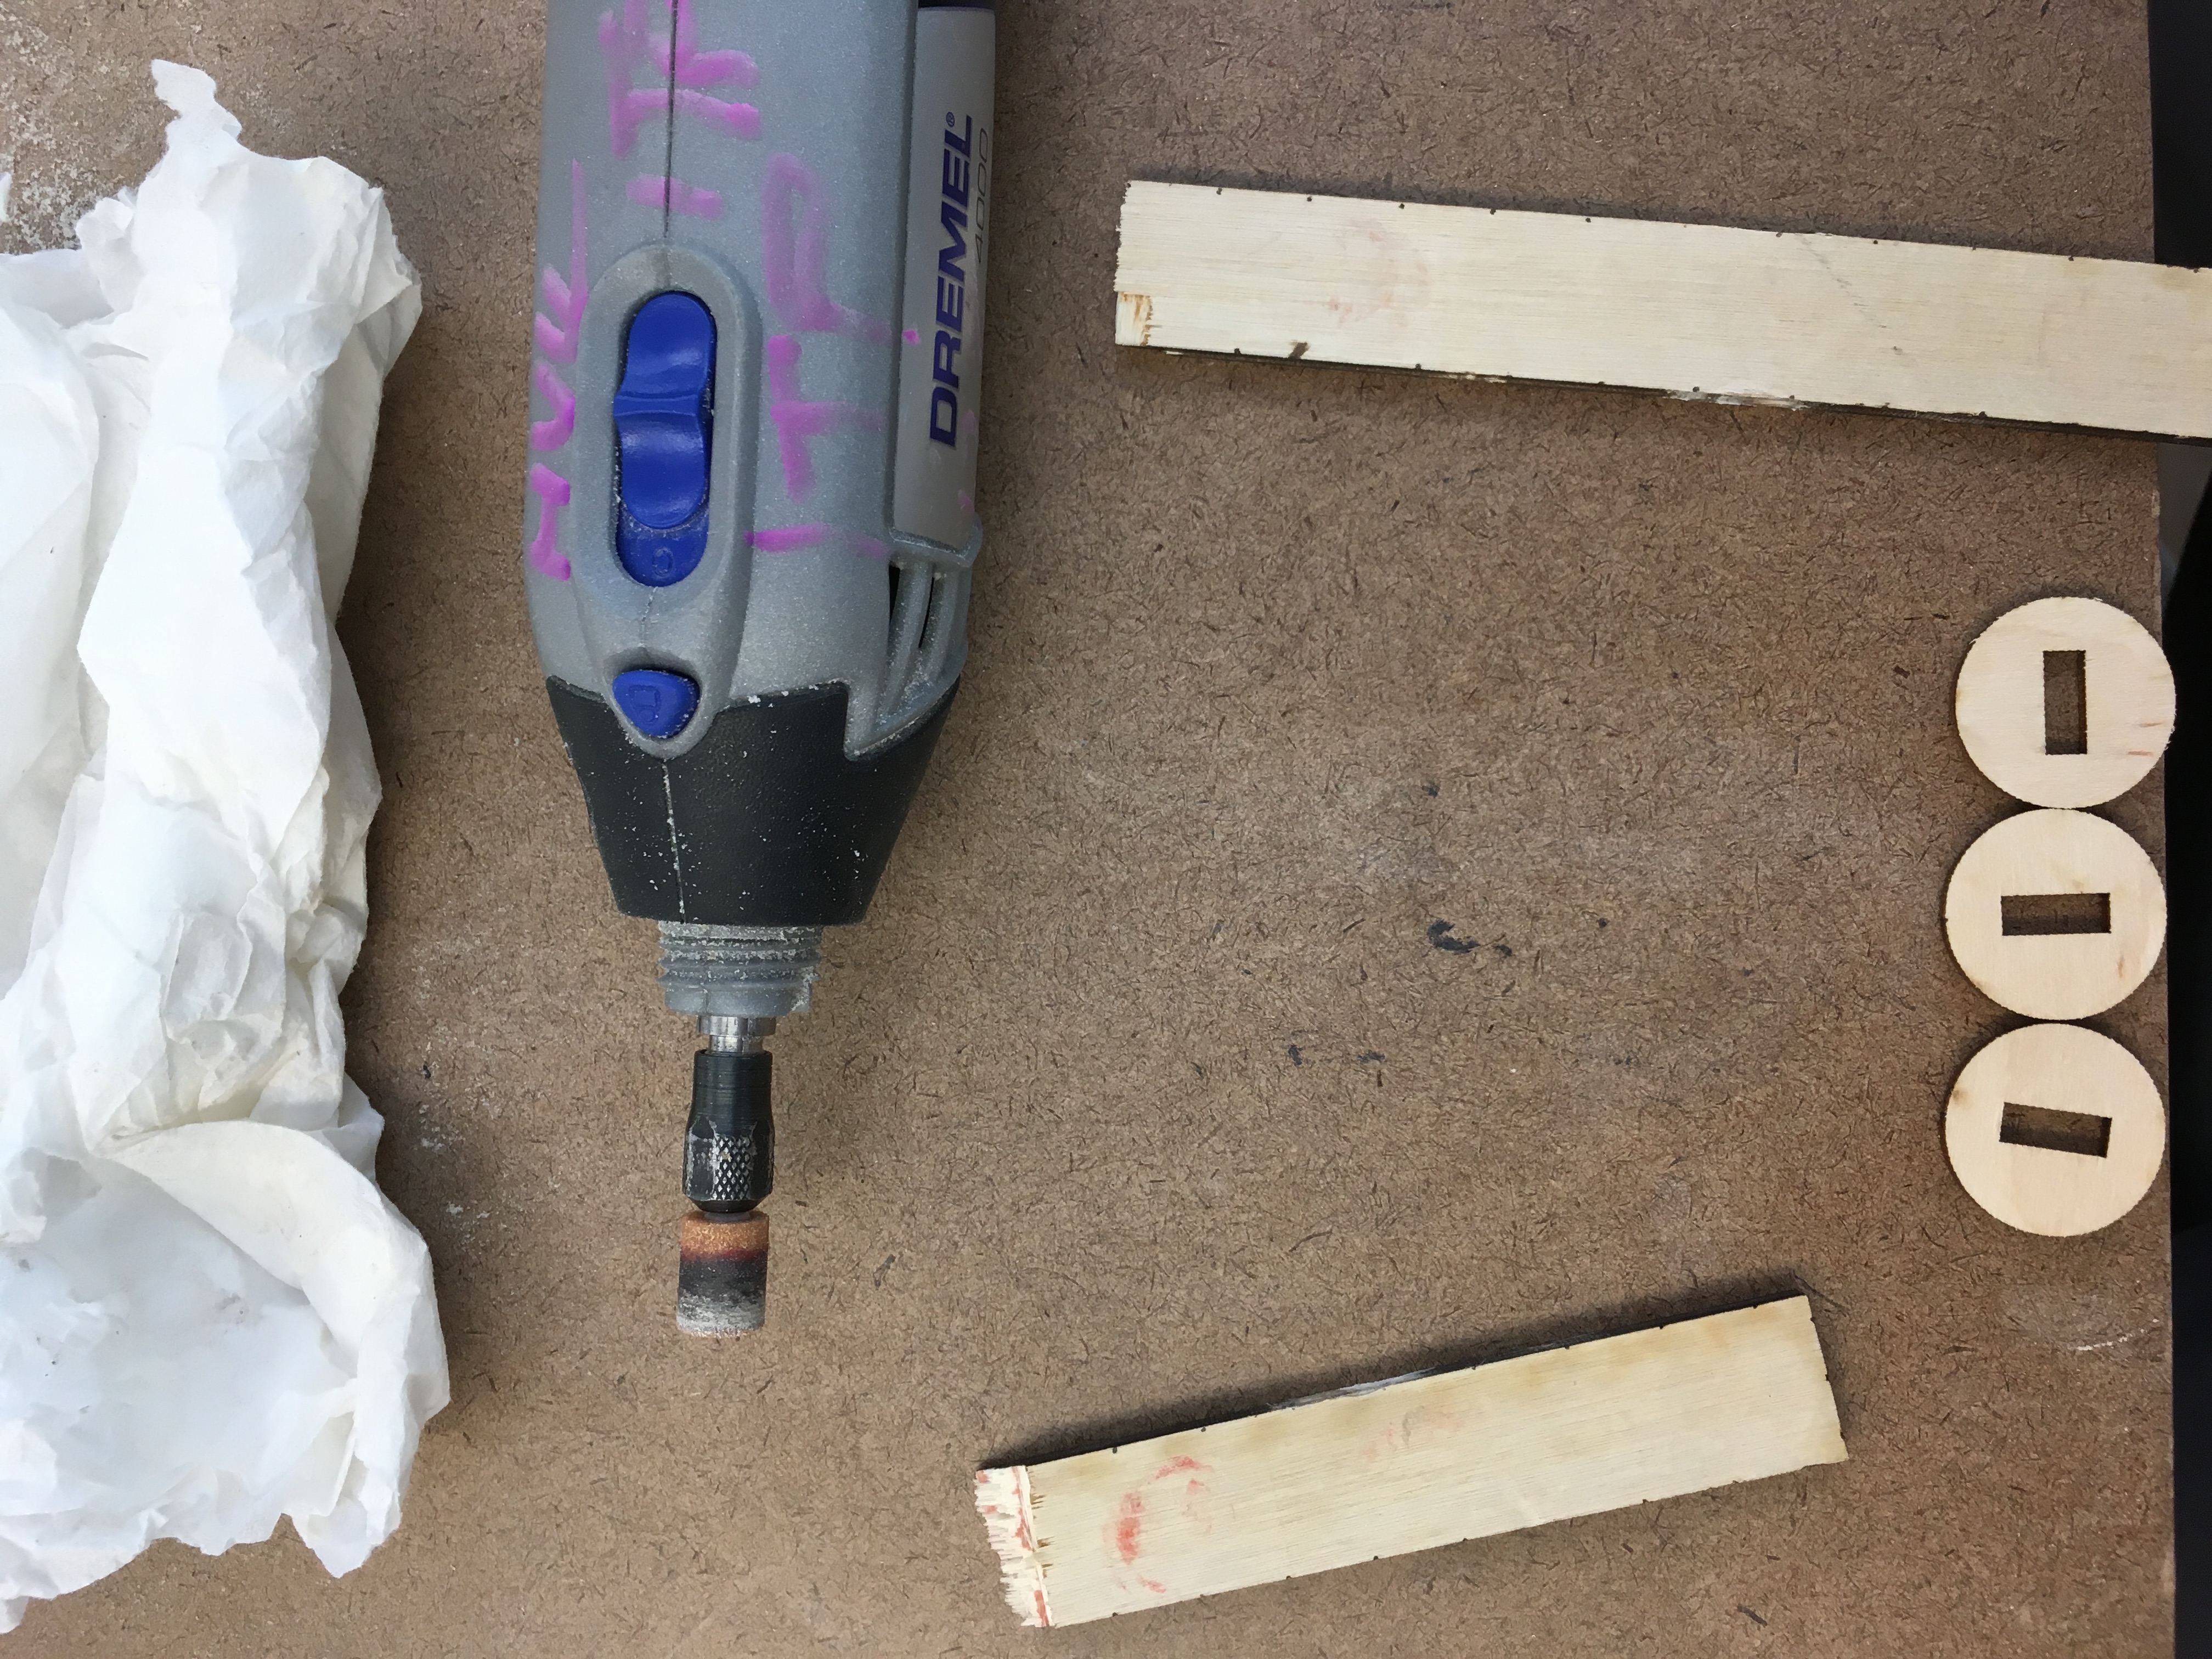
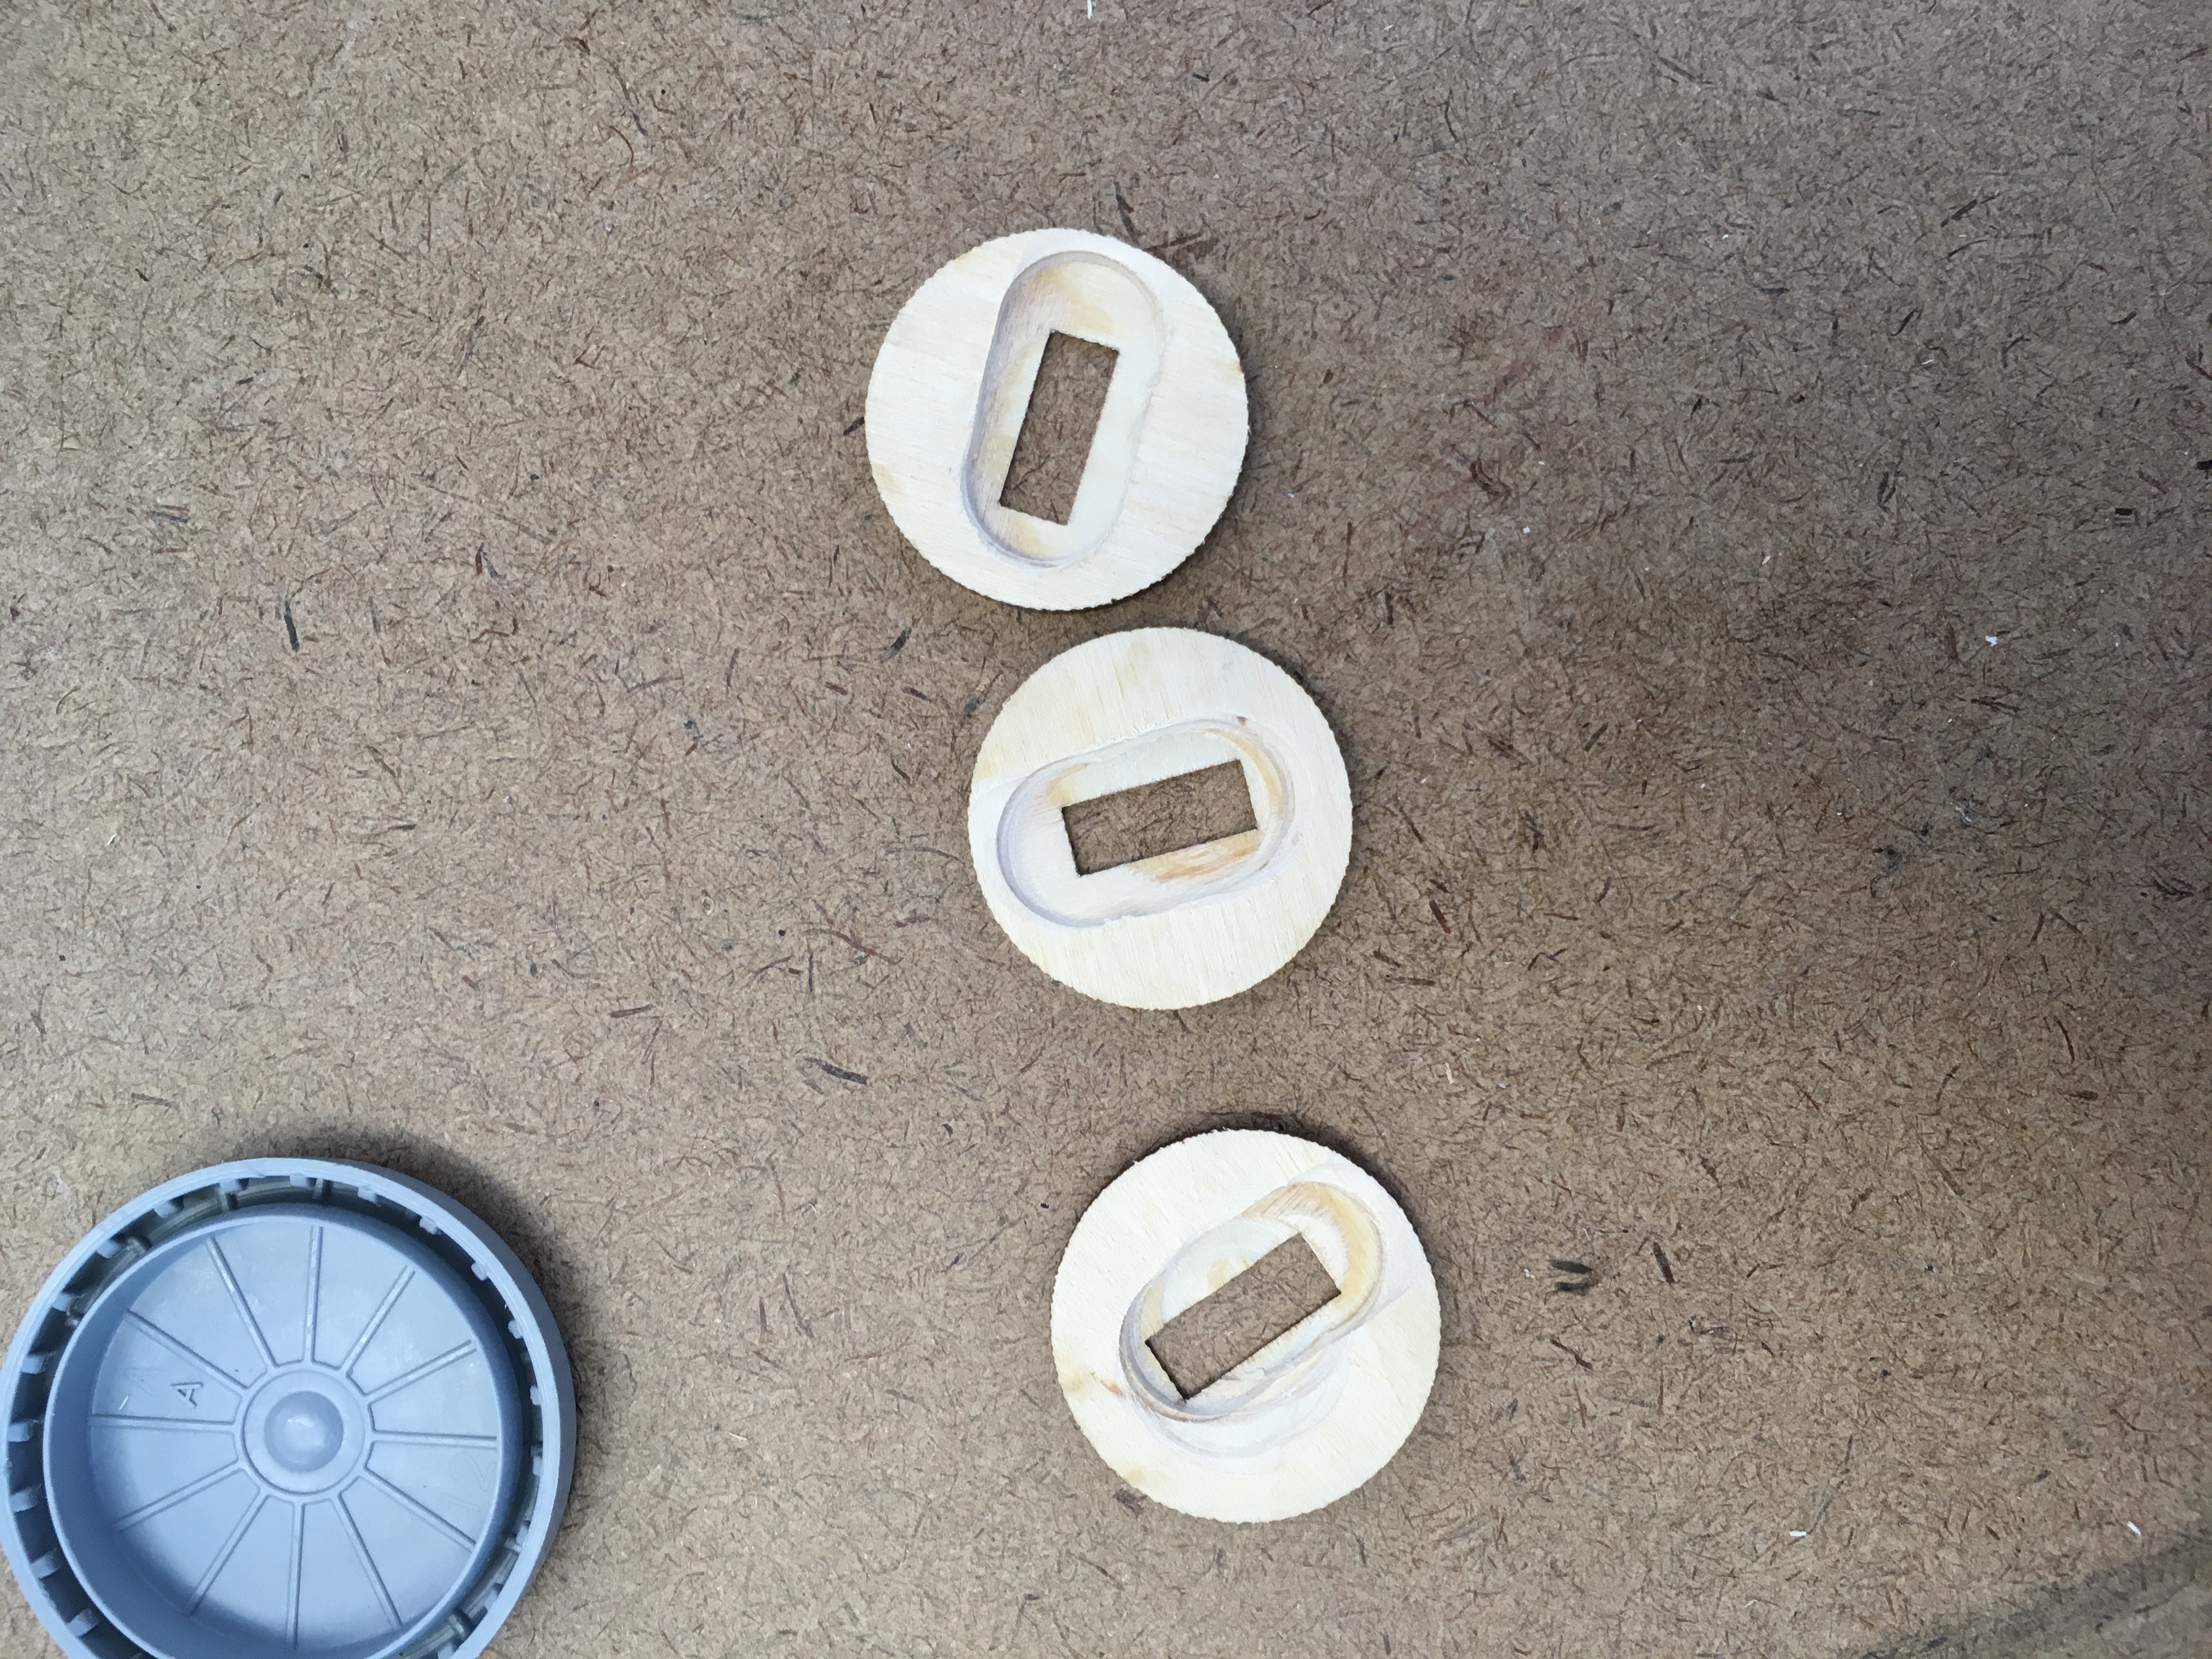
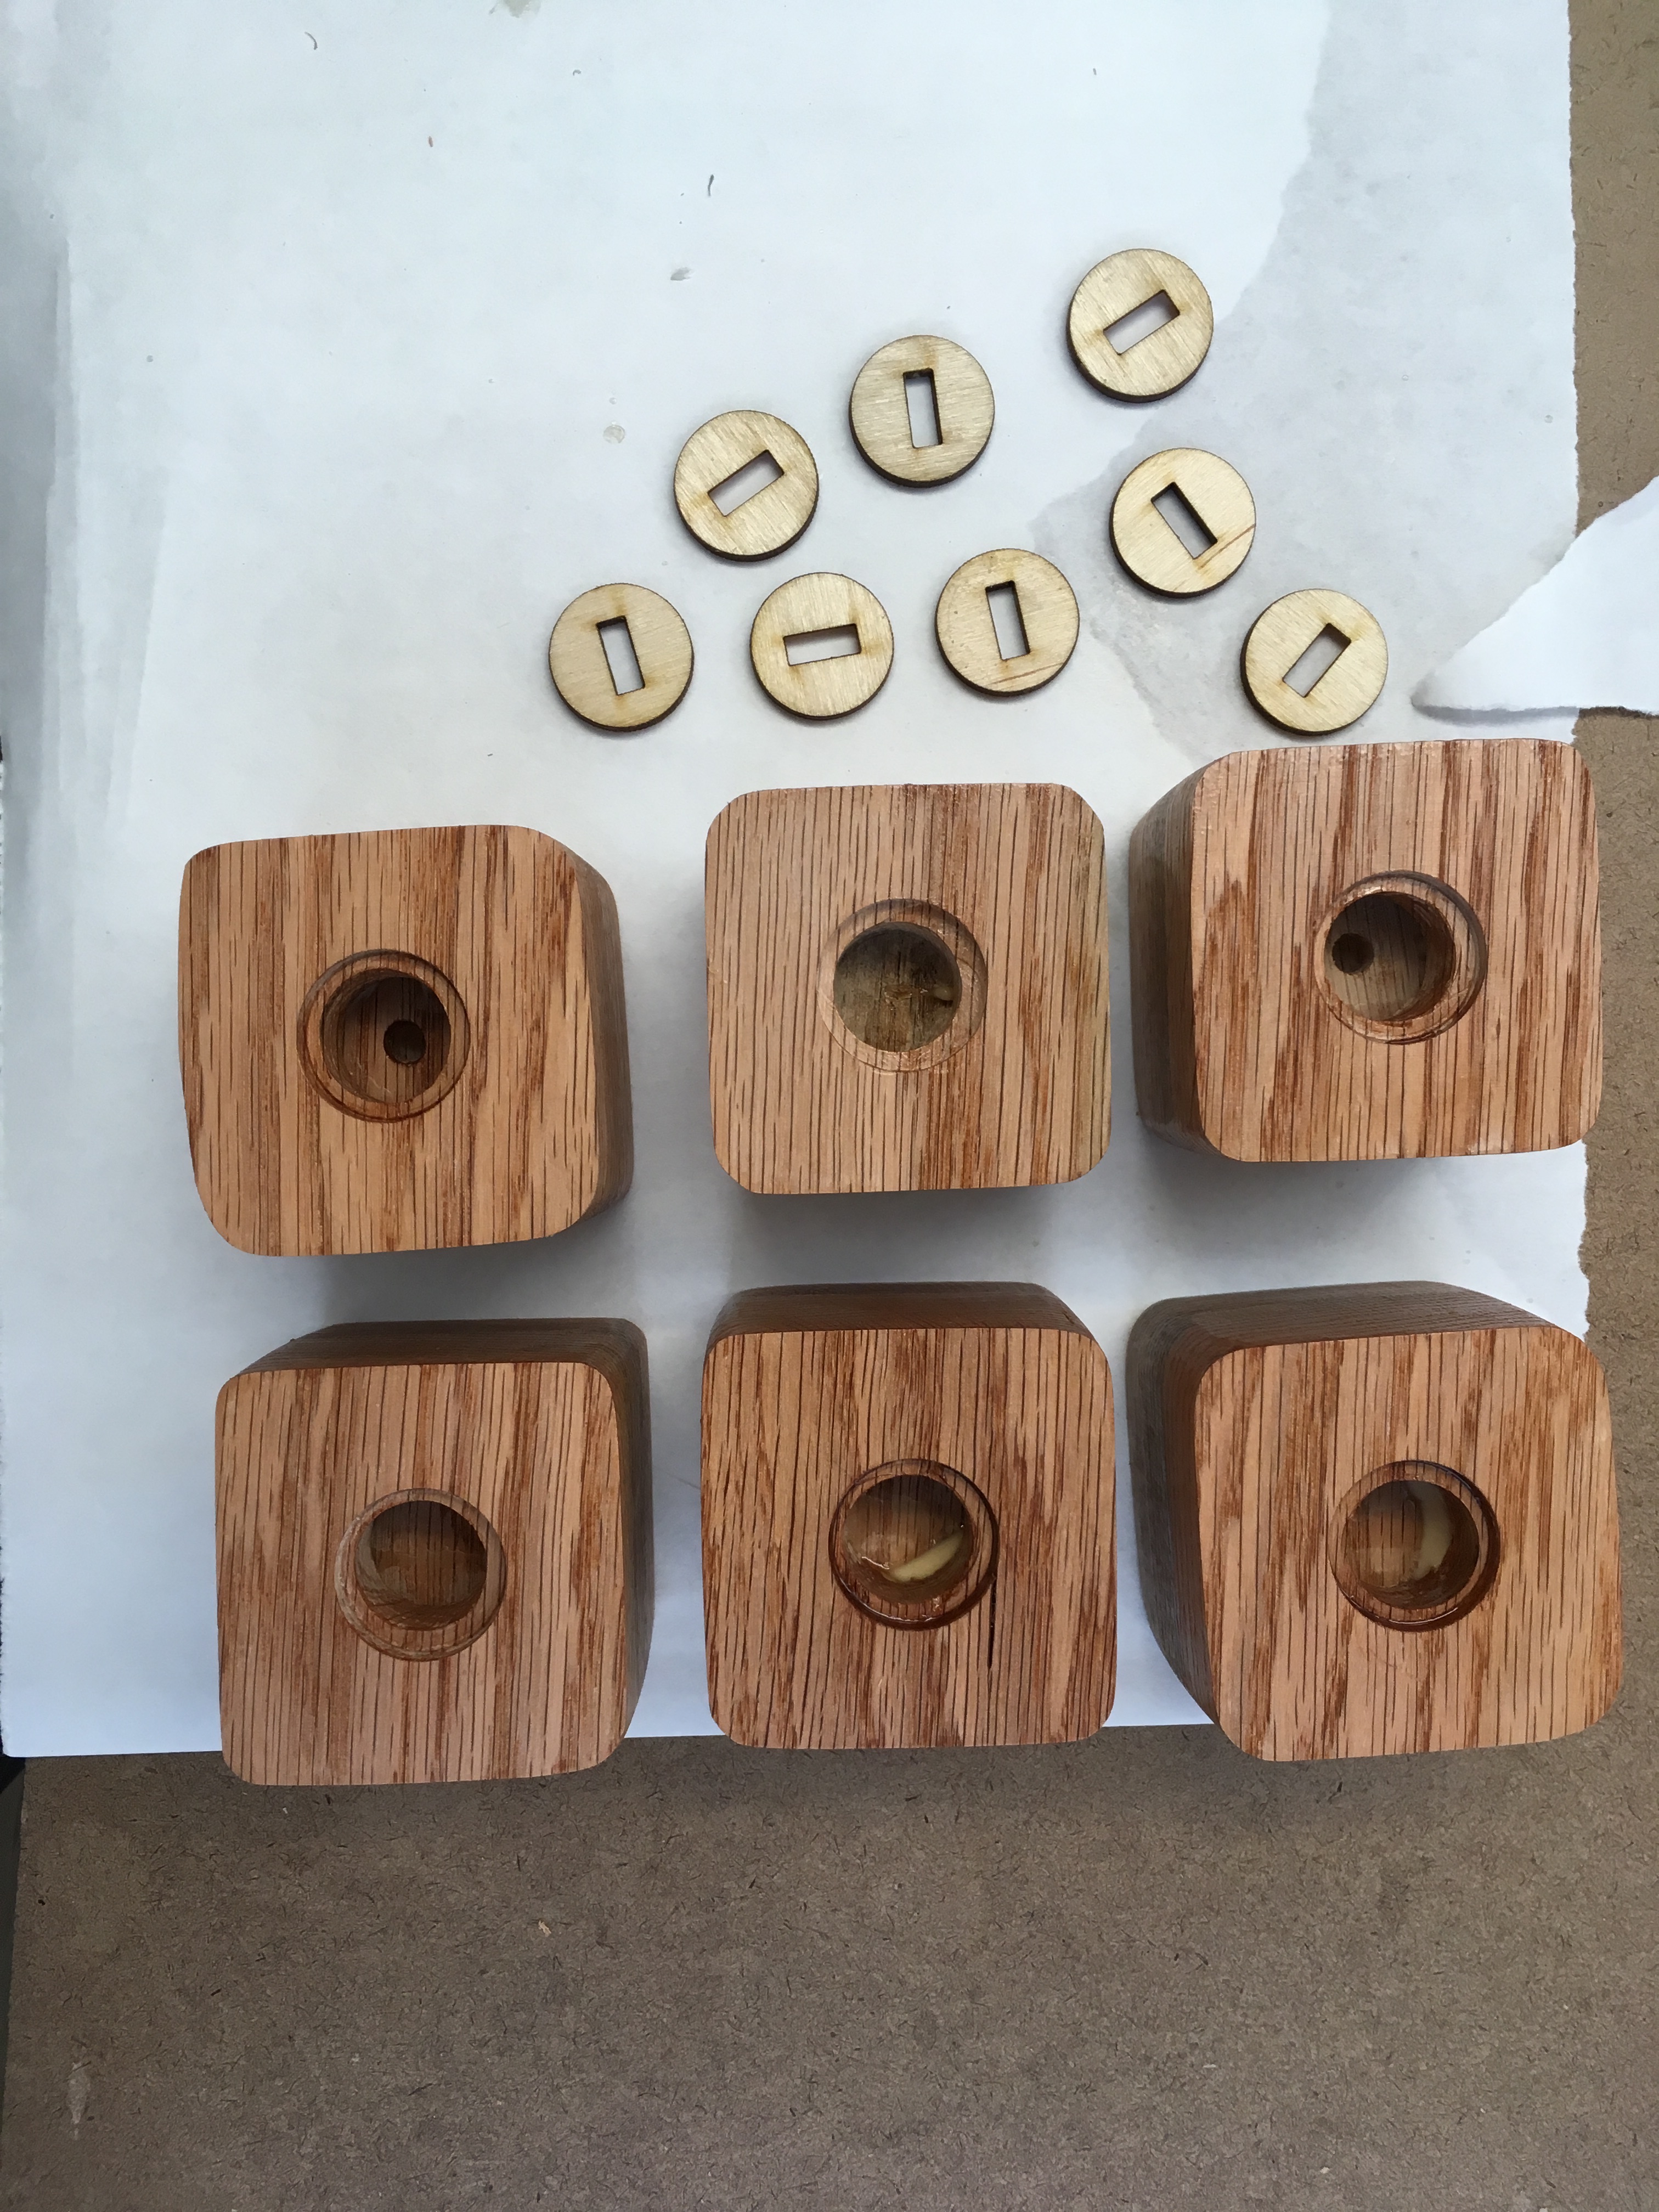
In the left image you can see each cube's top face having a circular hole 1/8in deep. Middle and right side are the laser cut pieces which would cover the USB port, made out of 1/8in thick plywood.
The laser cut pieces fit!
Creating room for the USB drive as well, underneath the cover.
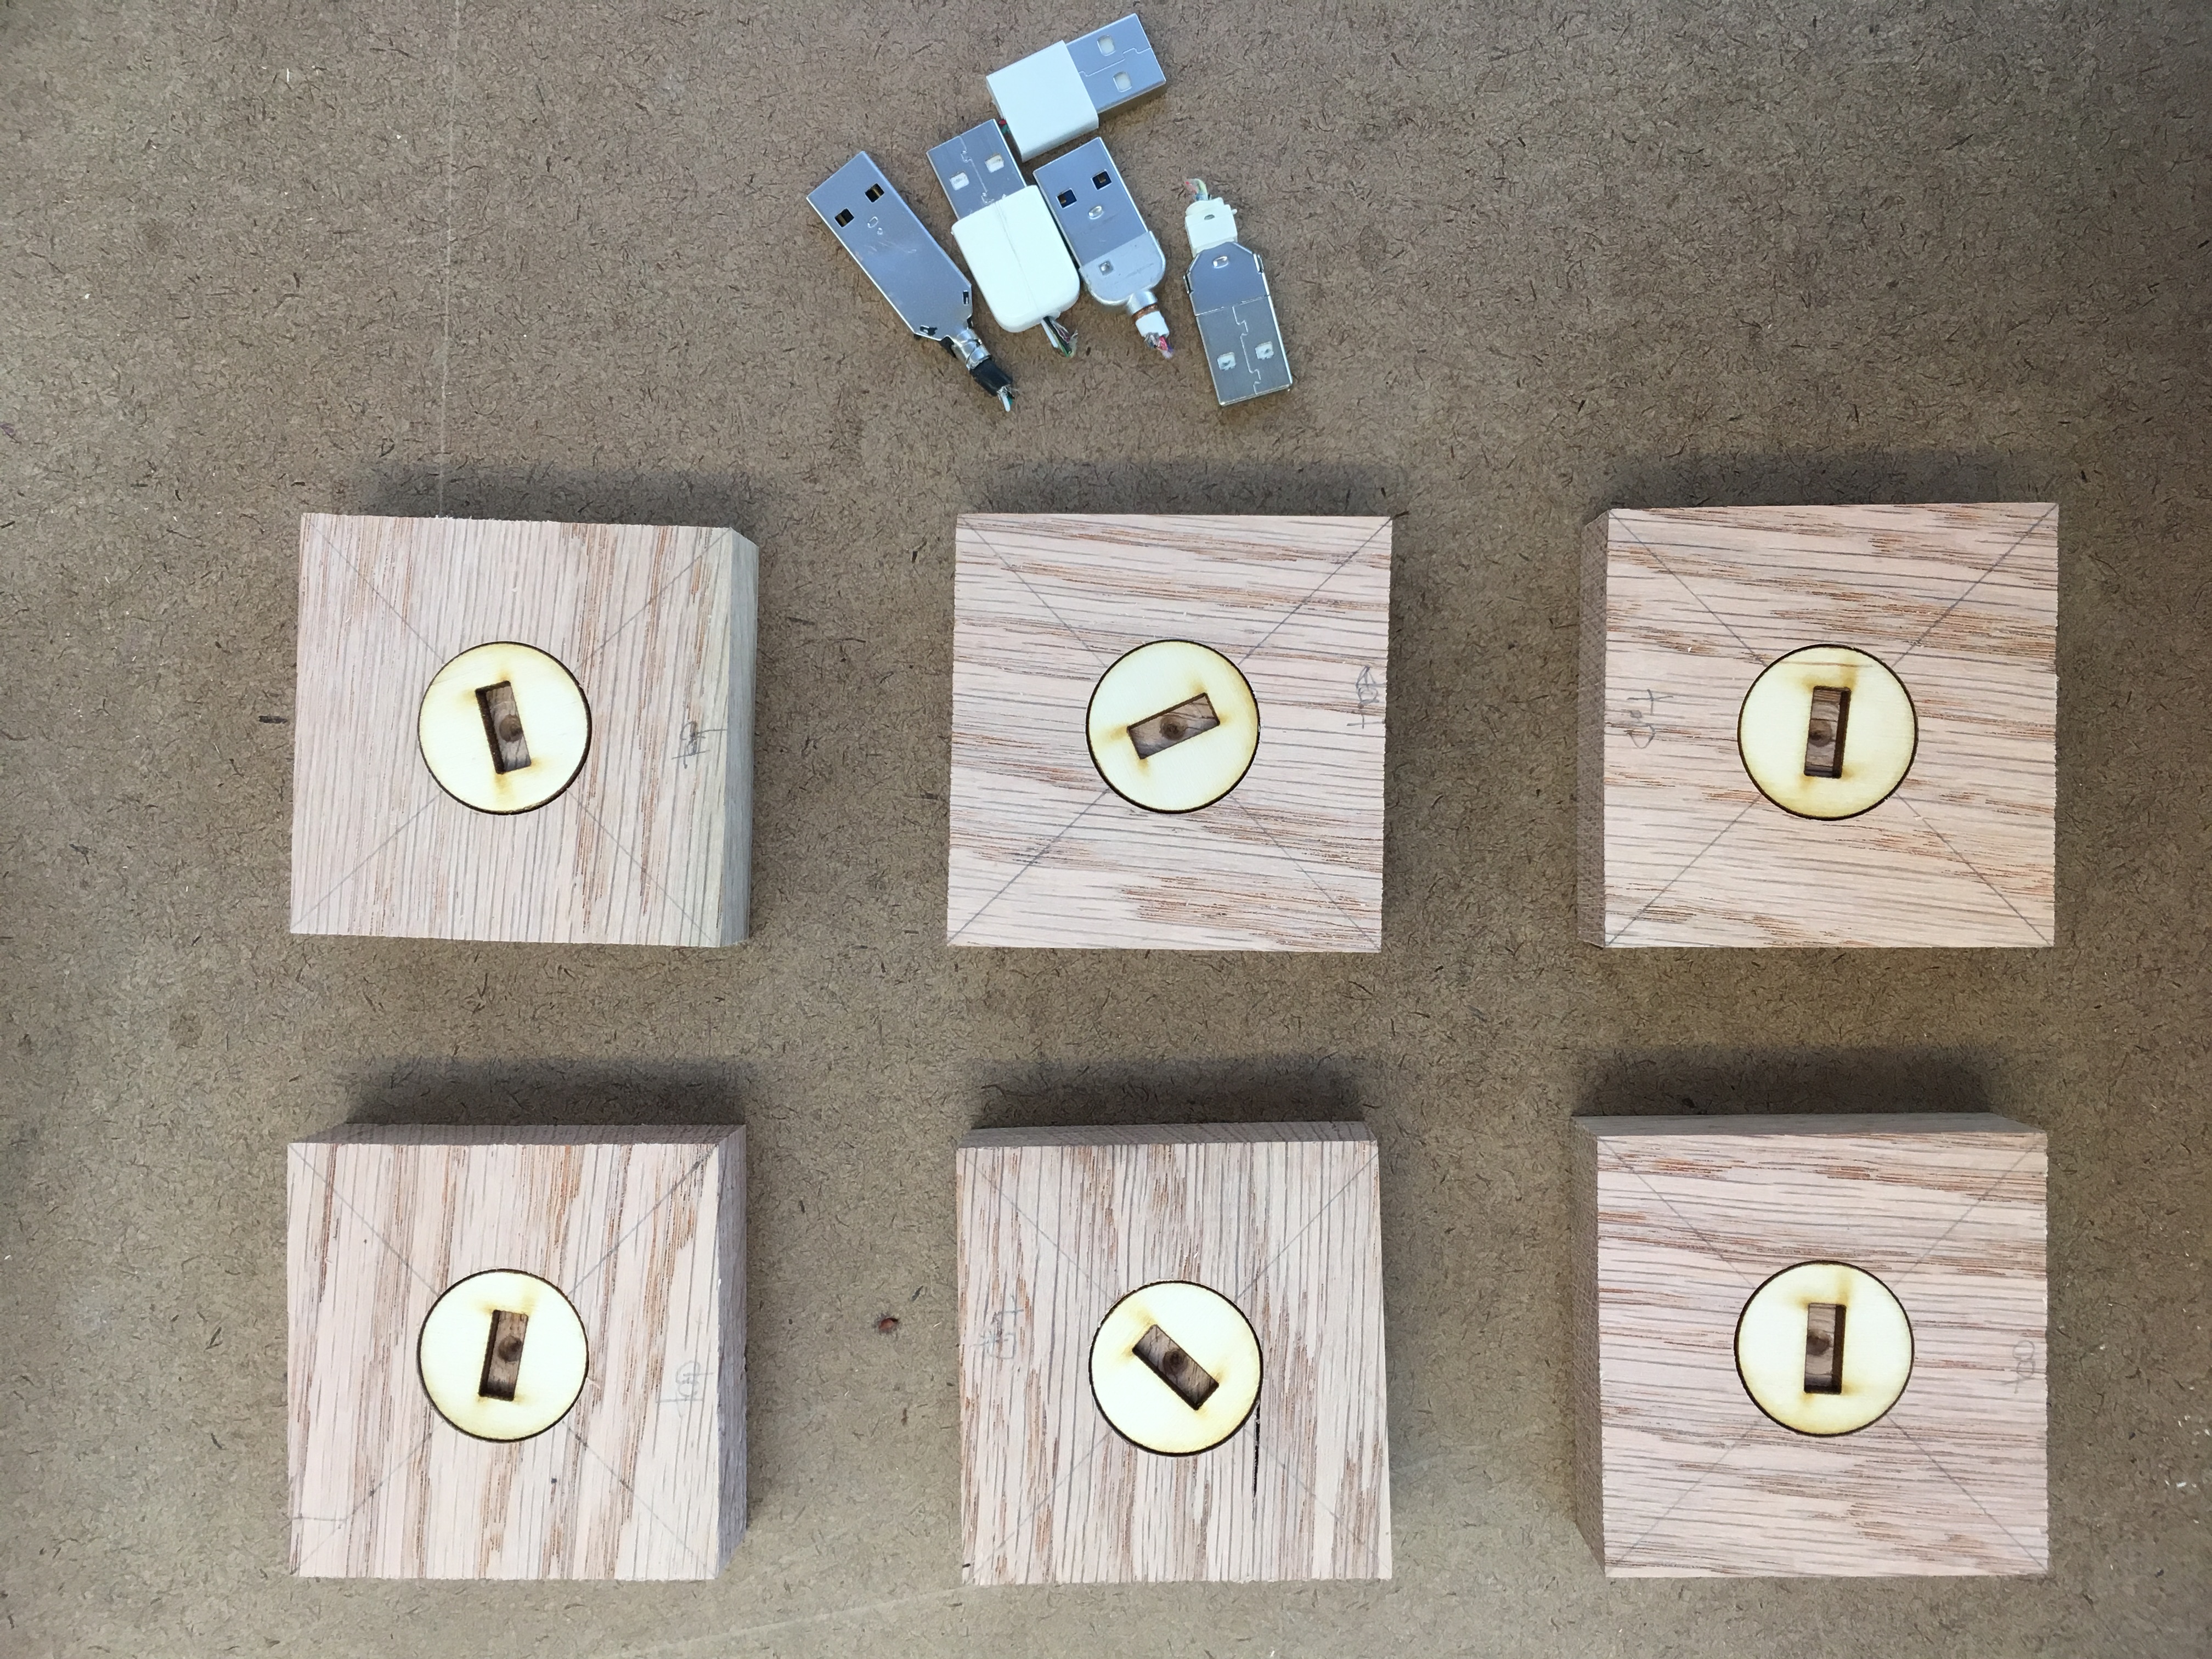
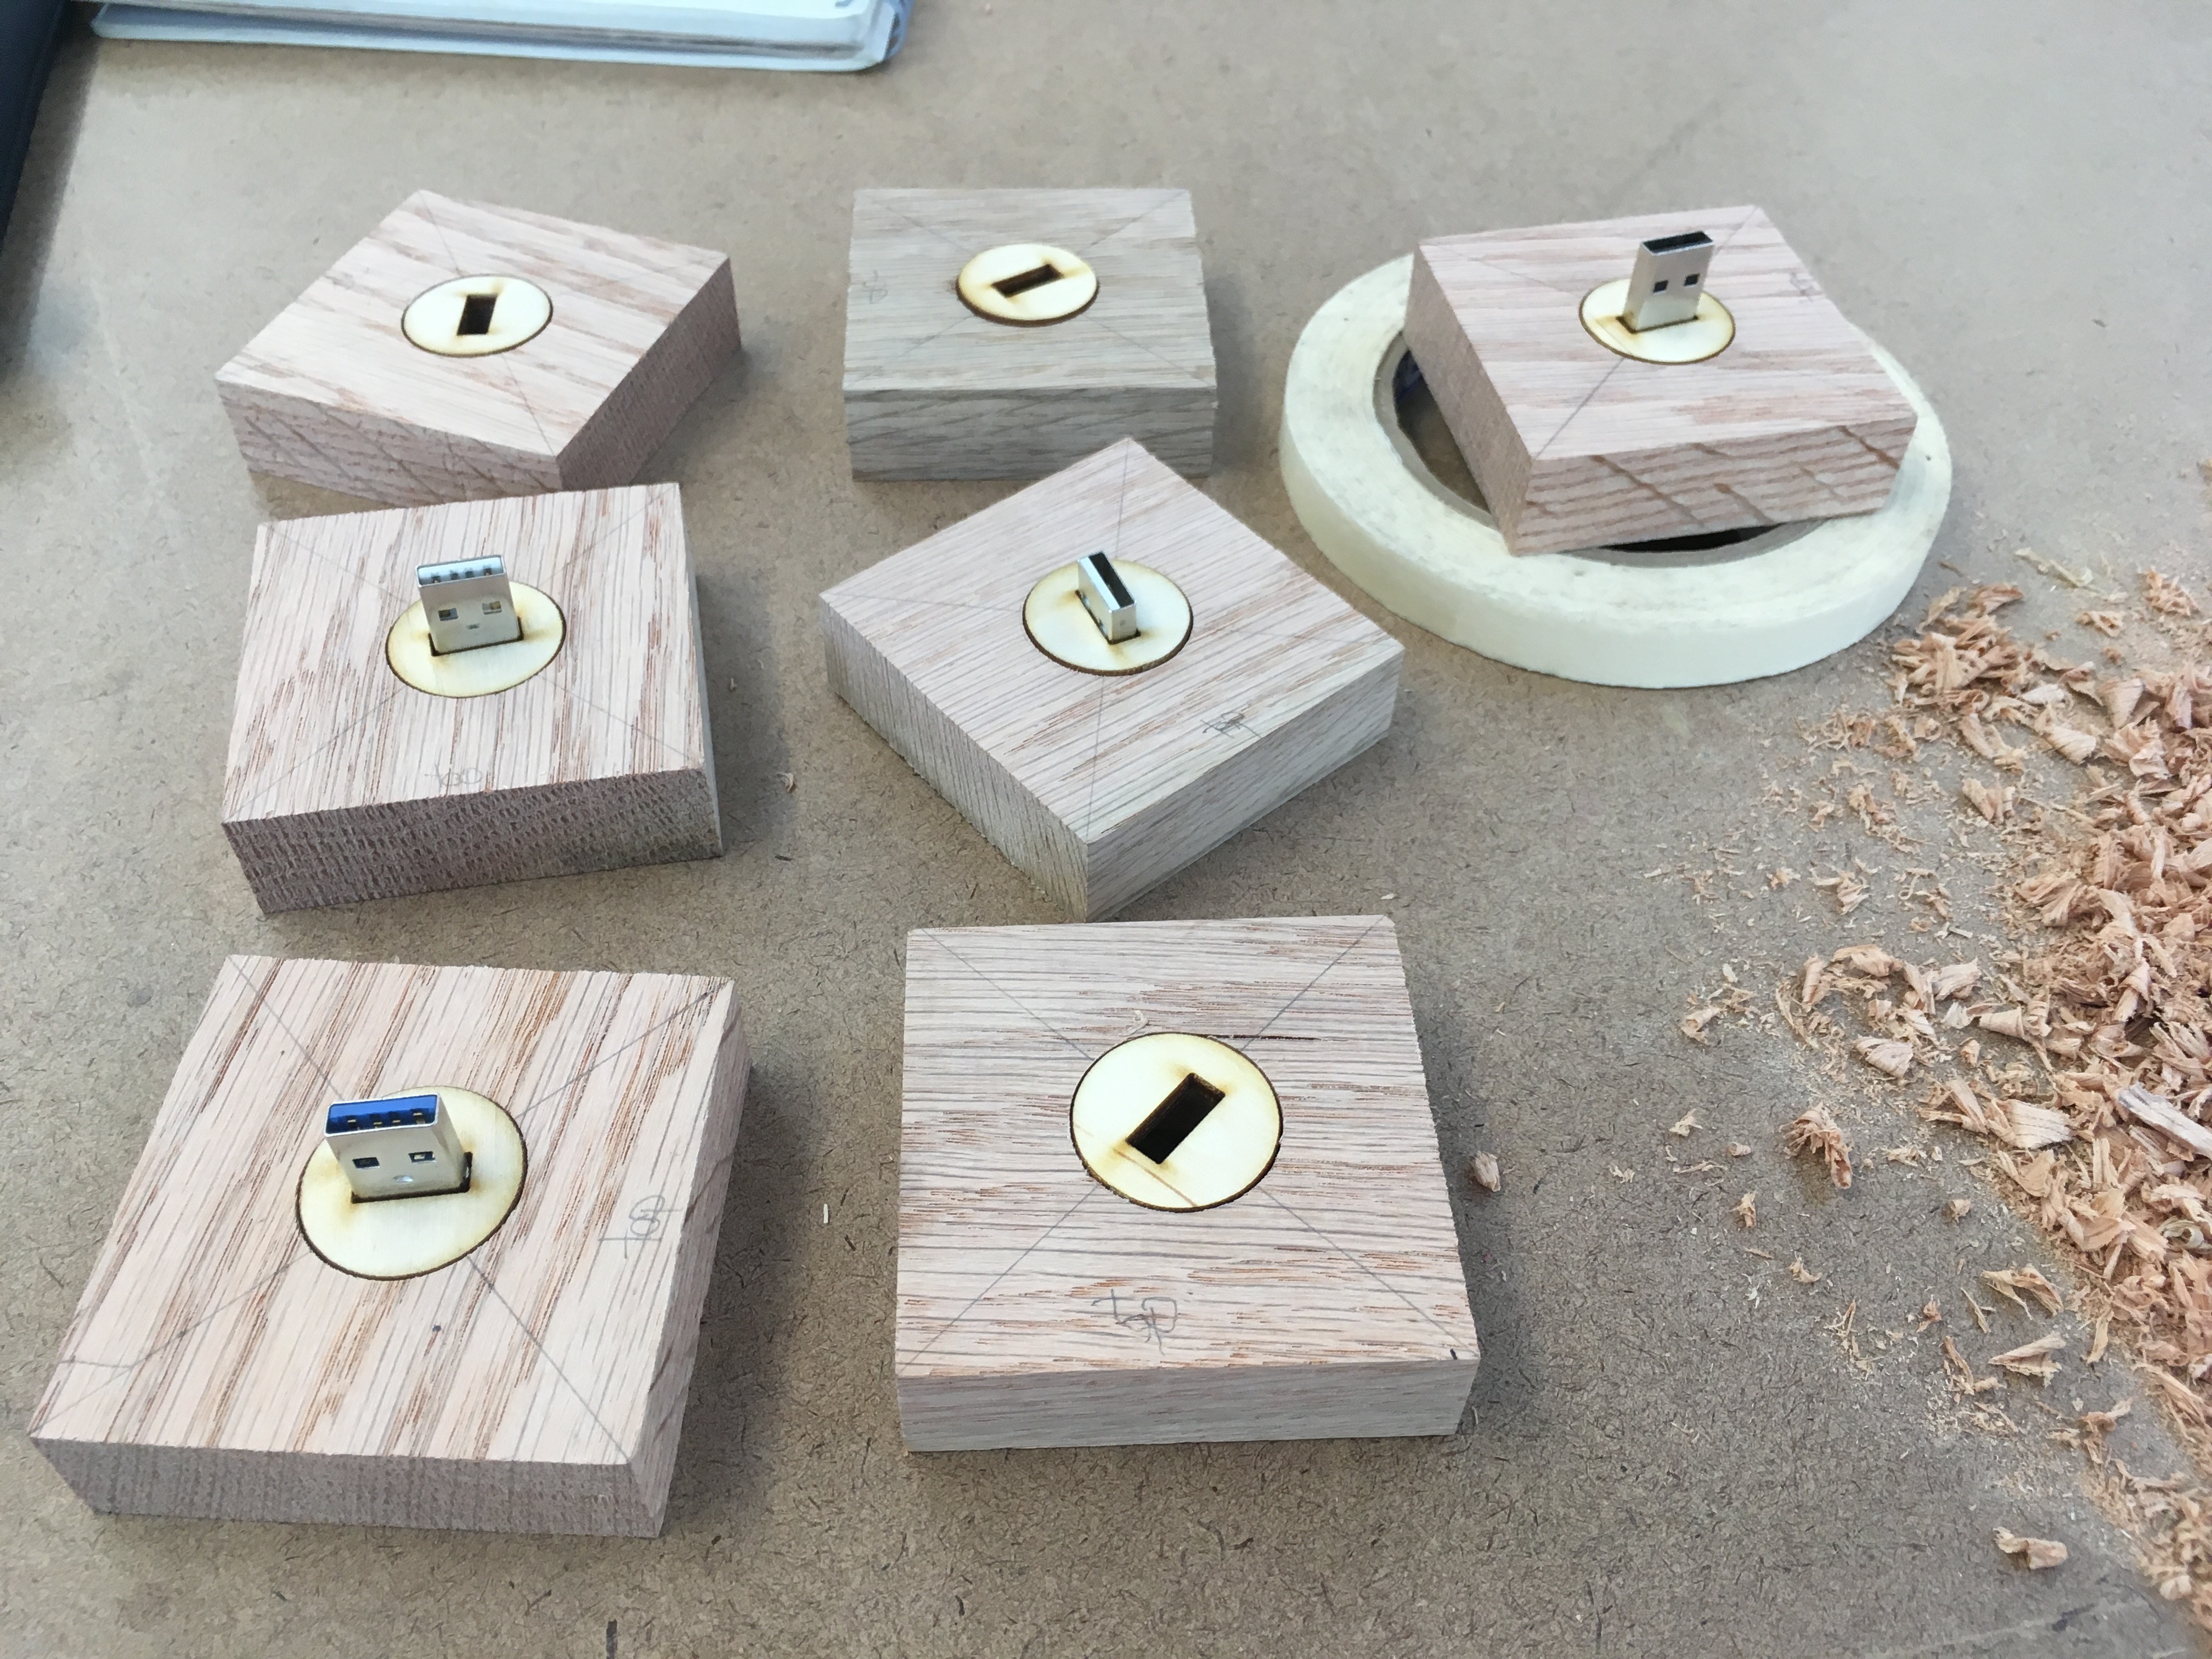
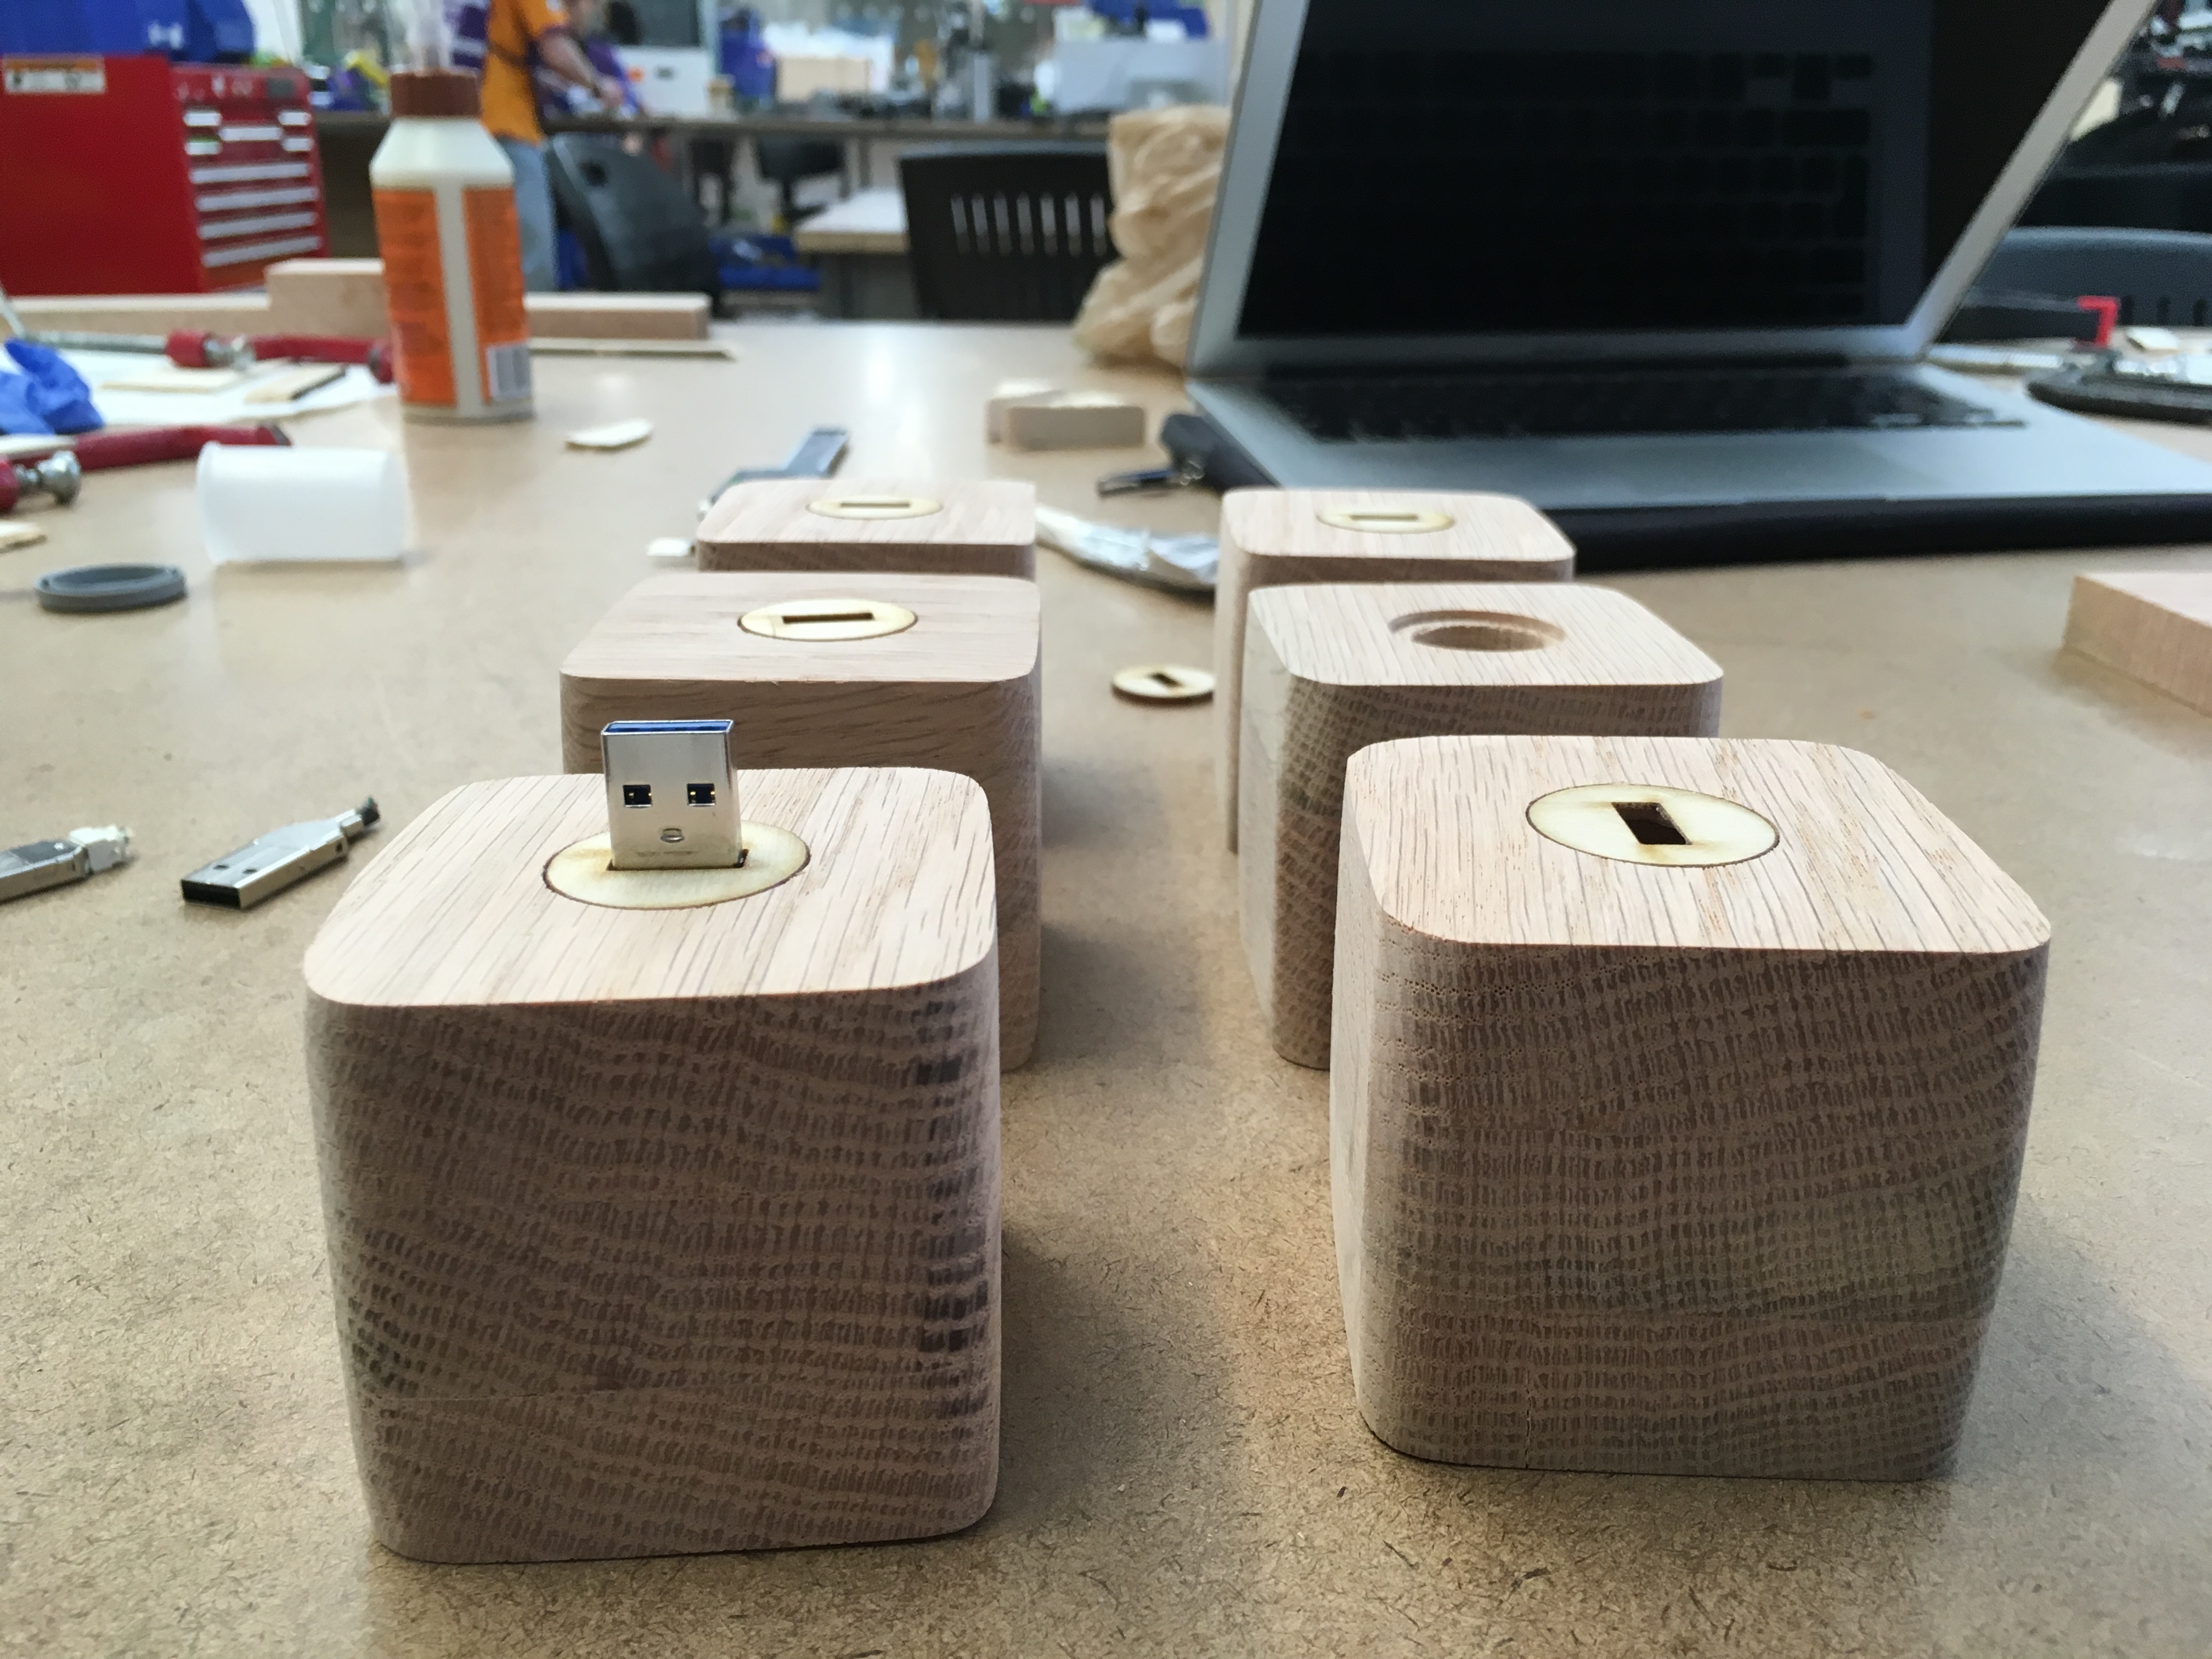
The prototype scraped USB ends coming out through the laser cut openings. It's starting to come together.
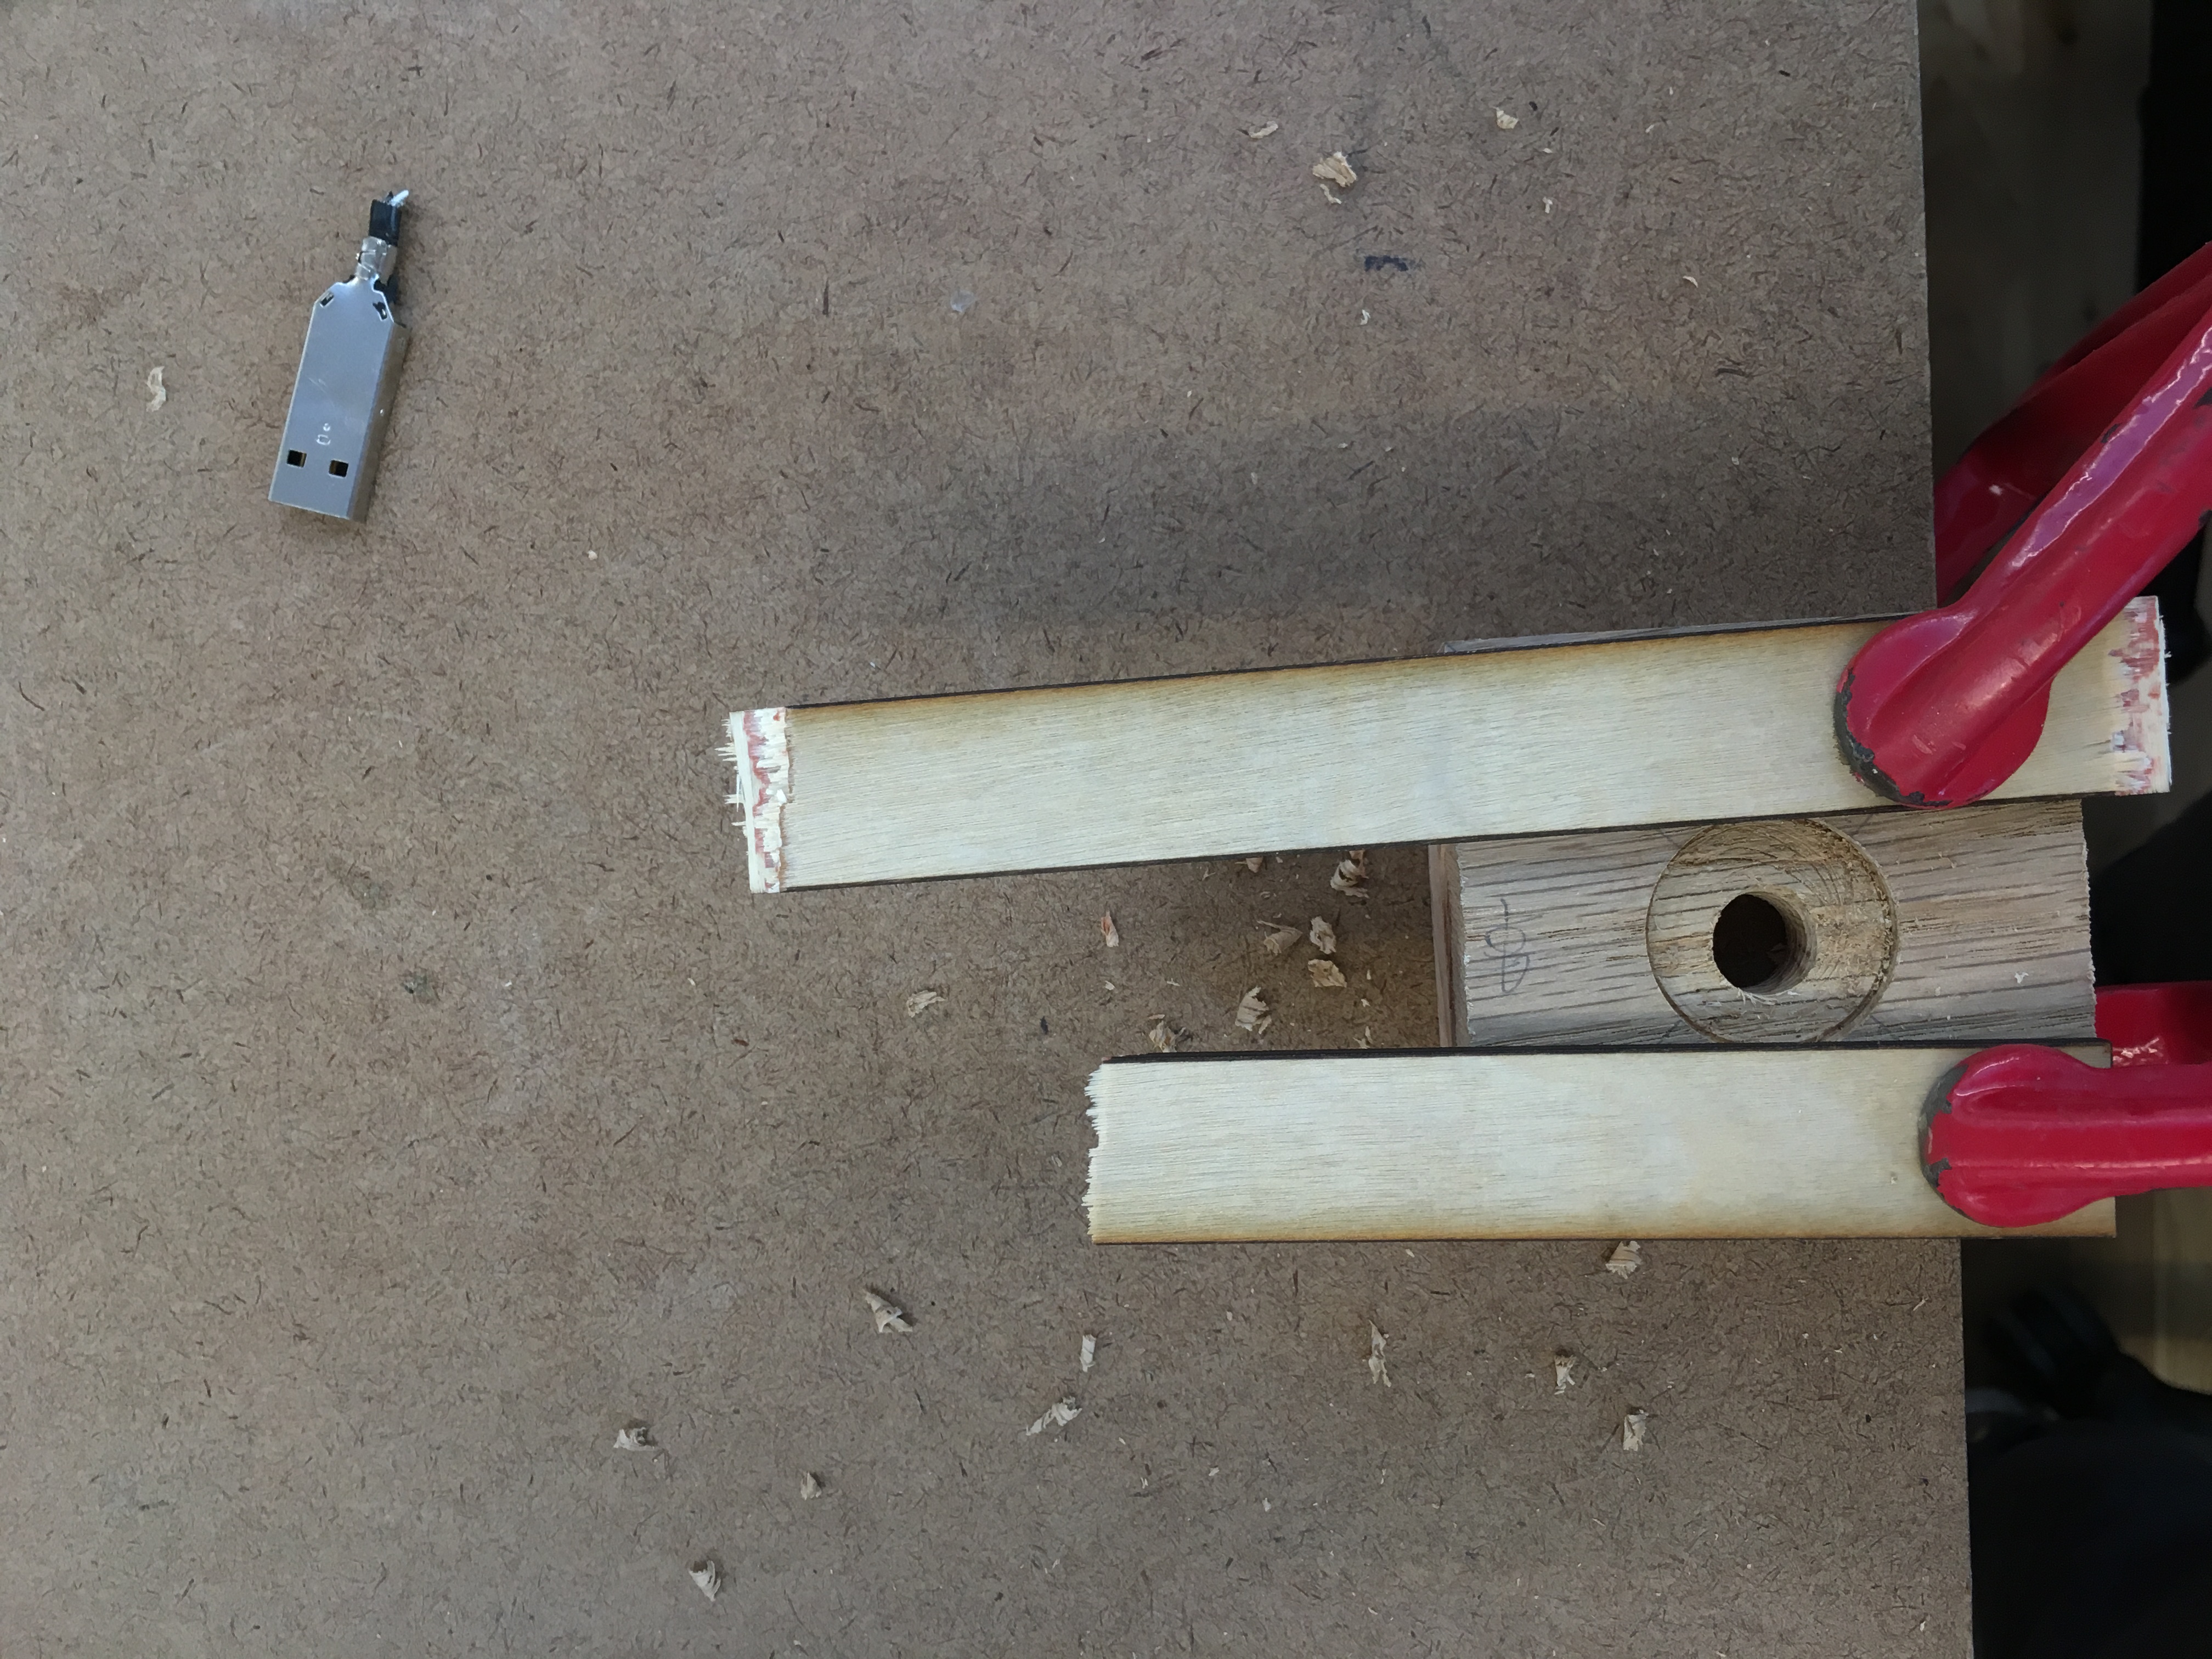
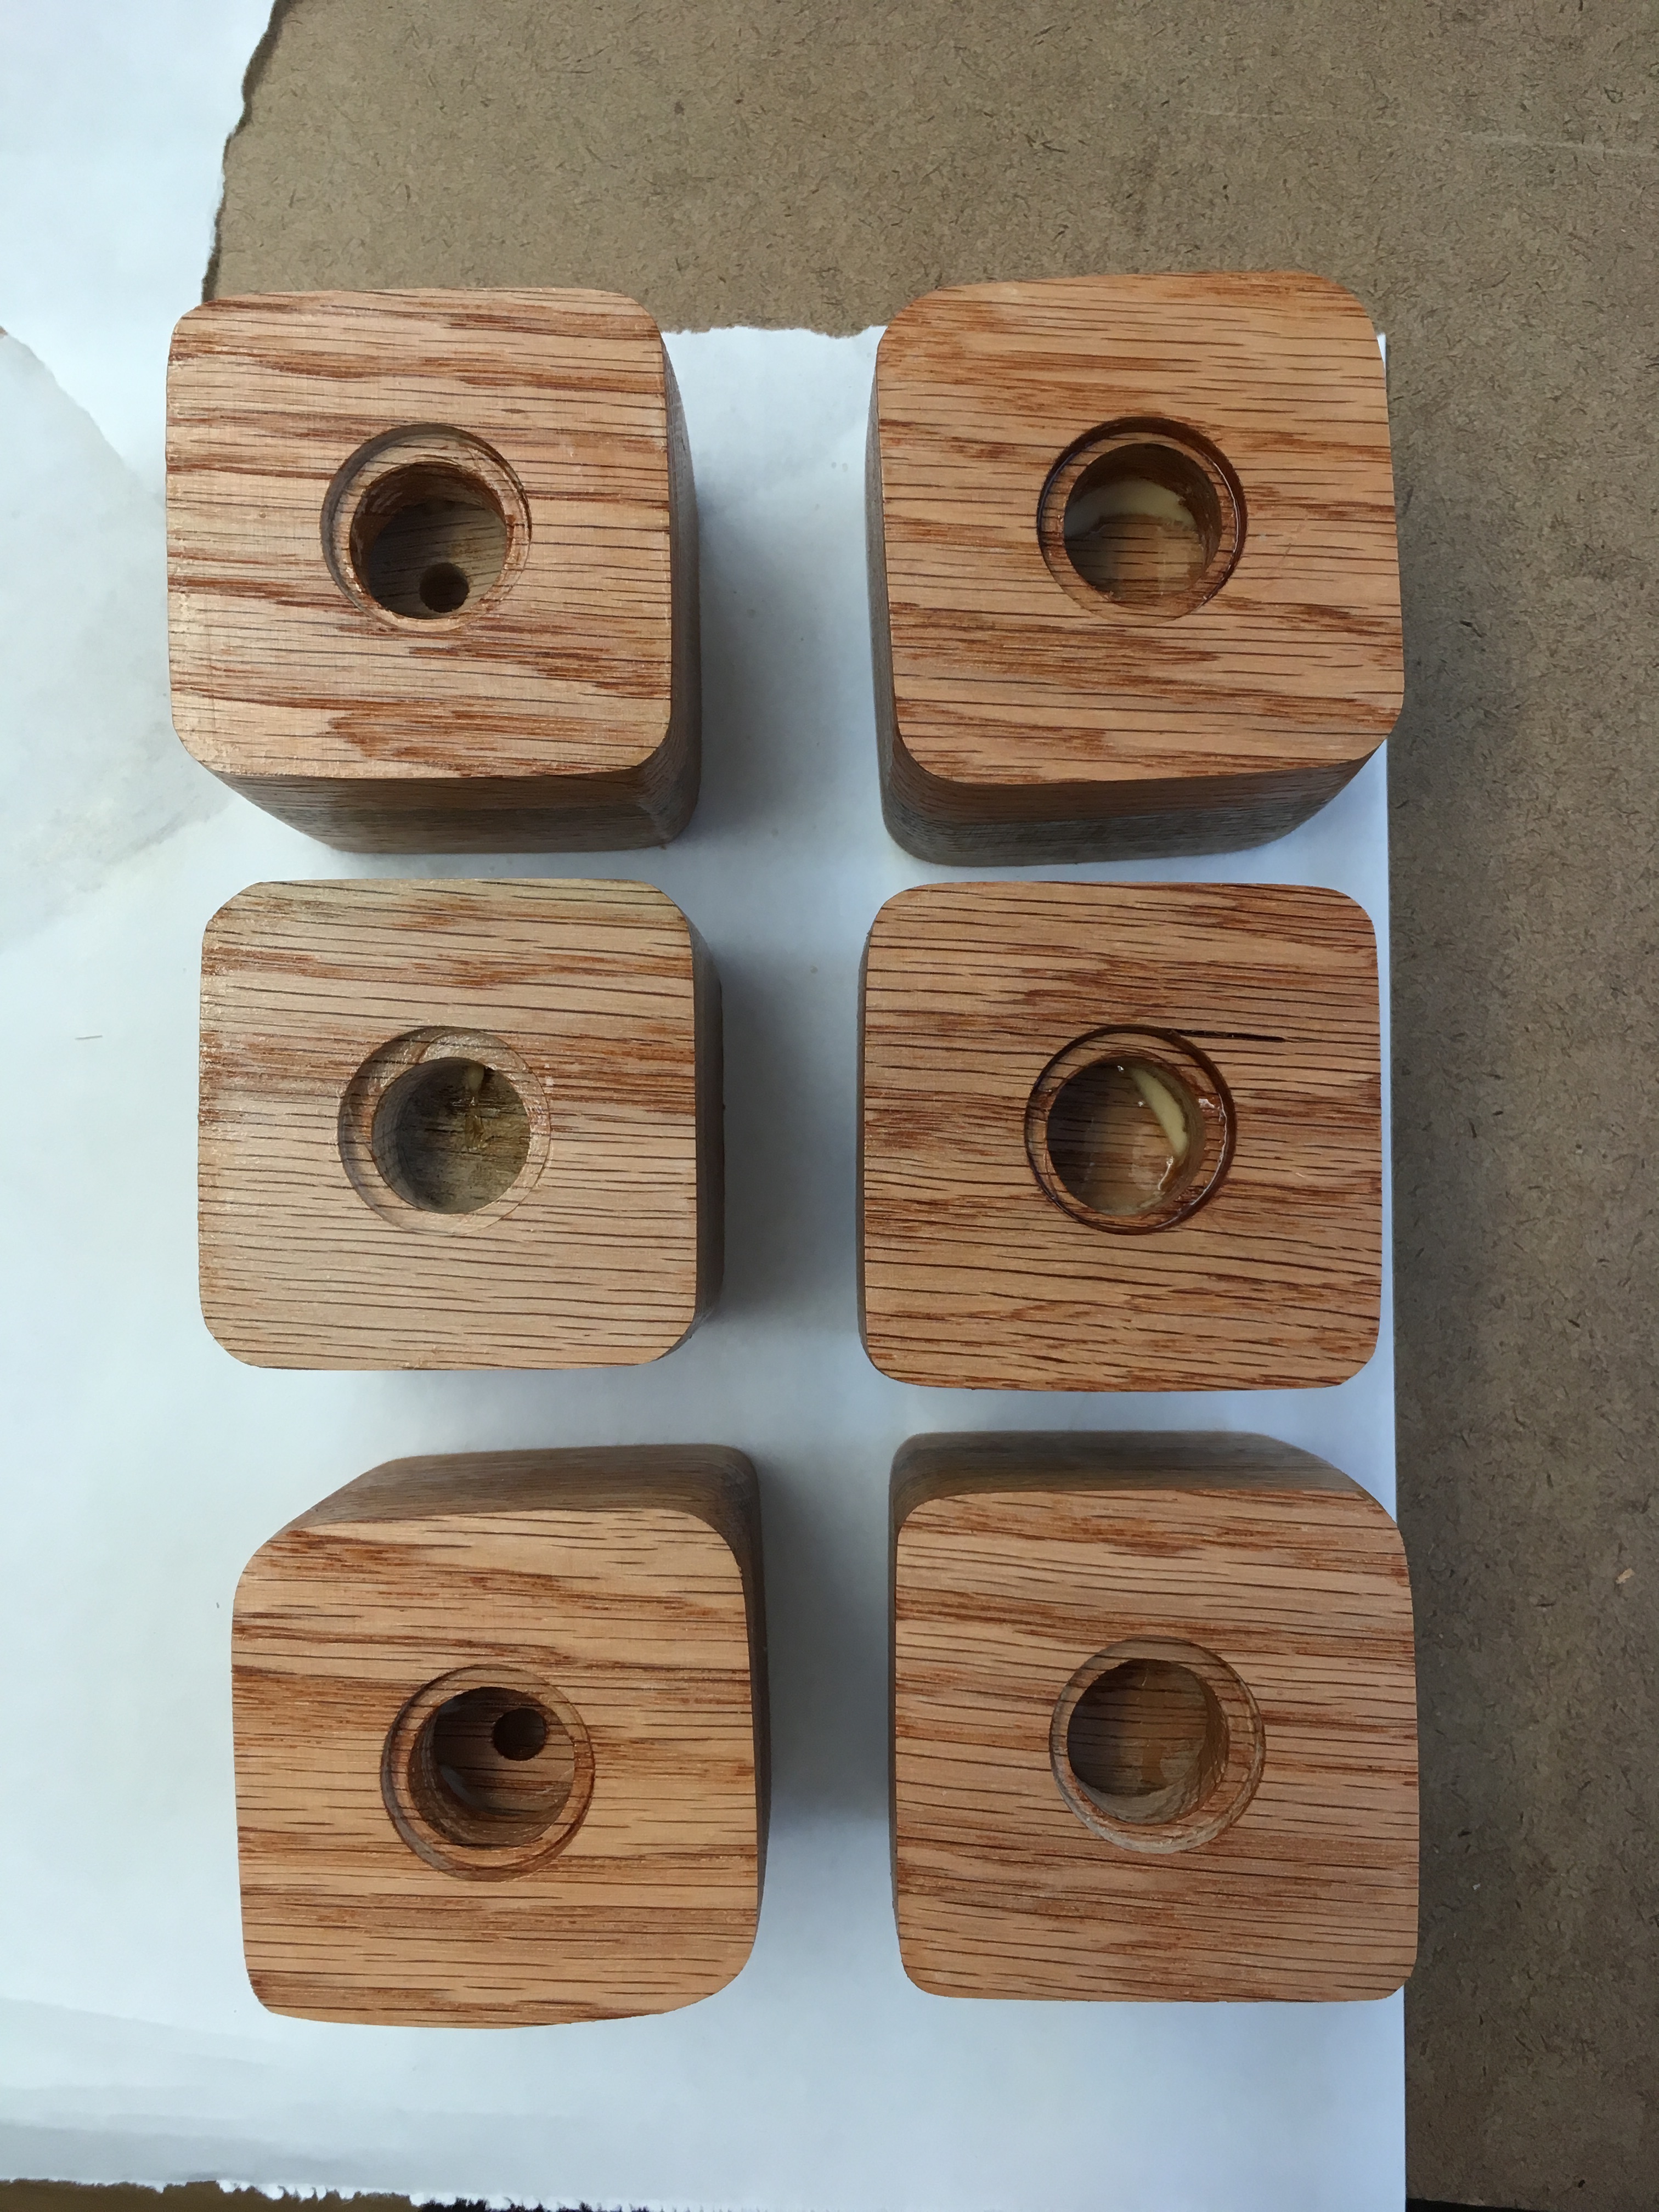
However, I realized that for some of the USBs, the part sticking out was too short to plug into a computer. So I used a Dremel to scoop out wood on the back of the circles and bring the USB jack out as much as possible.
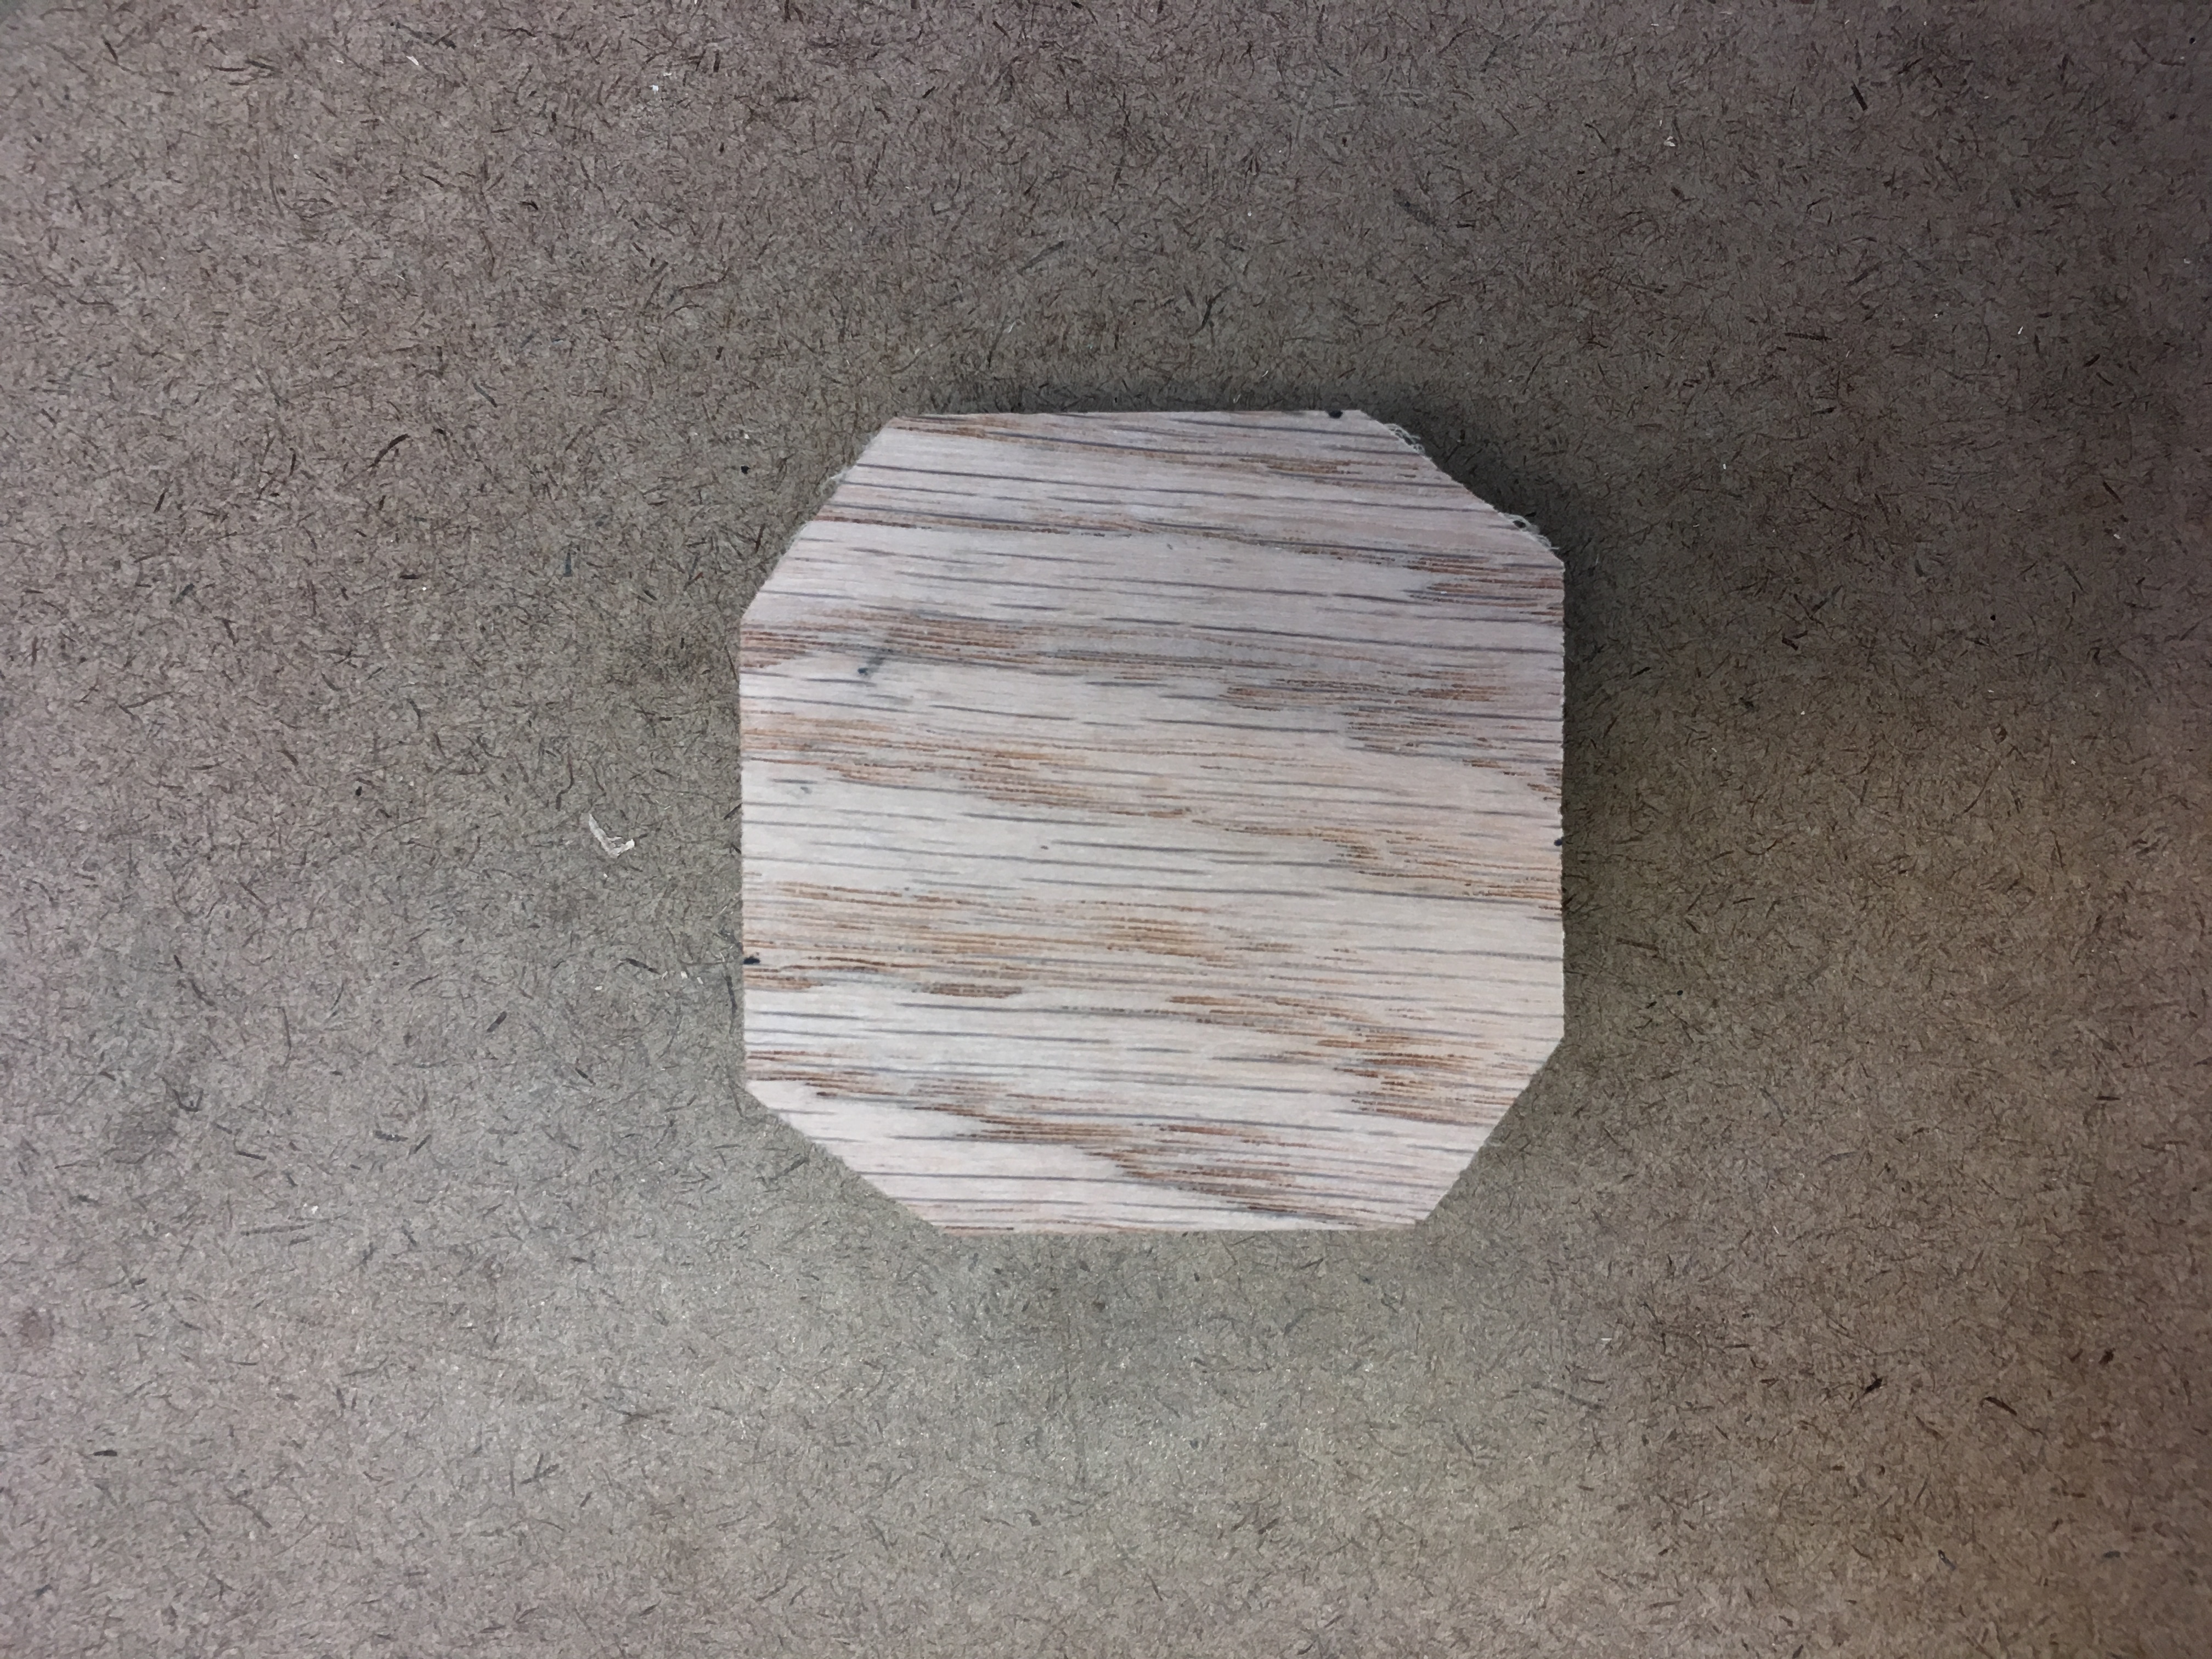
For a moment, I considered changing the design from a cube into a more complex shape, but decided to abandon the direction after a few failed experiments on the sander.
Unsuccessful shape design experiment.
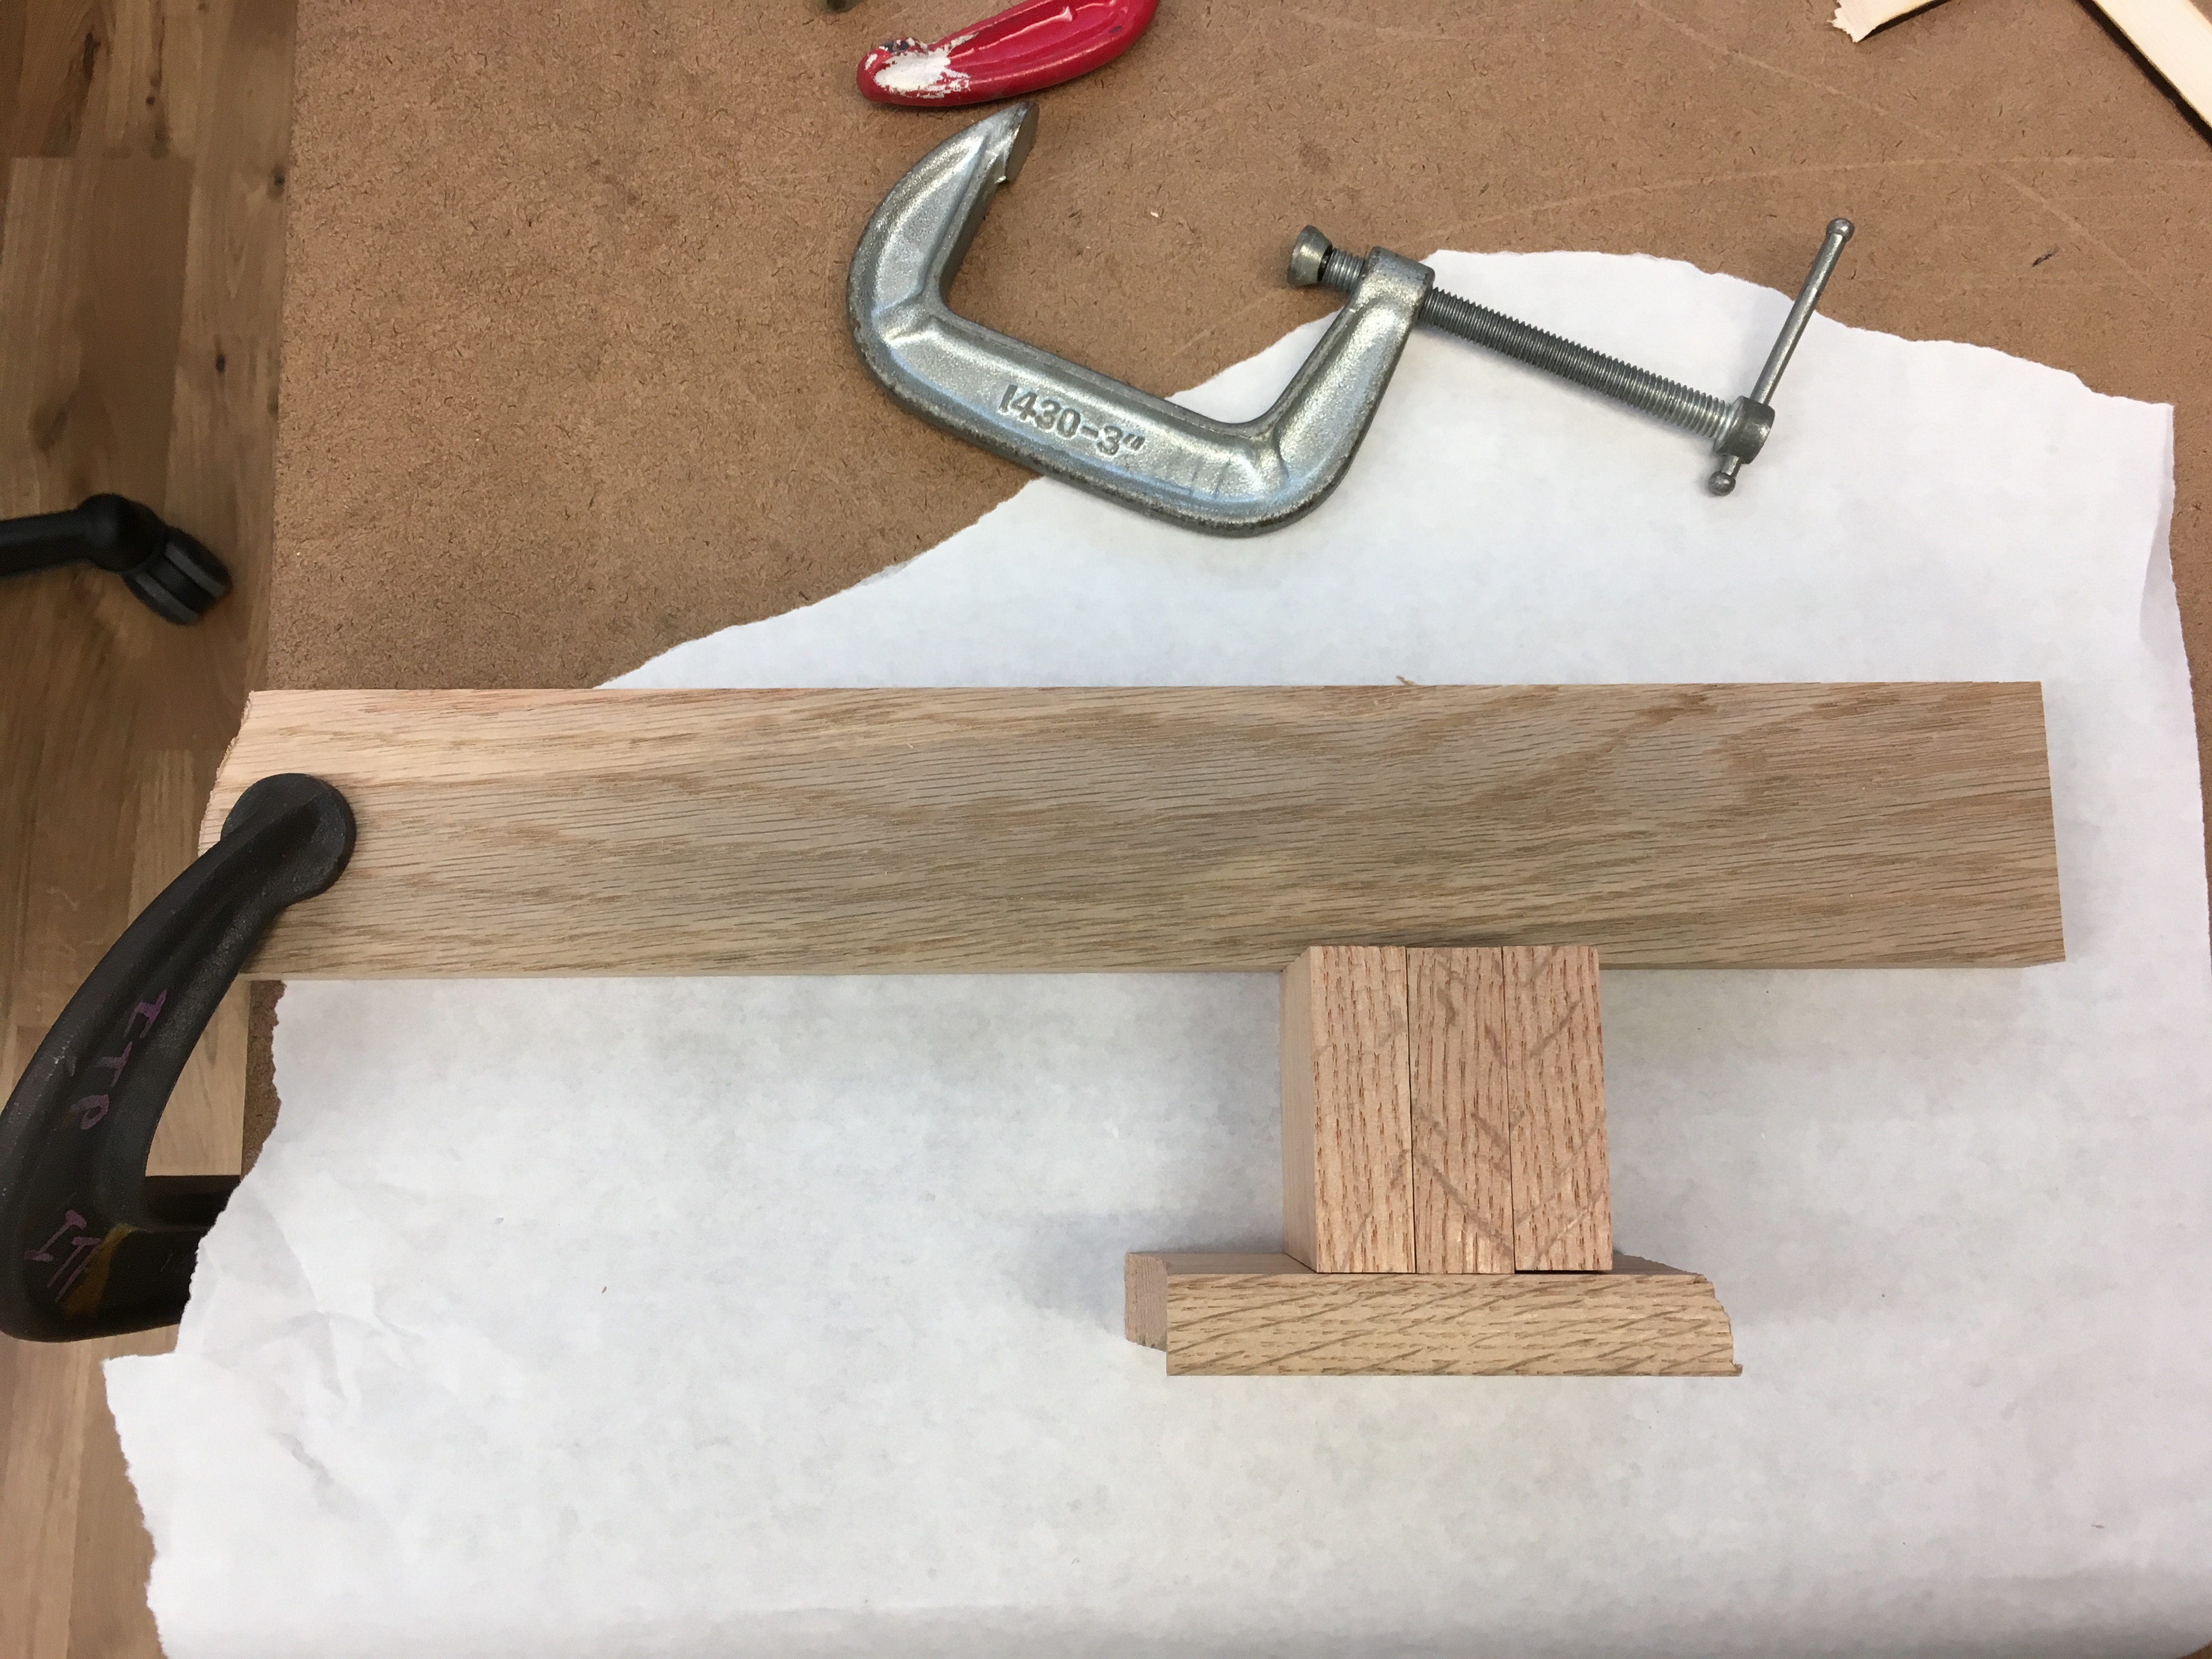
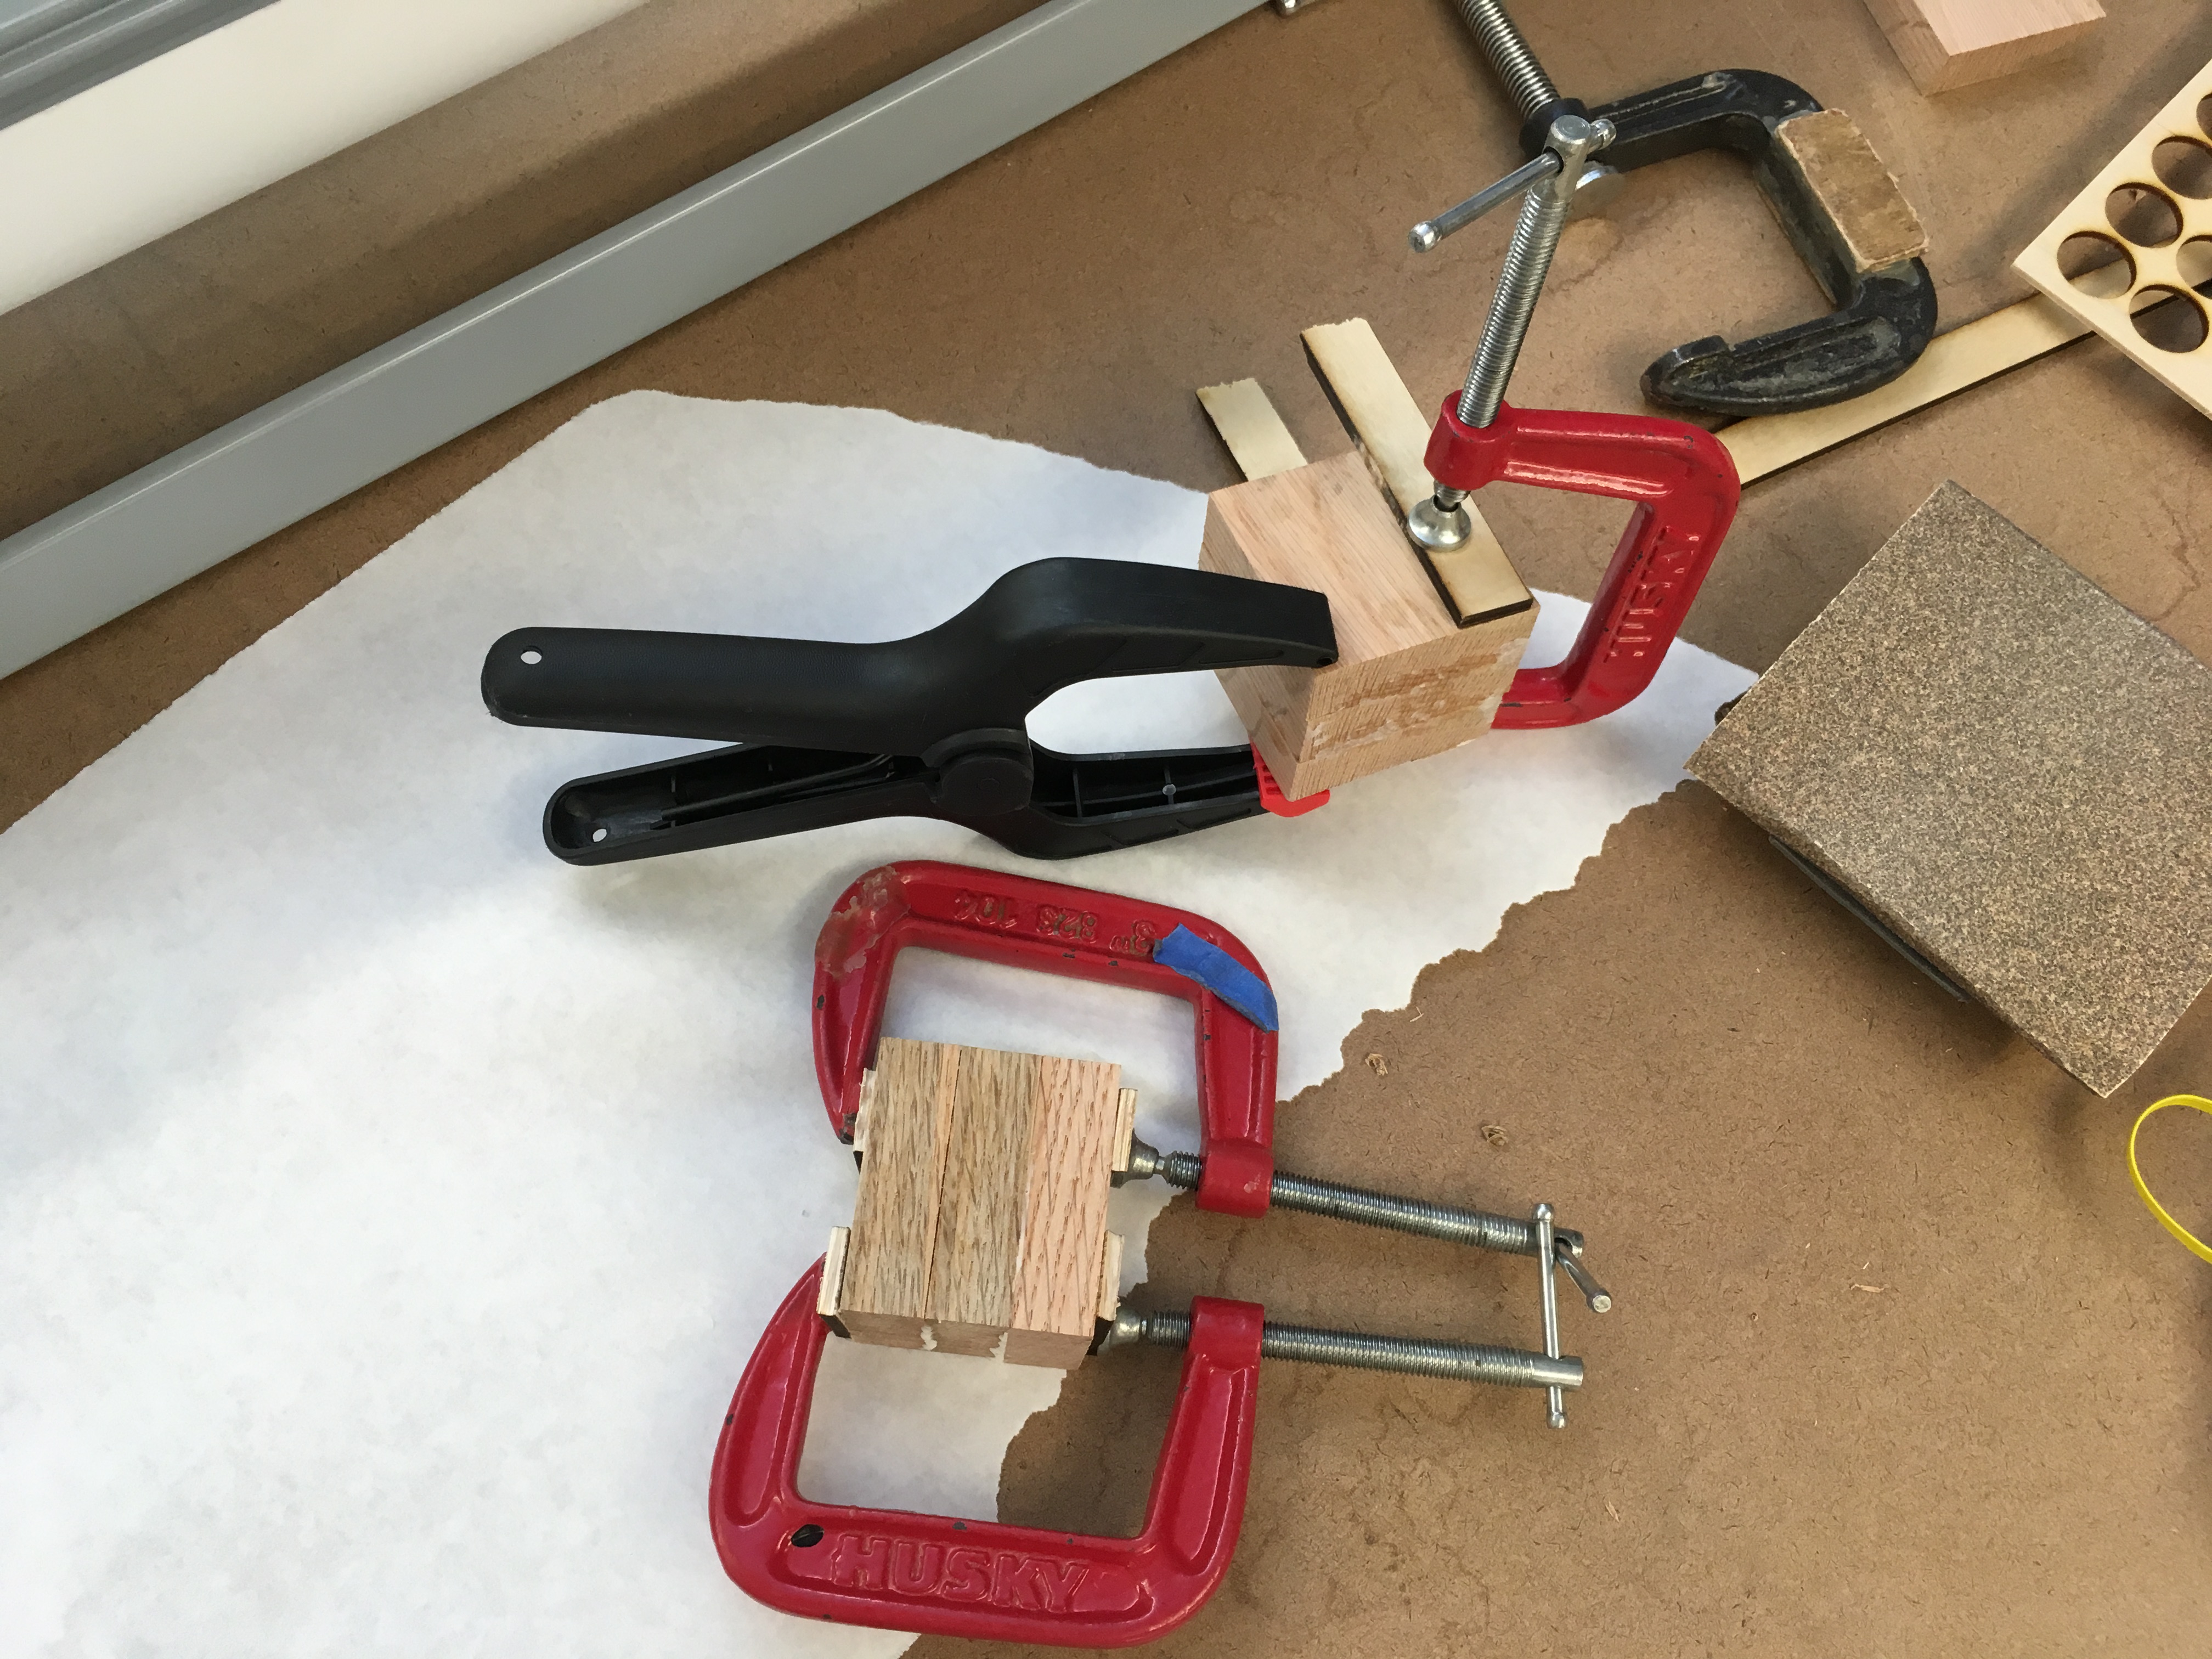
The next step was to glue the pieces together in order to get the actual cubes.
The process of glueing the cubes together out of their 3 components.
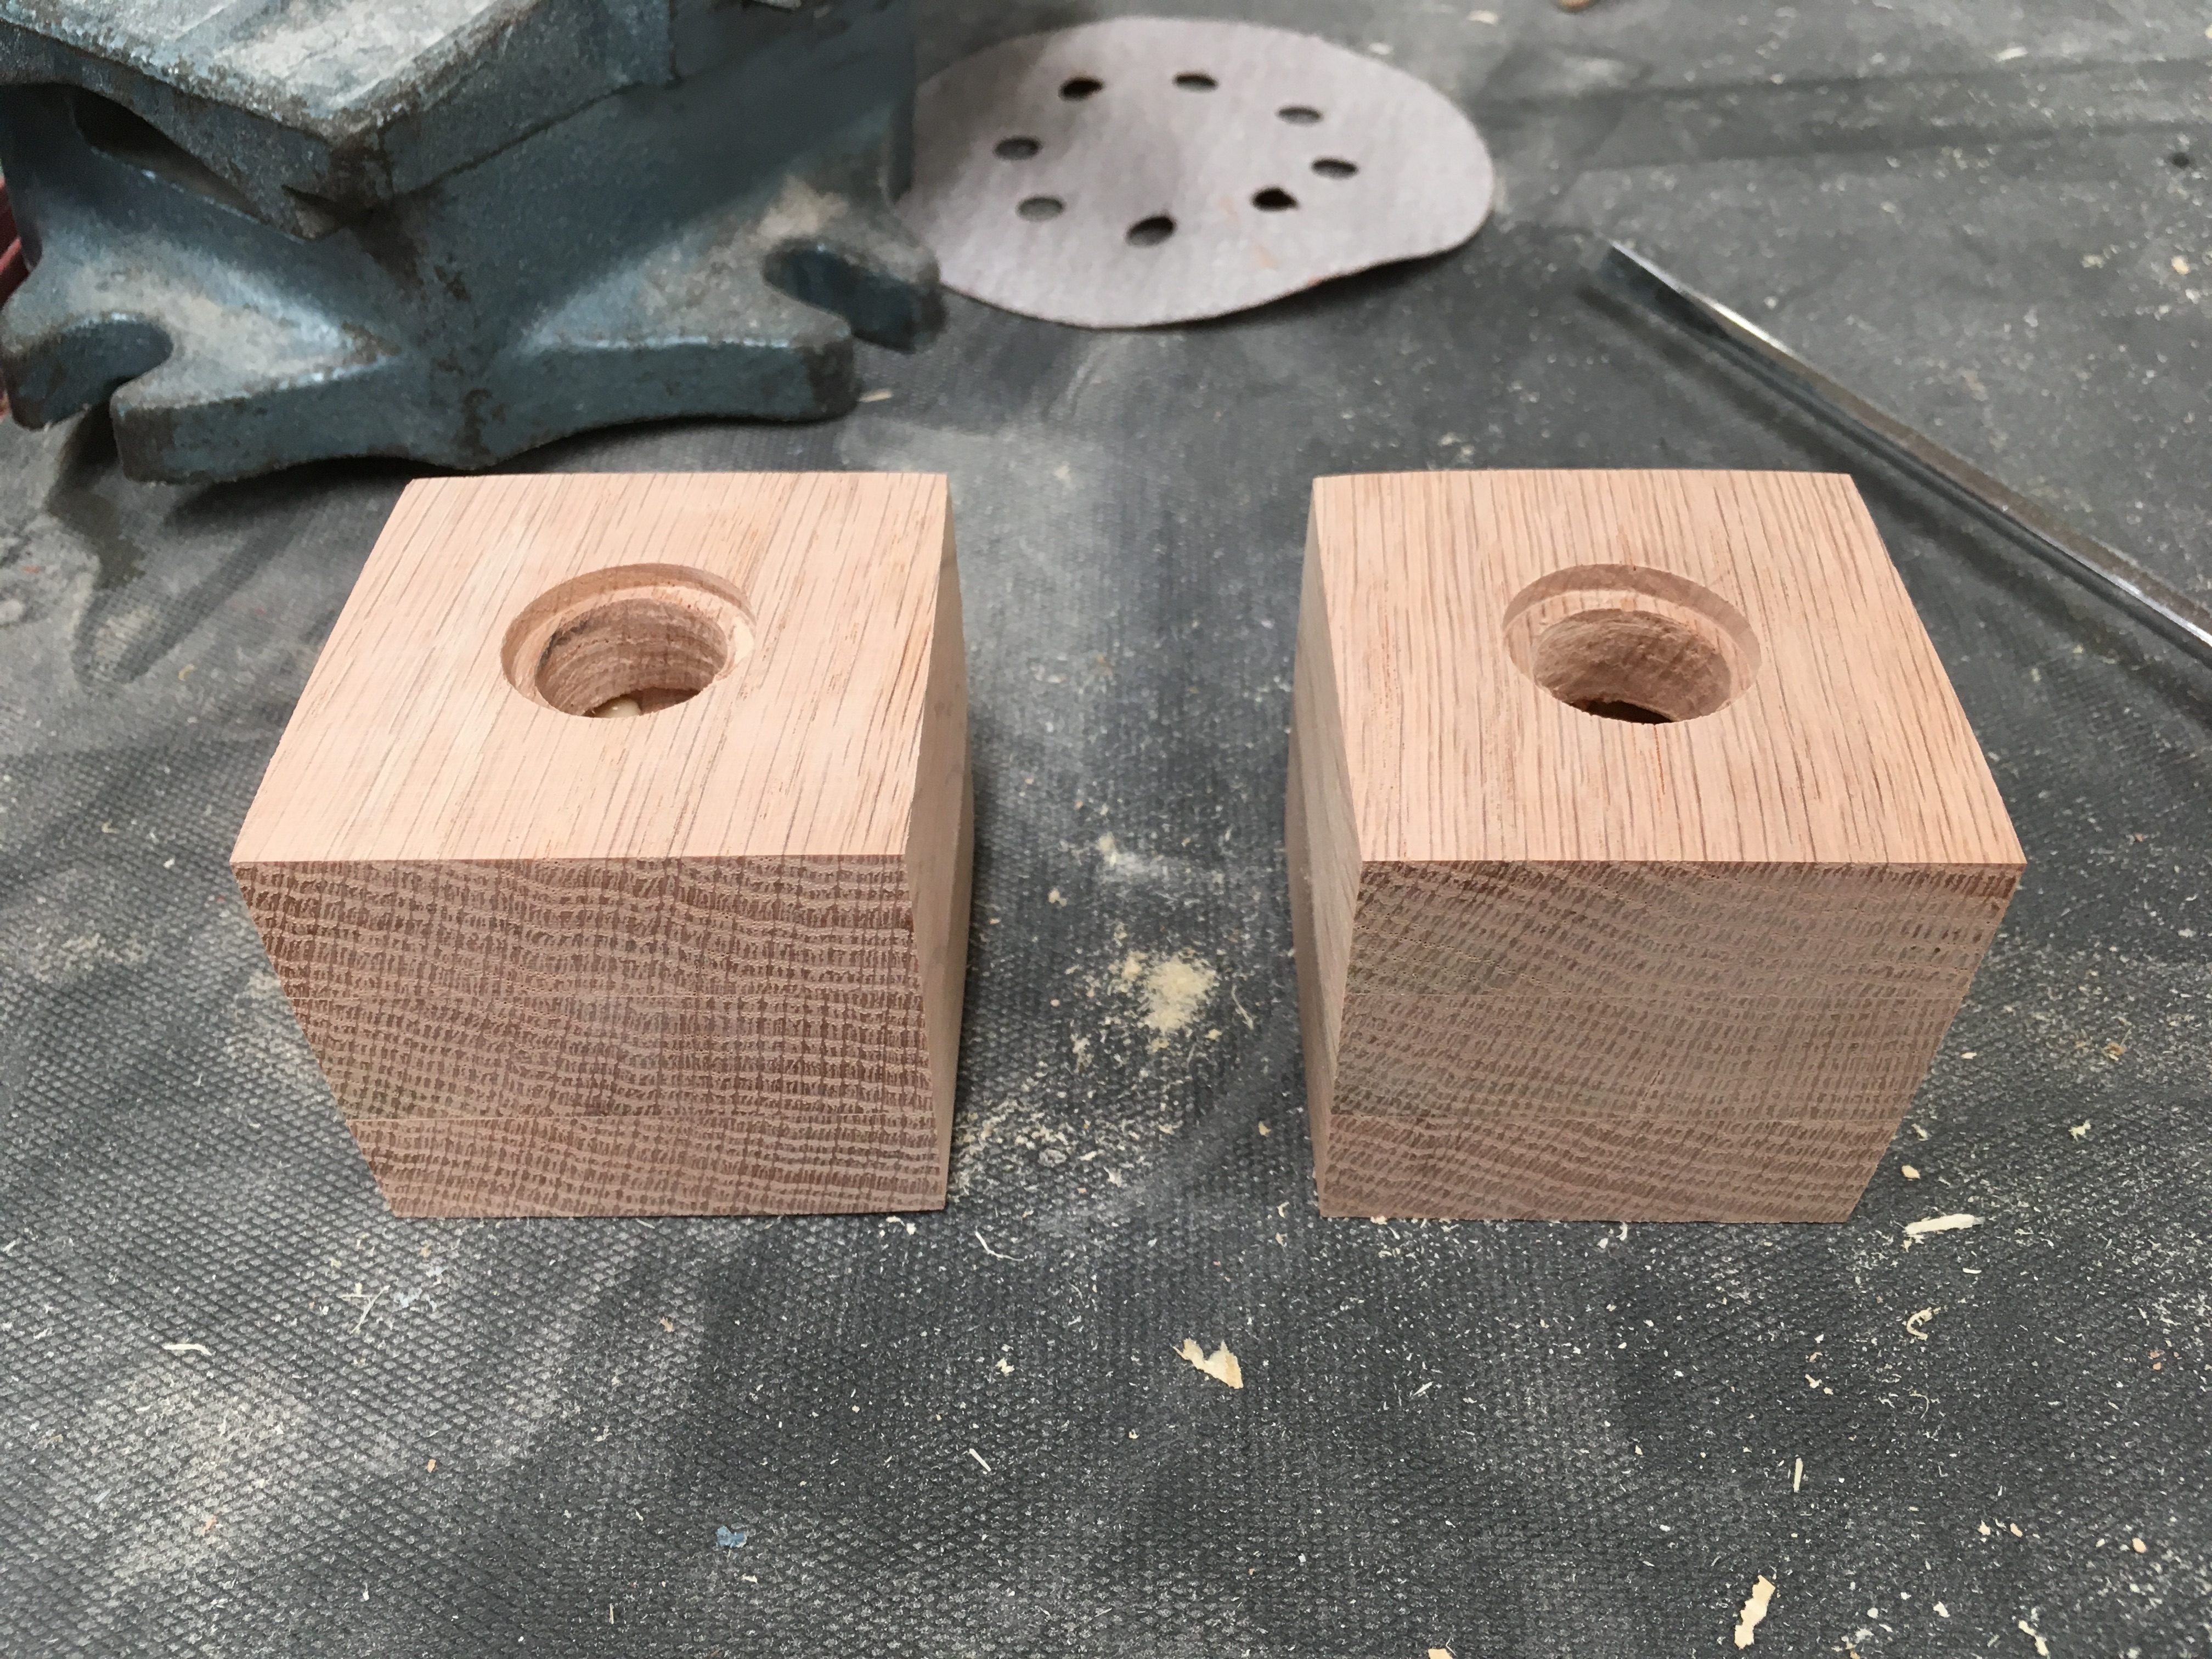
And the first cubes, post-sanding.
I accidentally discovered that I can round corners using the belt sander and thought it was an appropriate design decision, so I rounded the corners of all cubes.
Left: Testing the shape in my hand—almost as unfriendly as expected.
Right: My pants after a day of woodworking.
At this point, all that was left to do was applying a finish to the wood, geting some real USB flash drives, placing them in and glueing everything.
Applying polyurethane finish to the wood. The color changed pretty drastically, which I did not fully expect or enjoy. I likely did not apply it properly.
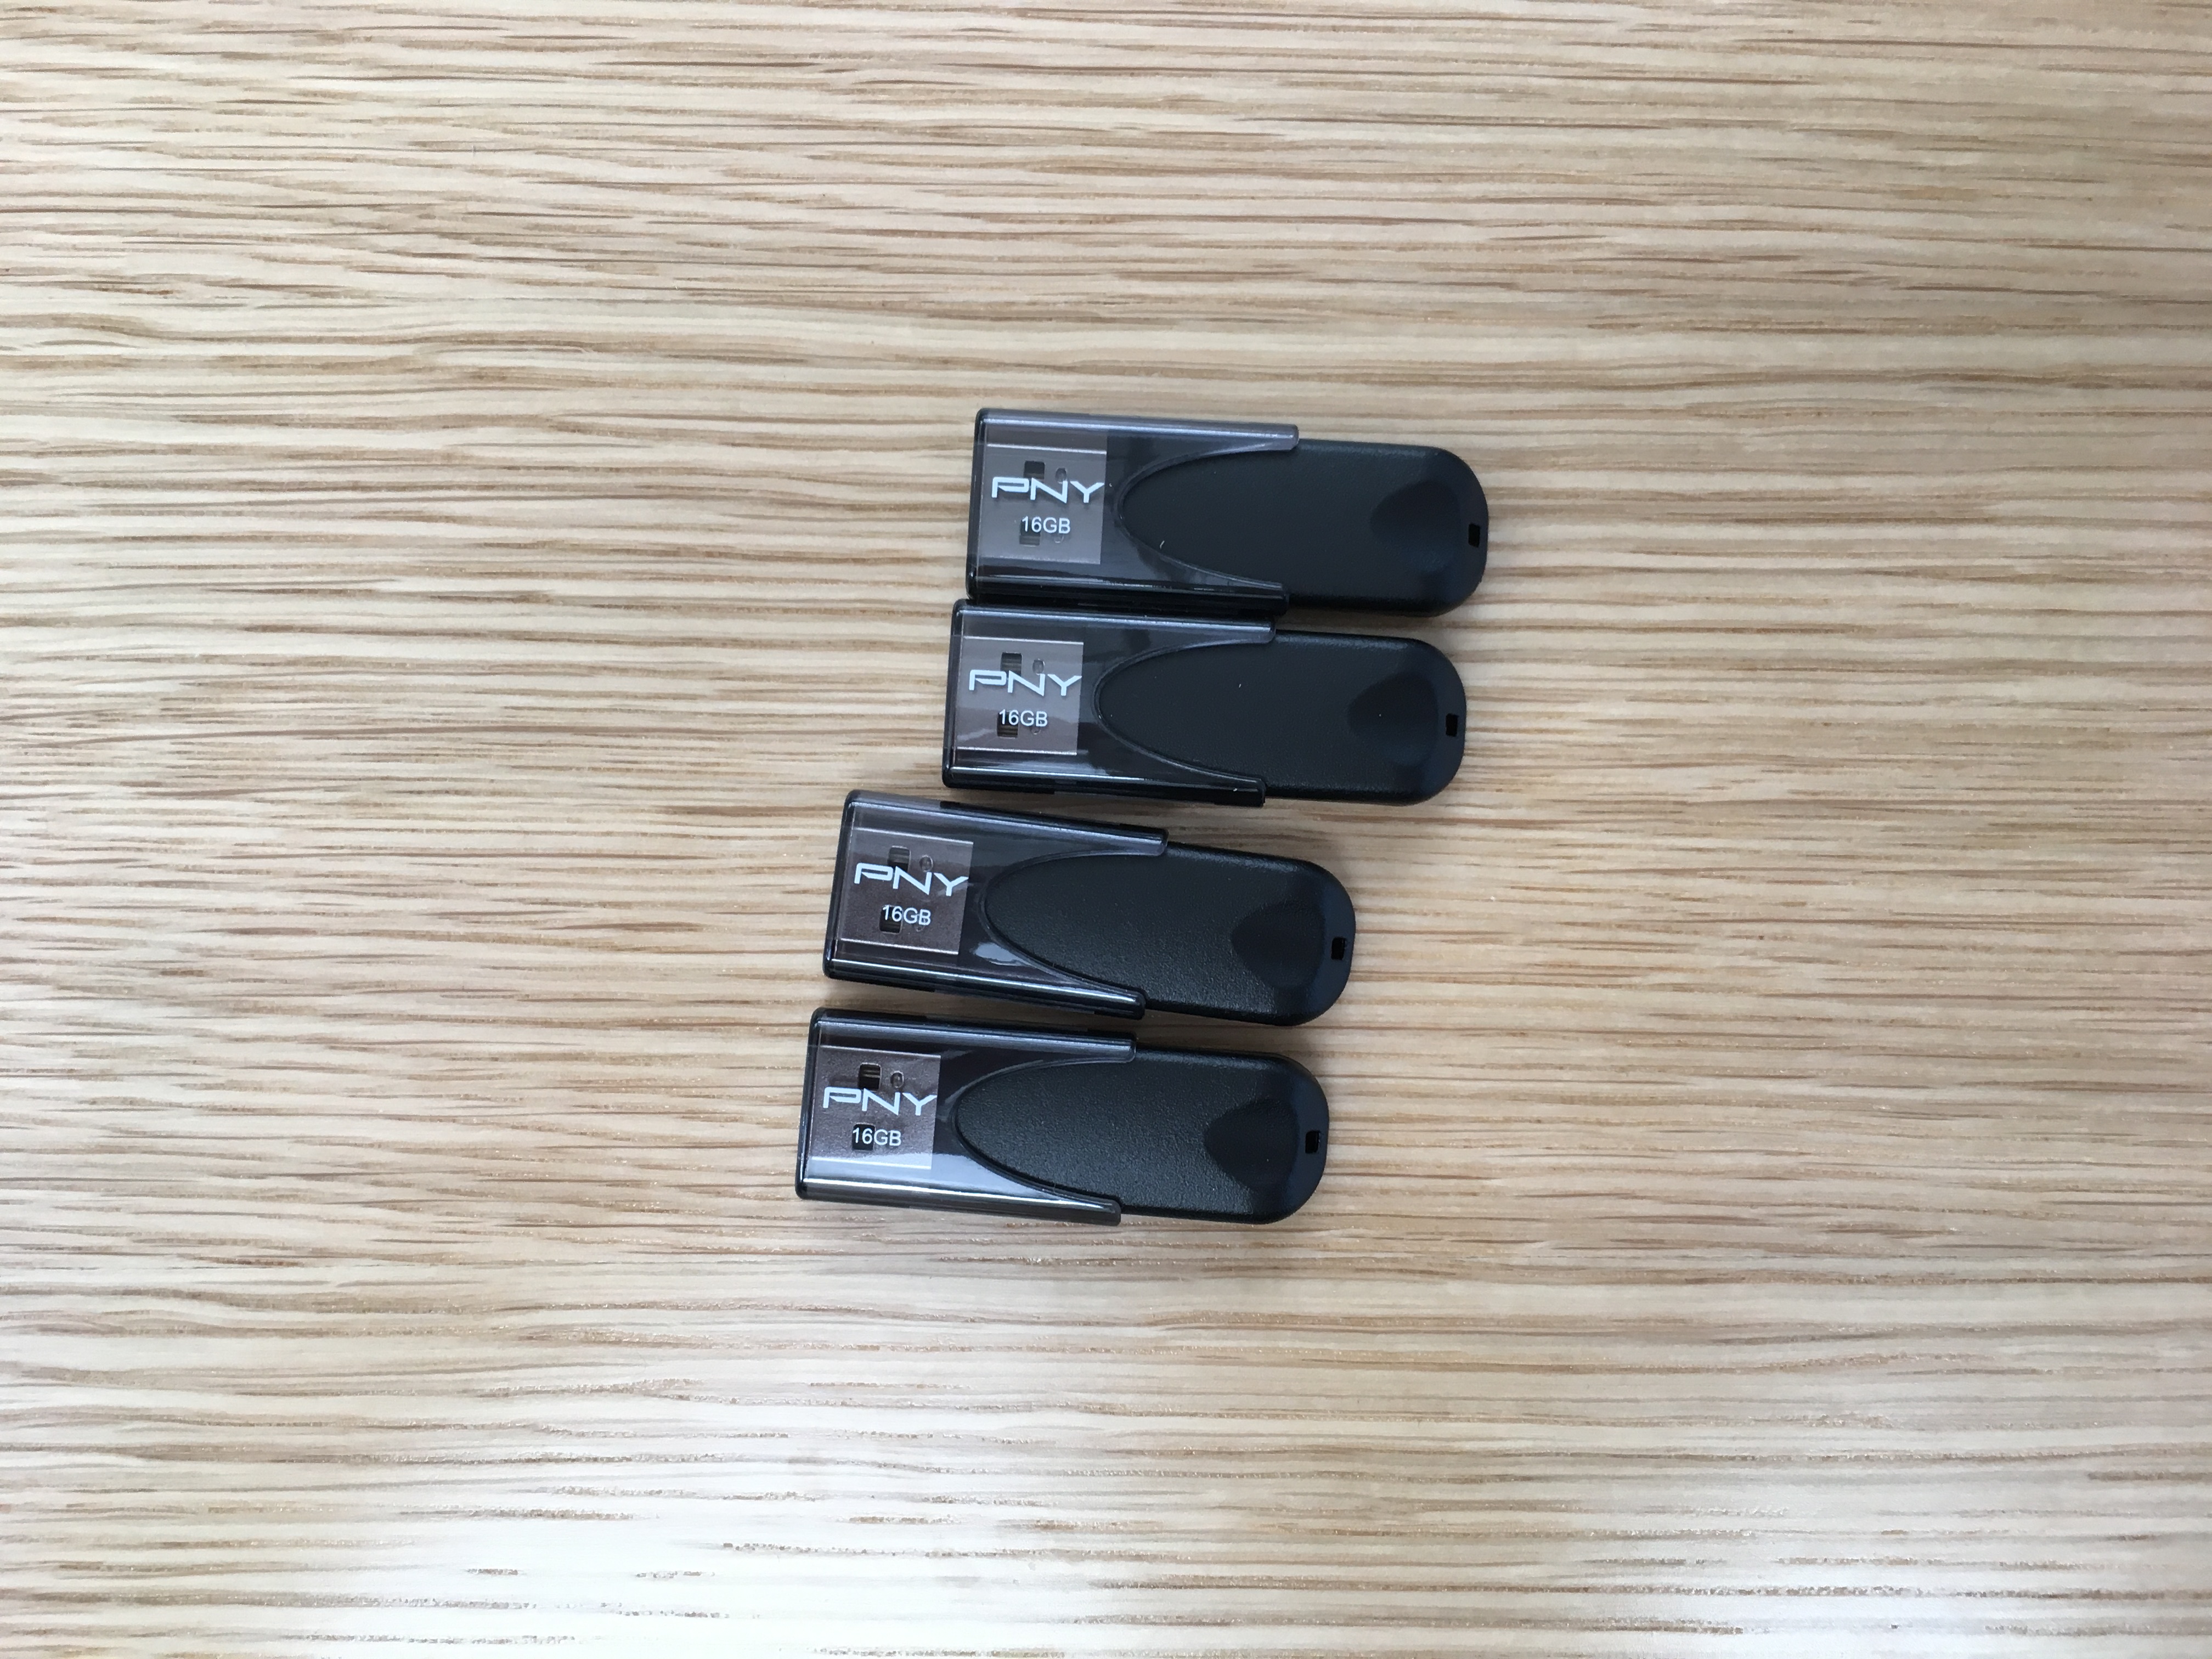
USB flash drives from Best Buy.
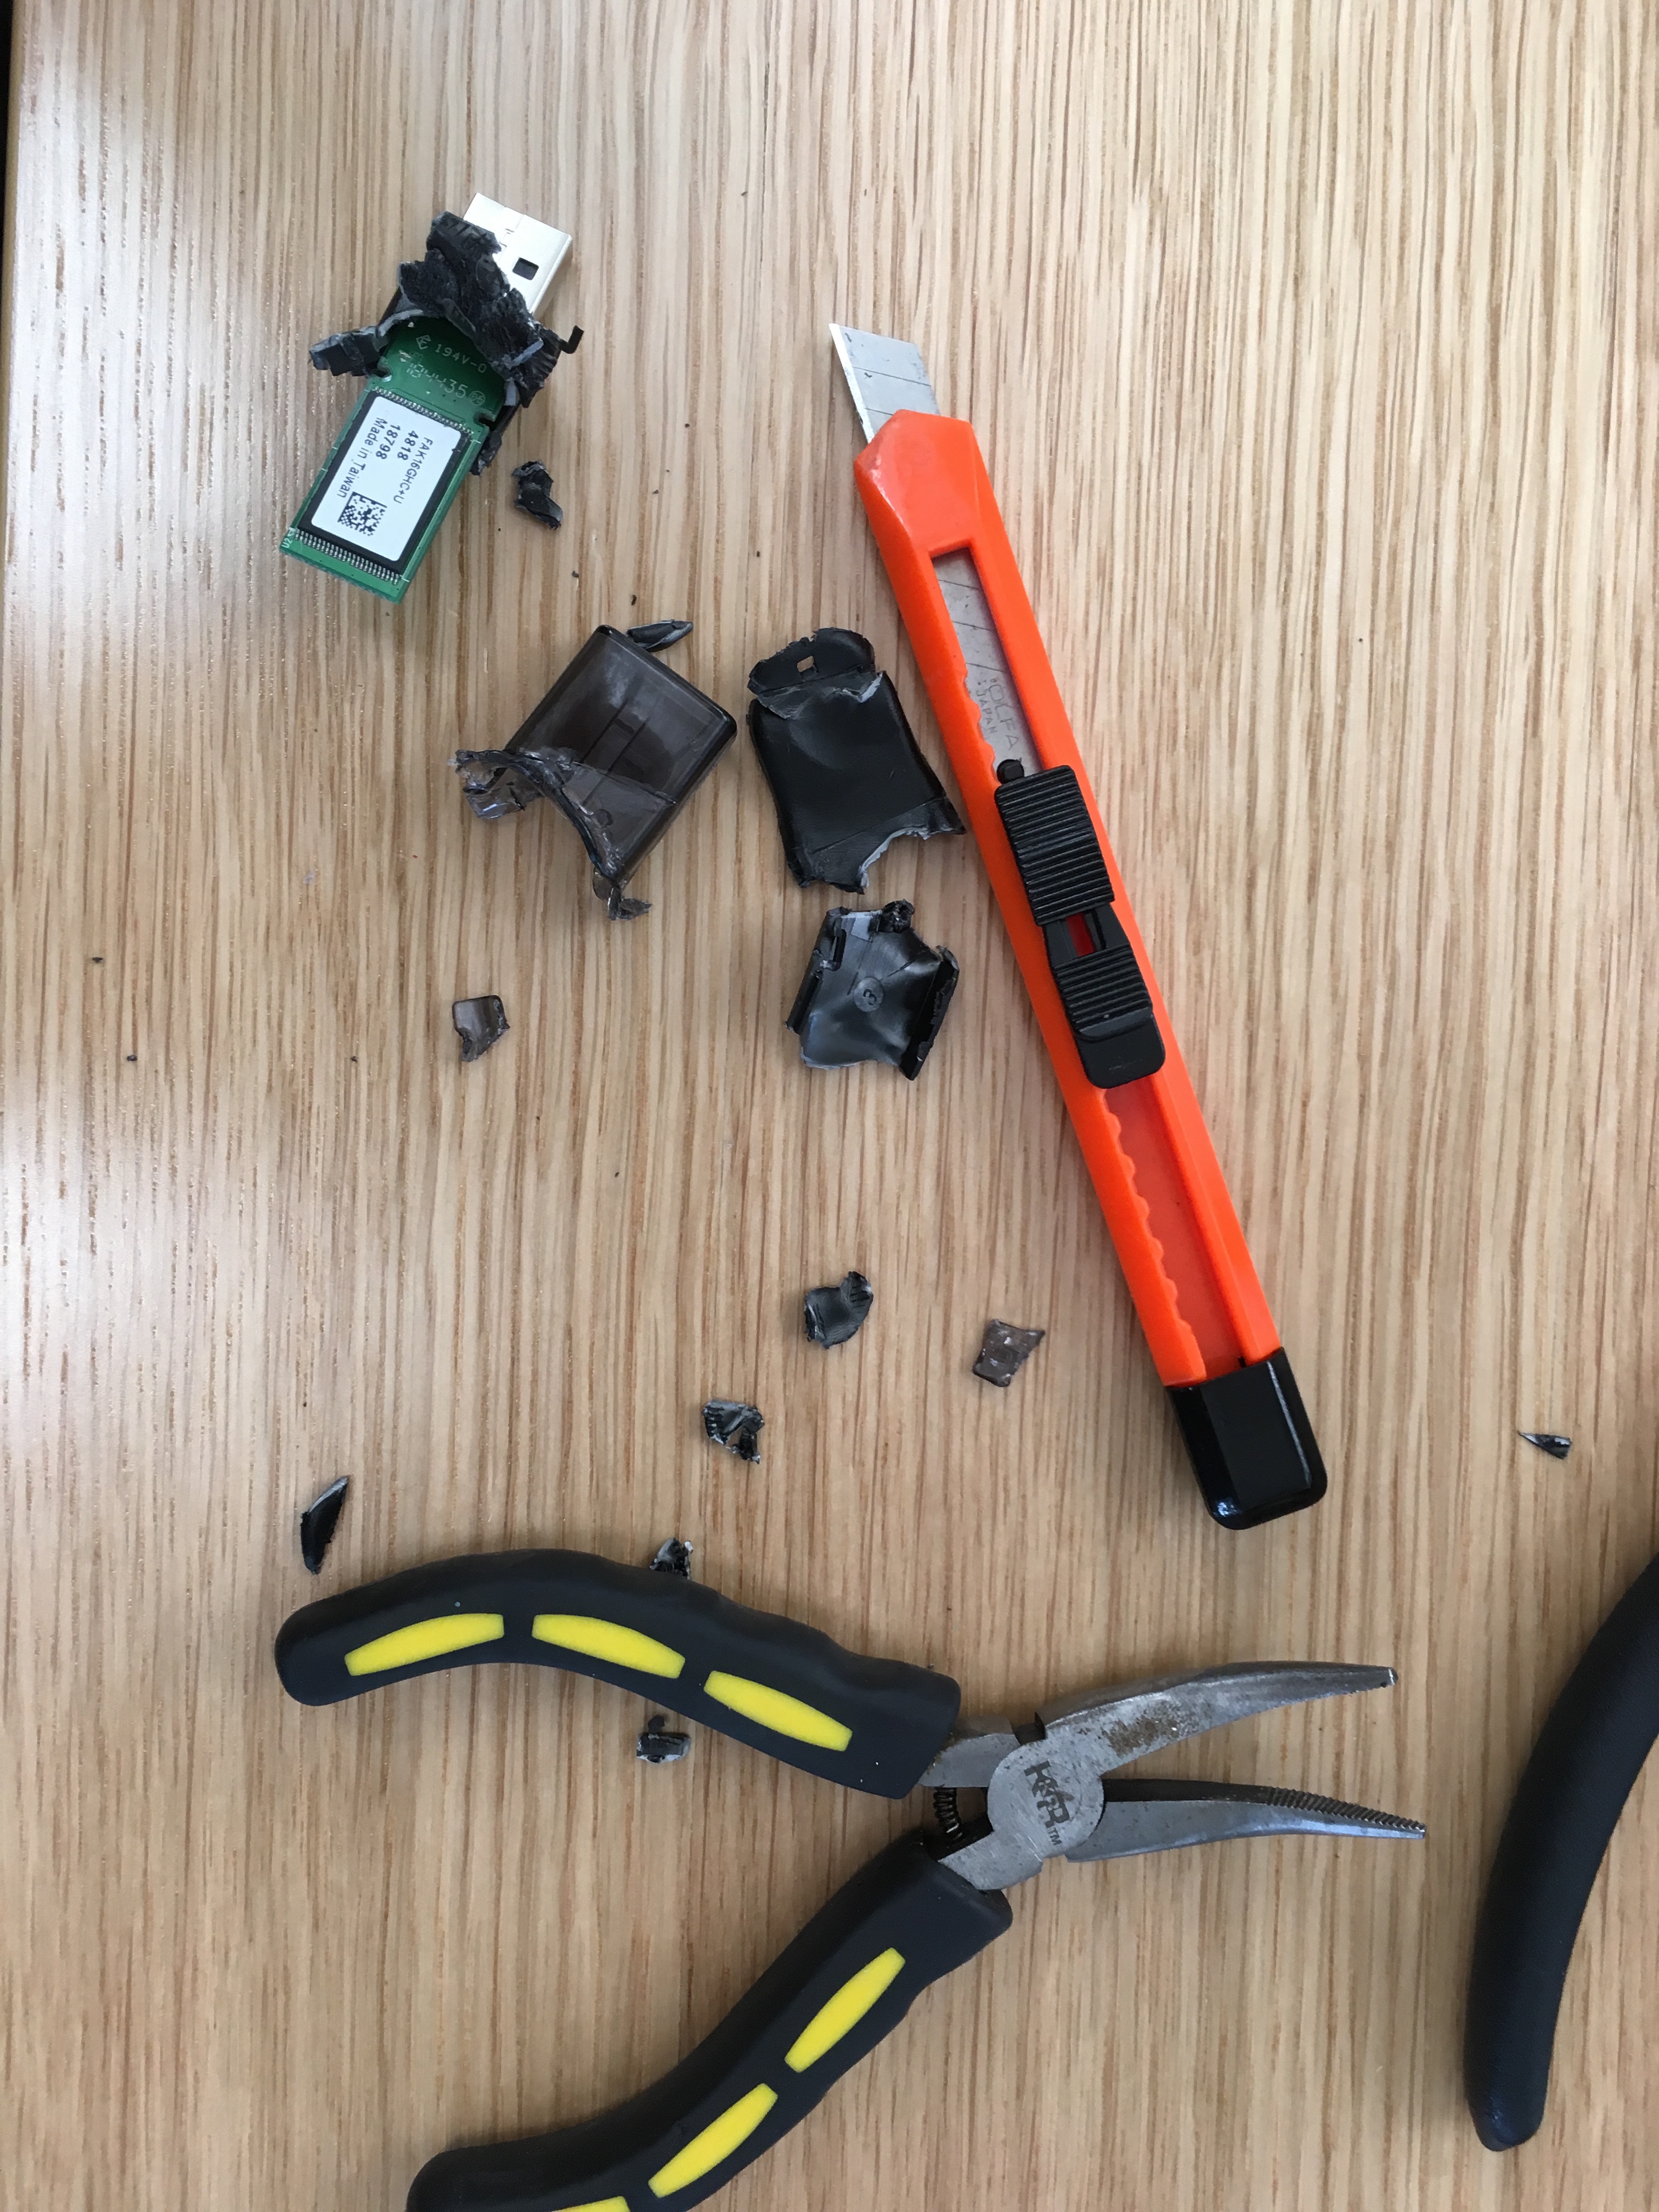
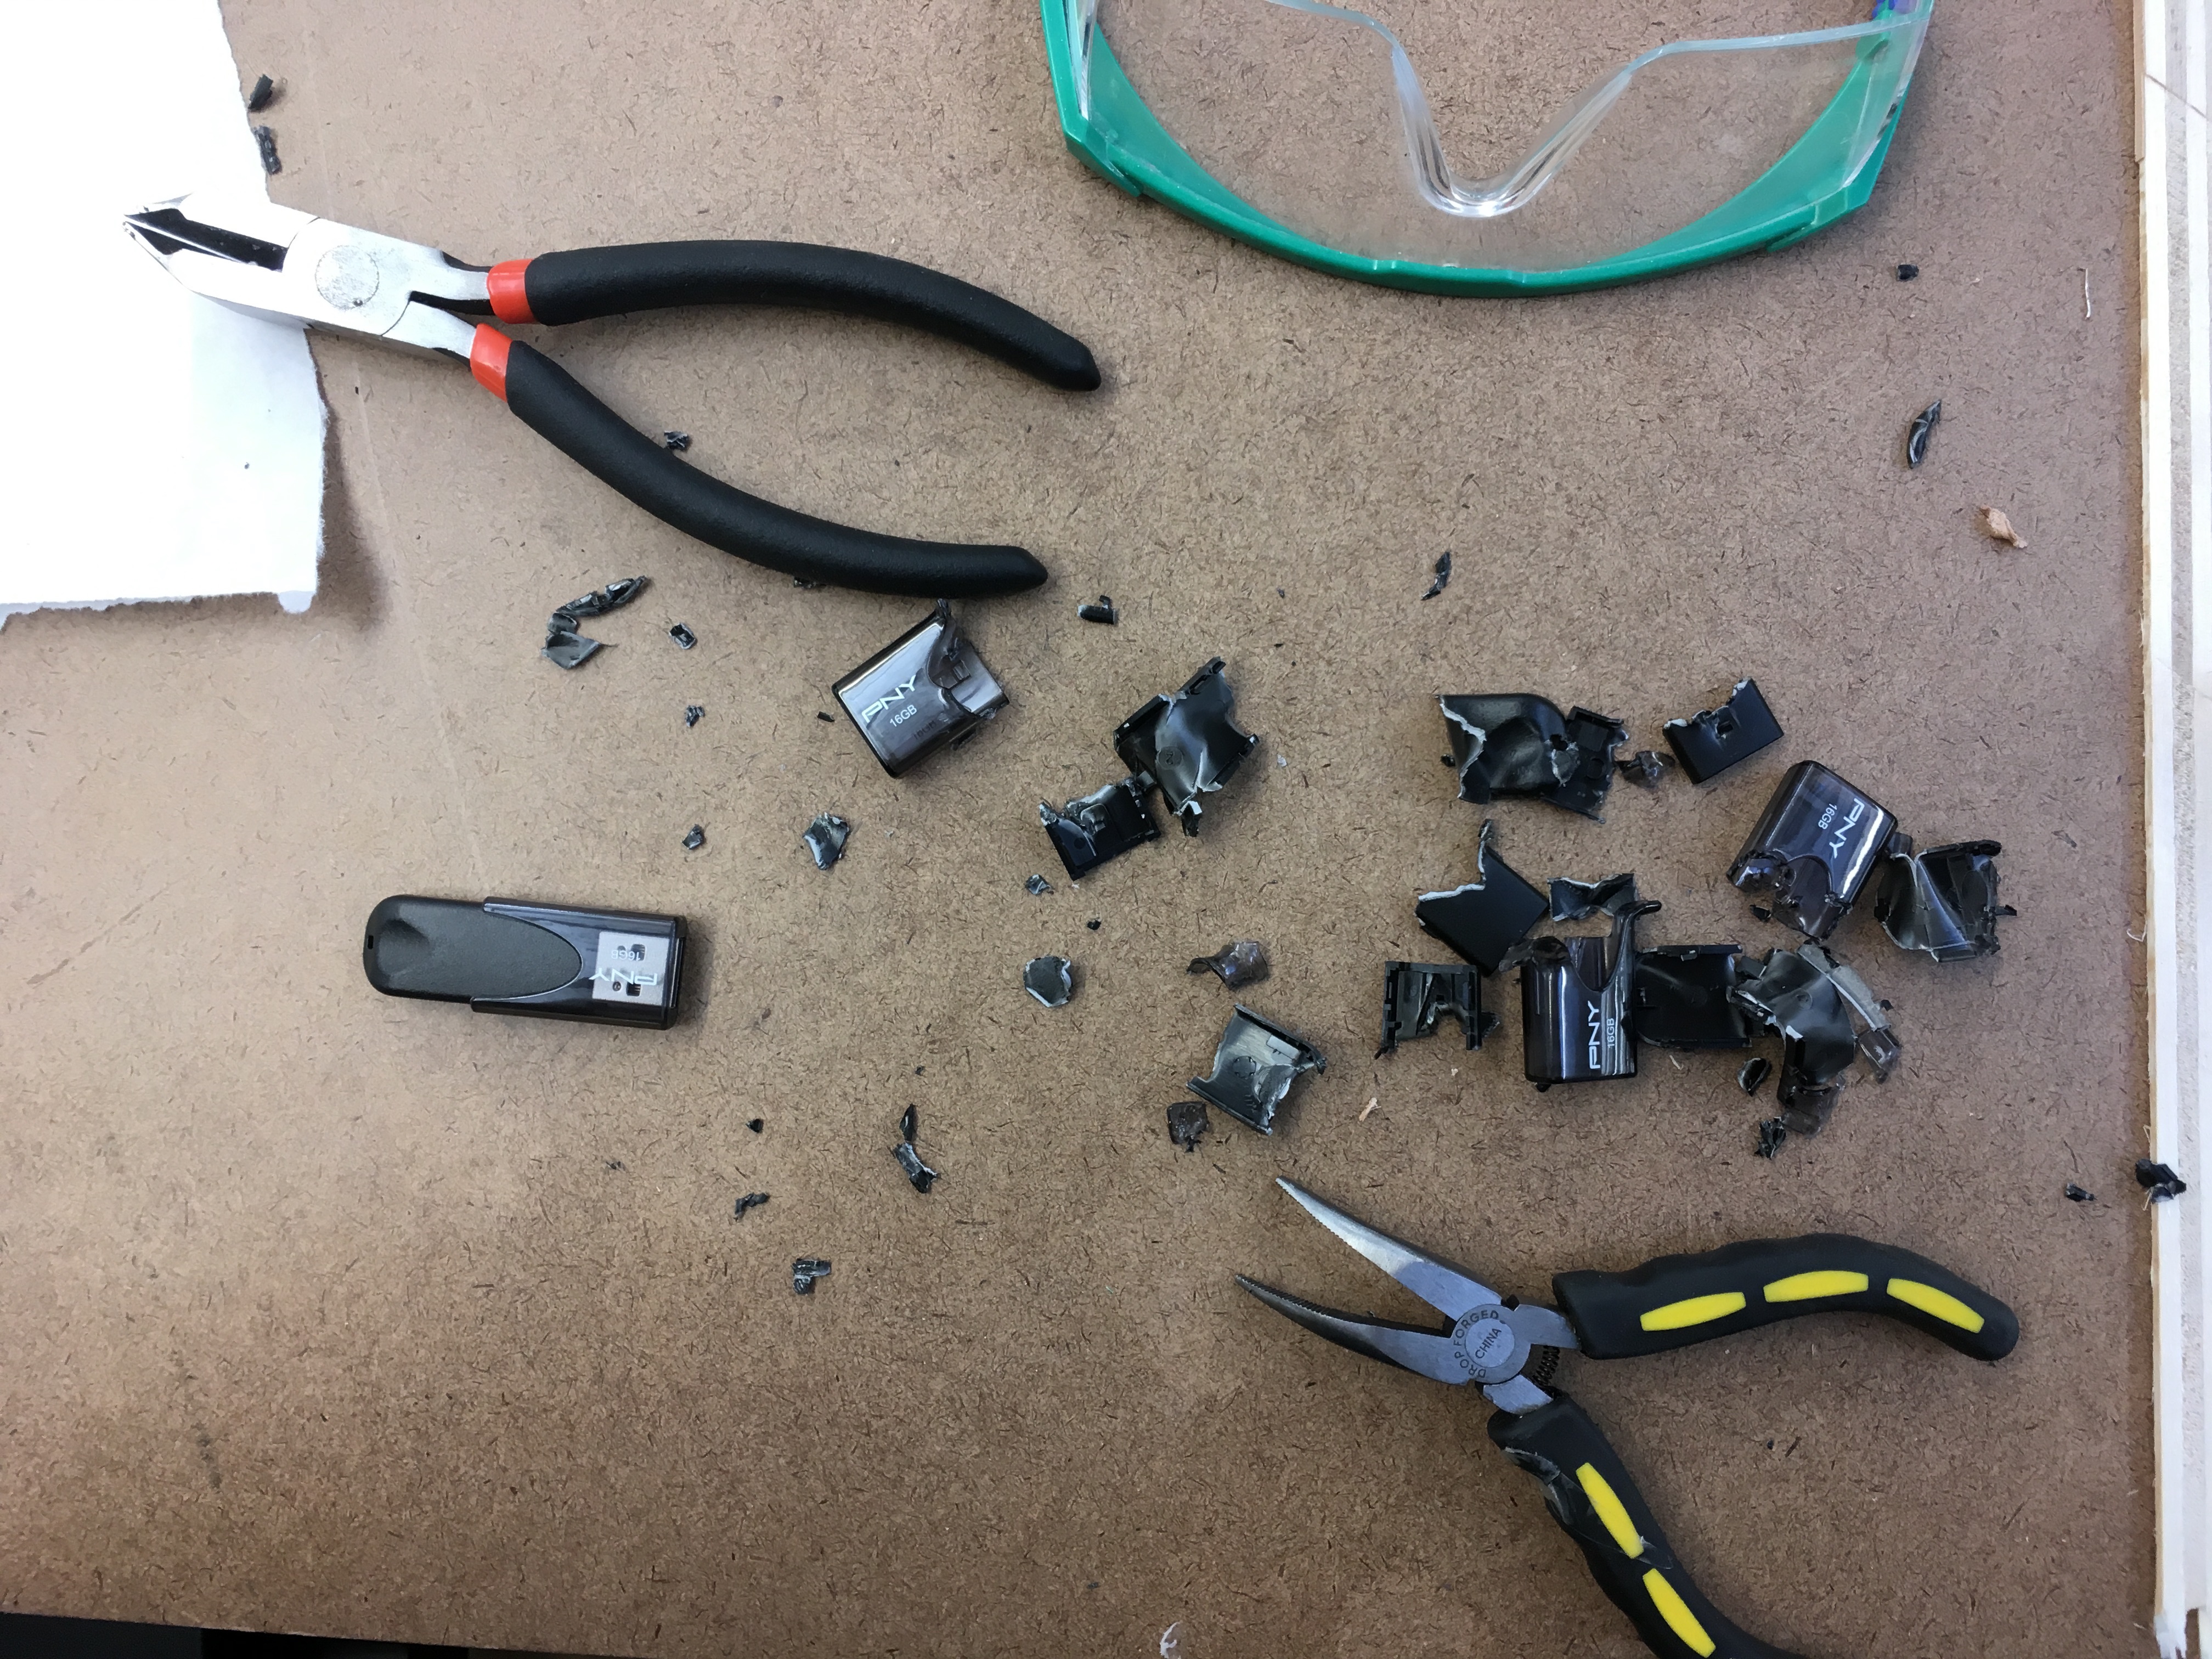
Getting rid of the original plastic enclosures, a messy process.
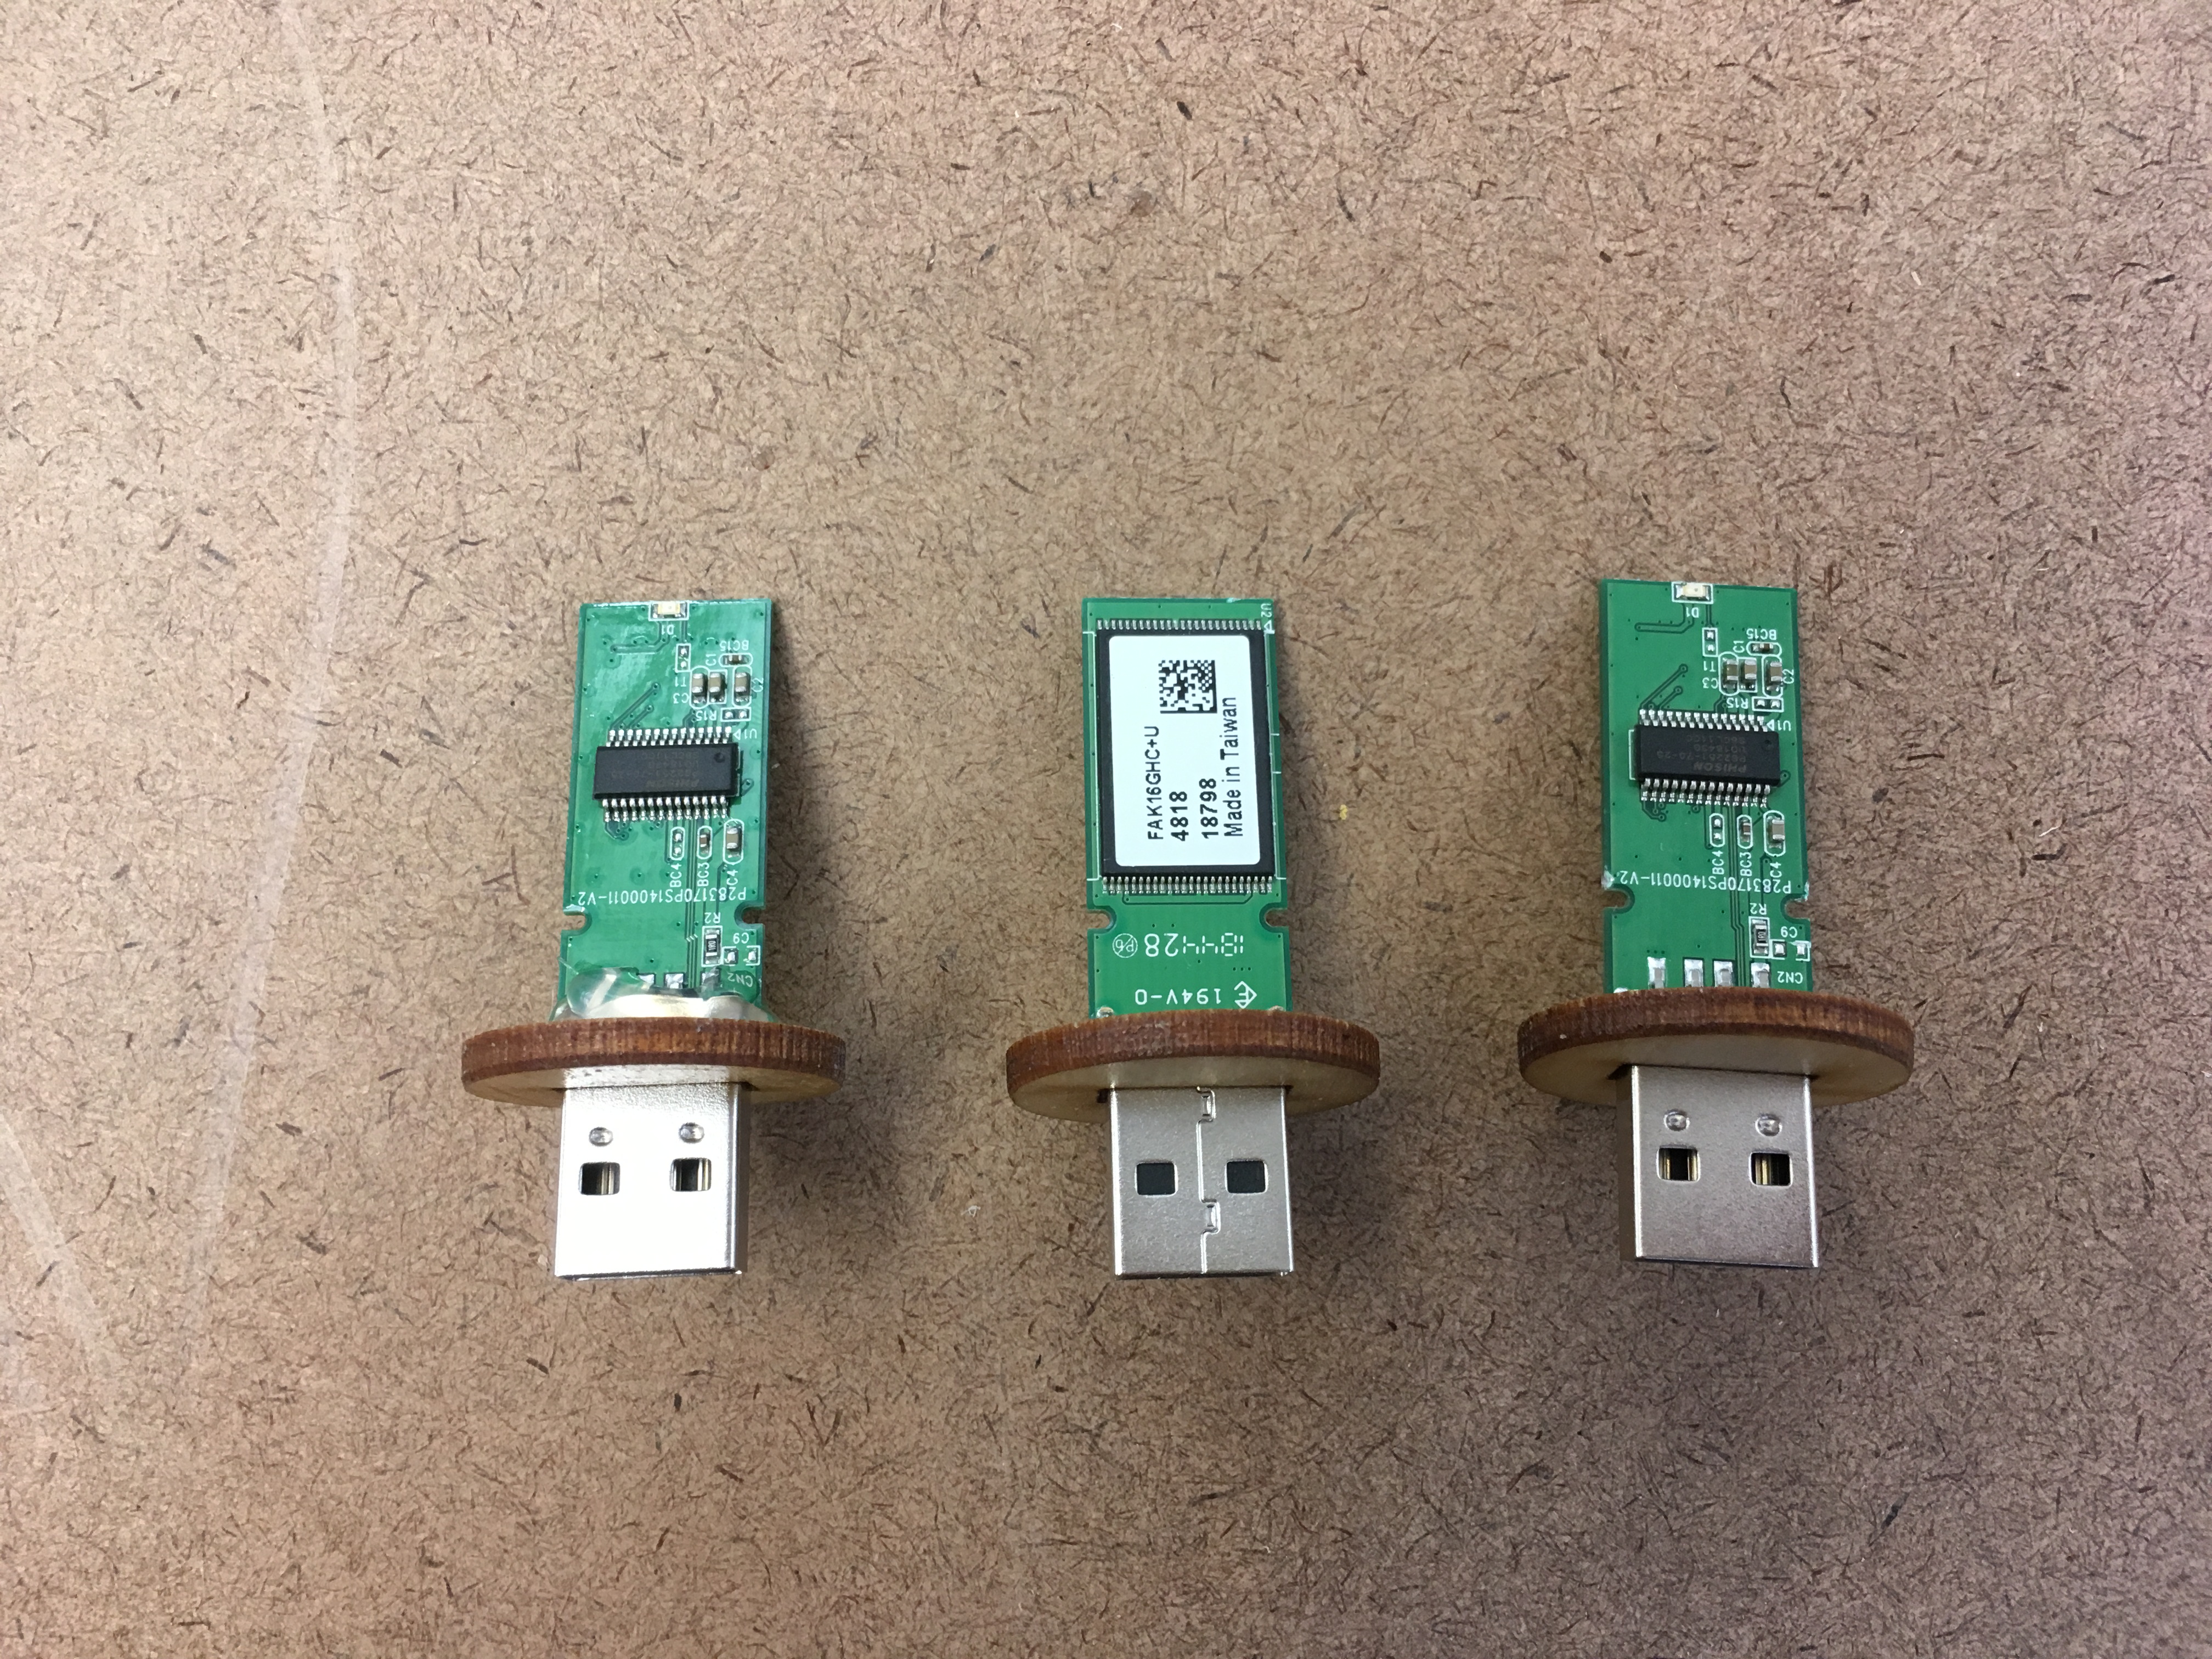
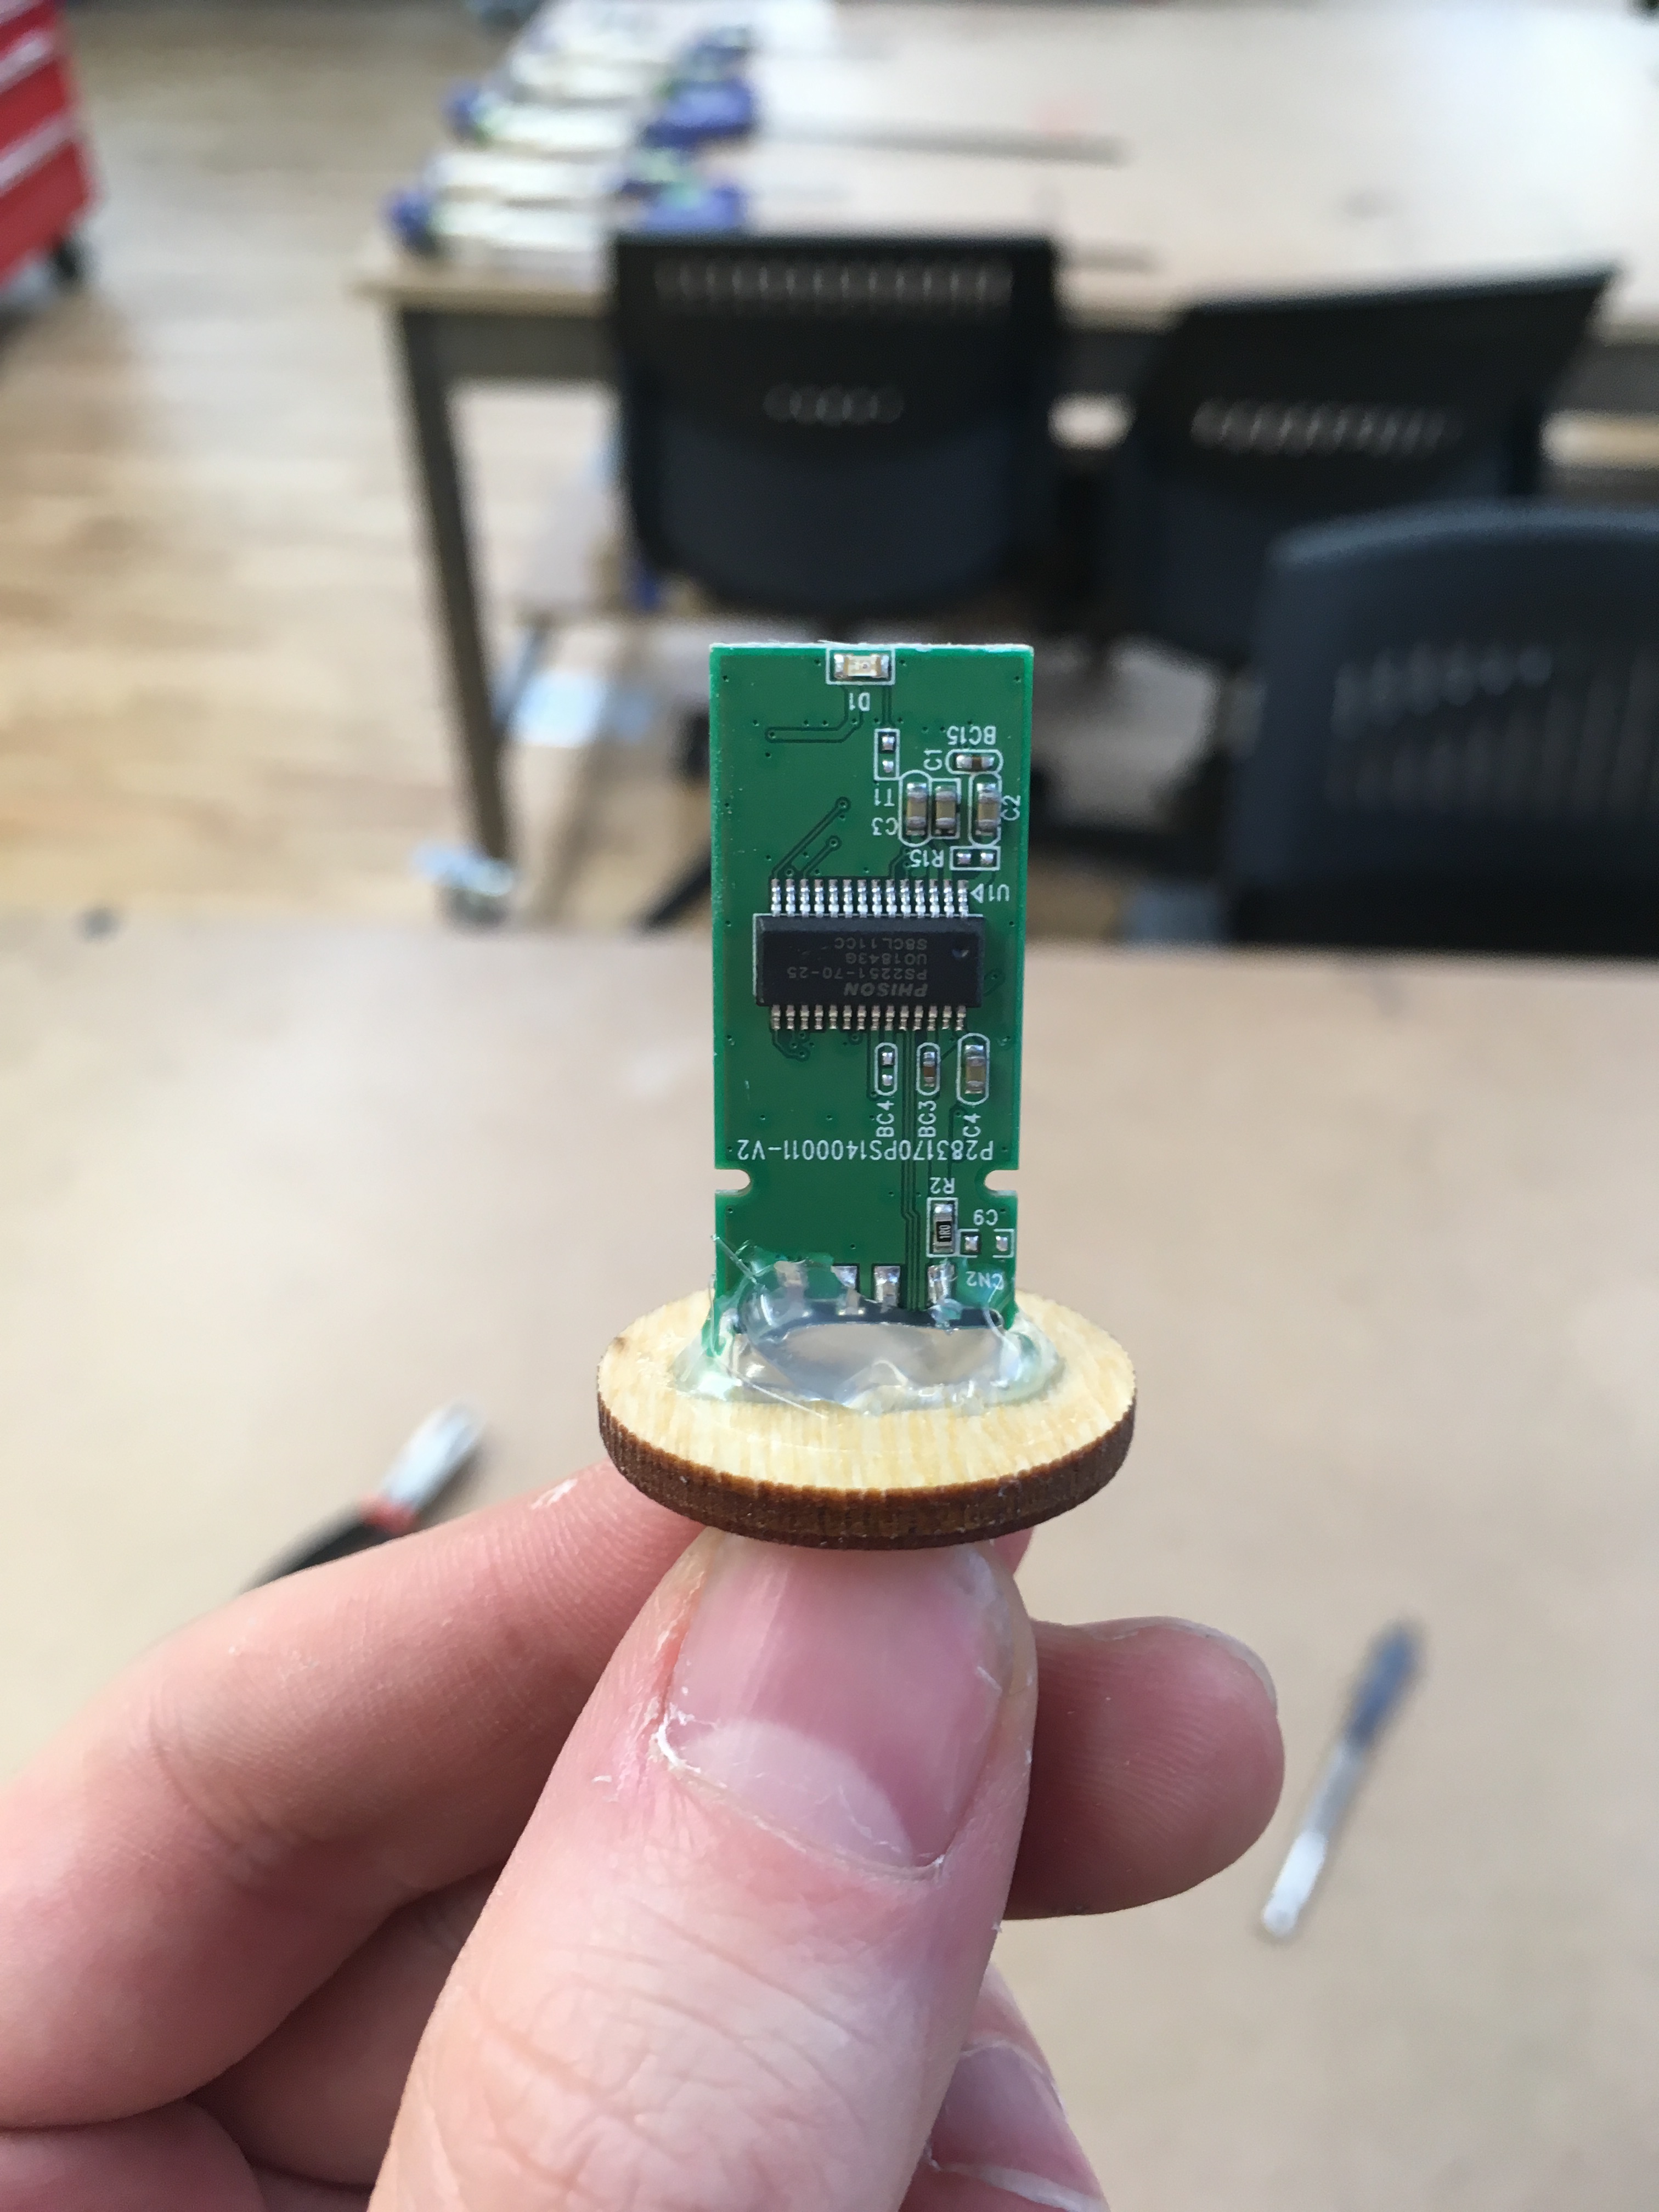
Hot glue-ing the USB memory sticks to the laser cut circular tops created earlier in the process.